Template:Featured article Template:FFXII multi Enemies Yiazmat is the Ultimate Elite Mark in Final Fantasy XII. He is not only the ultimate mark, but also the ultimate boss. Defeating Yiazmat will take at least sixty minutes at very high levels and player skill; but the fight usually takes hours. He is considered to be one of the series's most difficult superbosses. To date, he has the highest number of hit points of any creature, boss, or superboss in the entire Final Fantasy series, with well over 50 million hit points. This astronomically high number is the main reason he takes so long to kill, since regular attacks break the damage limit only in the game's International Zodiac Job System version.
The player can accept the hunt for Yiazmat after vanquishing the Hell Wyrm and all Rank VII Marks.
Clan Primer
Hunt 45: Farewell to a Legend

Mark Bill
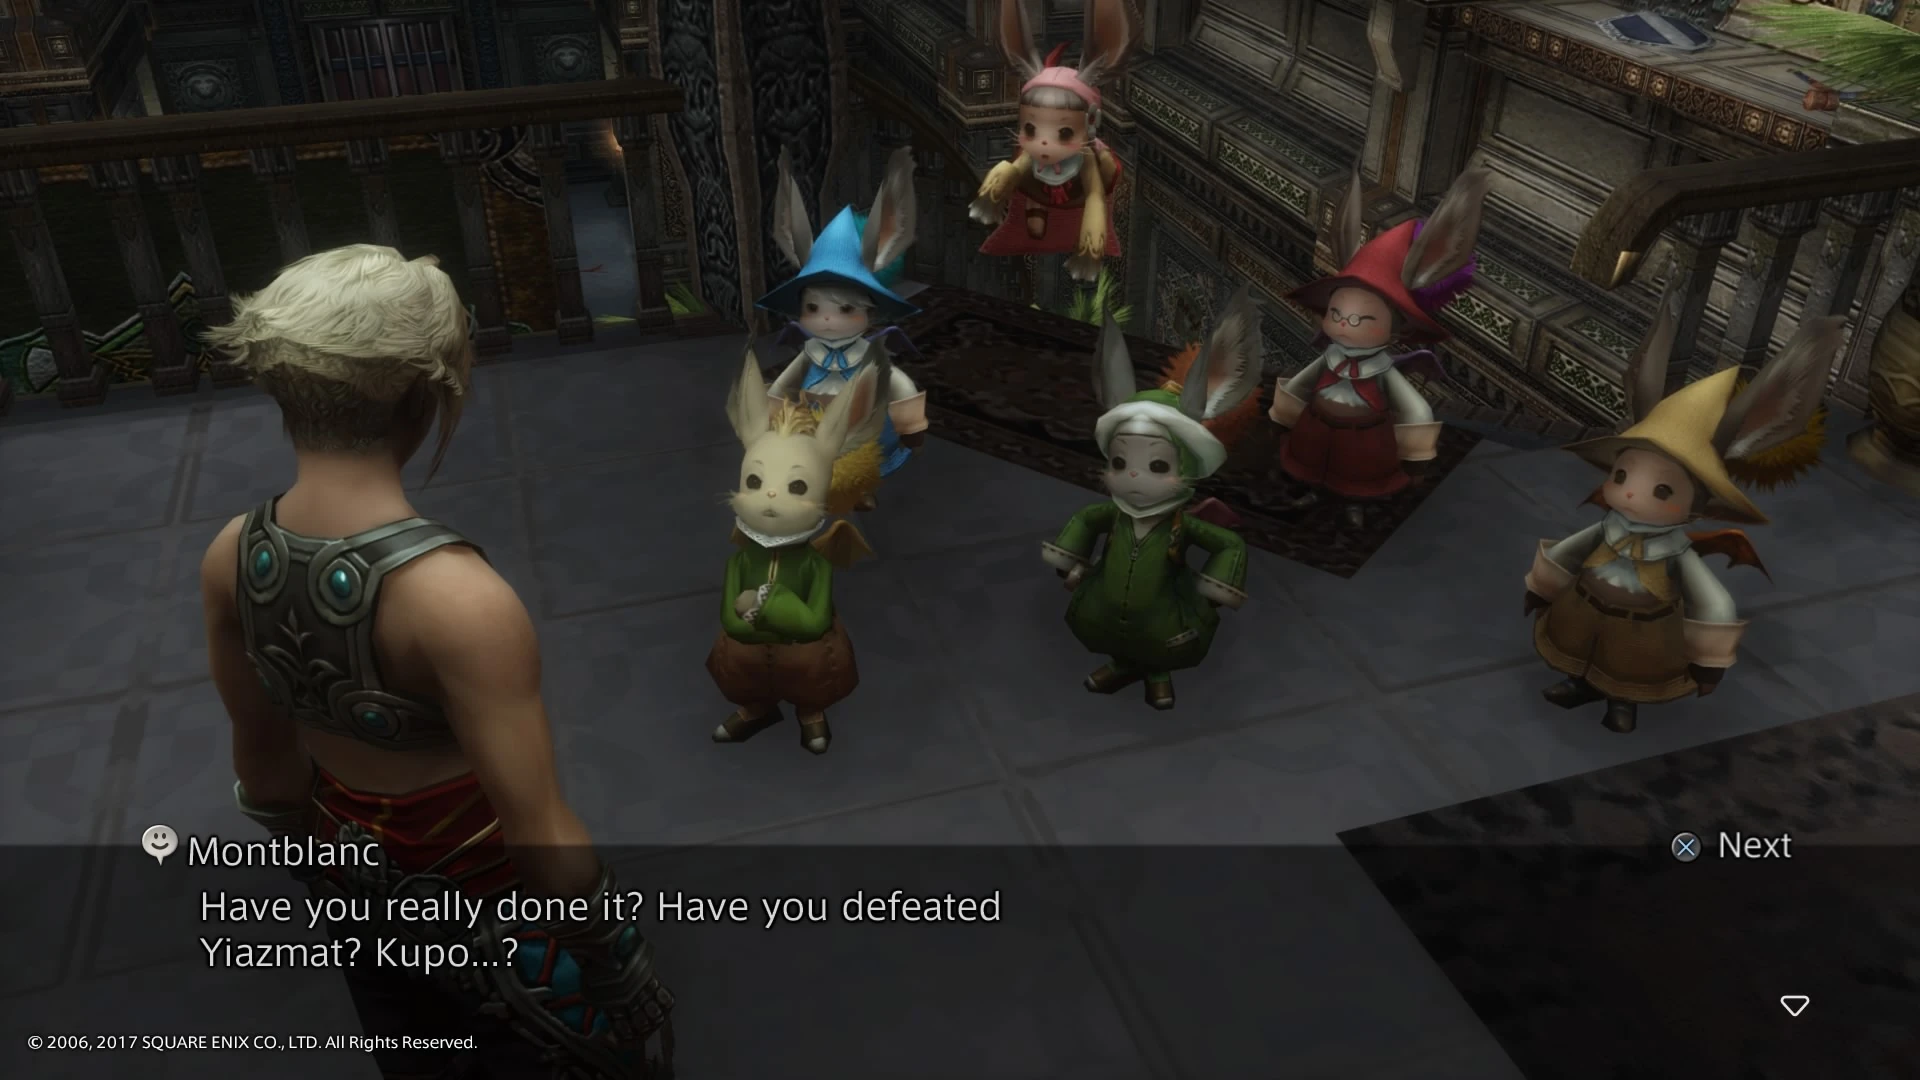
Petitioner: Montblanc
Petitioner's Location: Rabanastre
- A petition has been submitted for the hunting of Yiazmat (Rank 8). The petitioner is Montblanc in the clan hall in Rabanastre.
- Montblanc tells you that he formed Clan Centurio to raise warriors strong enough to defeat the most terrible of all creatures that walk this land: Yiazmat. The realization of the Clan's very purpose has fallen to you. Hunt accepted.
- Yiazmat defeated after a battle to end all battles! Report to Montblanc in the clan hall.
- Hunt reported. Montblanc praises you as the greatest hunter Ivalice has ever known.
The petitioner for the bill is none other than Montblanc. He explains that this dragon was the one responsible for killing his mentor, who taught him and his brothers and sister everything they know. After finding Ivalice's best hunter in the player party, he tells the party to go out and exterminate the legendary dragon.
Bestiary Entry
Genus: Ultimate Mark
Classification: Wyrm
One Deity among Dragons, One great Wyrm to rule all Wyrms of the World, by the Creator Himself created. Legend says it is an Anima, Guardian to a Sacred Blade. Though most sacred among its Kind, its great Power drove it to Madness, and in the End, it became a Threat to its own Creator. His Master was killed by Yiazmat, robbing Montblanc of all Joy in Life, and he would have Revenge.
Battle
Yiazmat is found at the Colosseum at the Ridorana Cataract. It is possible to defeat it at level 50, but levels 70 and above are preferable. His total health is made up of fifty individual bars consisting of one million HP each (50 million HP). The player will have to be careful, since the arena is covered in traps. As his energy goes down, Yiazmat's battle tactics will change as his HP is depleted, but most of his attacks either involve attacking the whole team at once for massive damage, or using Instant Death attacks should the party get out of his reach. Yiazmat also can wipe out the party's best character with a couple of hits, regardless of the kind of equipment they are wearing, as all of his physical attacks have a 5% chance of inflicting Instant Death.
Yiazmat's most annoying tactic is that when his HP goes below 50%, all attacks against him are capped at 6,999 damage, so the battle becomes about using combo weapons rather than damage dealers. If the party wanders too far from his reach, Yiazmat will start casting buffs on himself, starting with Protect, then Bravery, Faith and Regen. It's possible to leave the area to use the Save Crystal, buy more items, etc. and then come back and continue the battle, however, the player must make their exit fast; if Yiazmat has time to cast Regen before the party has left the area, it will keep on gaining HP, even while the party is away. However, if the player walks too far away from Yiazmat, while still in his area, Yiazmat will regain health like other enemies.
When Yiazmat's HP is about at 9 - 10 bars left, he will use Growing Threat to boost his damage output even further. When he has about 4 - 5 bars of health left, he will start using Reflectga, but it is a once per stage cast. If the player is not careful, a Renew spell could be reflected off the party, fully healing Yiazmat. On the other hand, Yiazmat is susceptible to the Expose Technick, which allows even relatively weak characters to deal maximum damage. Yiazmat combos more often as his life goes down.
In the Final Fantasy XII: International Zodiac Job System Yiazmat is susceptible to all stat-lowering attacks (Expose, Wither, Shear, and Addle), which allows player to defeat the beast even with a low level party.
The battle will easily take over an hour, with completion in two hours being considered fast for the average player. The player can leave the area at any time during the battle. When the player returns Yiazmat's HP will be the same as when they left (assuming it was unable to cast Regen). There is a round indicator in the upper right part of the screen, showing how often the party fled from the battle. It has no bearing on the reward the player receives for winning the battle.
Yiazmat, just before battle
Yiazmat's Attacks
- Yiazmat uses physical attacks with each having 5% chance of inflicting Instant Death. The lower Yiazmat is on HP, the more combos he will get, up to 12-hit-combos.
- Rake is the wyrms' special move that Yiazmat also uses. It deals 1.5x normal damage has a 5% chance of inflicting Instant Death. It can deal combo up to 12 consecutive hits.
- Cyclone is Yiazmat's special move and hits all characters. It is Wind-elemental and has a chance of inflicting the party with Sap. Yiazmat uses Cyclone once every 40 actions. This attack damage can be halved when the party wielding Windbreaker armor.
- Death Strike casts Instant Death on one party member. It has a 50% chance of missing if the character is under Shell. Yiazmat starts to use Death Strike at 60% HP. Yiazmat uses it always when its target is out of the range of its physical attack, and less commonly to a target that is close.
- Stone Breath deals damage and has 30% chance to inflict the characters in-range with Petrify.
- White Breath deals ice damage and has 30% chance to inflict the characters in-range with Stop.
Yiazmat will stop using his breath attacks during the battle's last stage.
Other moves Yiazmat has includes, Growing Threat, that ups Yiazmat's level to 140 and boosts all of his stats and is used when Yiazmat has only 20% HP left, and Reflectga, which Yiazmat uses only once when he has only 10% of his HP remaining.
Also, when the party is out of its reach Yiazmat will start casting protective buffs on itself. They should be dispelled whenever the party re-enters the battlefield.
Equipment
Yiazmat absorbs Holy, but is weak against Dark, making ninja swords good weapons, as they also have high chance of comboing. The Yagyu Darkblade is of extreme usefulness here, although it can be tedious to obtain three. If the Ninja Sword user (Dark element) wears the Black Robe (boosts Dark damage) and the Genji Gloves, they will get an additional 50% damage bonus against Yiazmat (weakness to Dark), dealing 300% damage. And with the Genji Gloves, the player will combo more often. Since damage is capped, weapons with high combo rate often make better weapons than ones with sheer attack power.
Yiazmat has Null Evade making shields pointless. The only shield one might want to use is the Shell Shield for the mage (they can then equip no weapon, but it might not matter). It's a good idea to purchase six Bubble Belts and wear them at all times, even for the back-up party. The party can buy Windbreakers from Rabanastre to switch to when Yiazmat is readying Cyclone to take half-damage, but by the end of the battle Cyclone is cast so fast there may be no time to do the switch anymore. Yiazmat's attacks ignore vitality.
Tips
Battle Speed
Battle Speed should be kept at the fastest, as Yiazmat's attacks have no charge time - using slow battle speed only slows down the player's party.
Use the Stairs
Yiazmat is too big to fit down the narrow stairwells. Even a low-level party can defeat him by using ranged weapons and standing far enough down the stairs forcing Yiazmat to only use Death Strike. With Shell it has a chance of missing. However, as this tactic is very boring, the player might opt to using one character as the mage, and placing him/her at the stairs with a Shell Shield granting them Auto-Shell, keeping them away from harm's way (Cyclone will still hit). The mage can then keep on healing and casting buffs on the other two party members who hack away on Yiazmat's massive HP. Alternatively, the bottom-of-the-stairs character can wield a ranged weapon, such as Fomalhaut with Dark Shot, and chip away at Yiazmat's HP while he concentrates his attacks on the characters closer to him. This tactic might be useful near the end of the battle when Yiazmat is much stronger and faster.
Decoy-Reverse-Berserk
The player can set one character as the tank and have the other two characters cast Decoy, Berserk and Reverse on him/her. This won't help against the Instant Death chance, but the chance is still only 5%, allowing the character to endure most attacks. Yiazmat will mainly concentrate on the decoyed character with his Rake and physical attacks, while the berserked character keeps on attacking Yiazmat.
Exploit the Invisible Break HP Limit
The player characters can have more than 9999 HP, despite the number being capped at 9999 on the screen. As Yiazmat's attacks are capped at 9999 damage, it is possible for the party to survive the Cyclone even after taking the full 9999 HP damage. The player can wear equipment, such as Light Armor hats (such as Renewing Morion that also has Auto Regen, or Dueling Mask) that increase the party's HP over the capped 9999 figure displayed on-screen.
Use Infuse
The player can use the Technick Infuse to set a character's HP critically low. In low health the character can perform extremely long hit combos, especially when equipped with the Genji Gloves and a ninja sword or a katana. The augment Adrenaline also doubles attack power while in critical health. As Yiazmat is weak against Dark, ninja swords are a good option.
Yiazmat Defeated in 50 Minutes
The game's Battle Ultimania guide has a strategy that claims Yiazmat can be defeated in 50 minutes. It includes having two damage dealers (the guide suggests using Basch and Balthier due to having low MP and Magick) who are always in critical health in order to continually deal double damage with insanely long combos. The two should always be under Berserk and use a high-combo weapon while also being equipped with the Brave Suit. The third character in-battle should be the leader who casts Reverse and Decoy on him/herself and controls the fight with Yiazmat. If this leader dies, the player then switches a new leader from a reserve party member. All characters should be level 99 and have all licenses purchased.
The leader should have the statuses Reverse, Lure, Regen, Bubble, Protect, Libra and Haste, be equipped with the Staff of the Magi, Crown of Laurel (Vaan and Fran) or Duel Mask (Ashe and Penelo), Lordly Robe and an accessory that grants immunity to Stop.
The leader's gambits should be as follows:
- Foe: HP < 100000 --> Dark Matter
- Ally: Any --> Chronos Tear
- Ally: Status = Reflect --> Dispel
- Self: --> Reverse
- Ally: Any --> Arise
- Self: --> Decoy
- Self: --> Bubble
- Self: MP < 50% --> Hi-Ether
- Ally: MP < 10% --> Berserk
- Ally: MP < 10% --> Haste
- Ally: Any --> Gold Needle
- Foe: Any --> Dispel
The damage dealers should always have the statuses HP Critical, Berserk, Float and Haste (Basch) and be equipped with Masamune, Celebrant's Mitre (gives Magick and Speed), Brave Suit (increased damage) and Genji Gloves for Basch and Hermes Sandals for Balthier.
Their gambits should be as follows:
- Ally: Any --> Chronos Tear
- Self: HP < 10% --> Berserk
- Foe: Character HP < 10% --> Attack
- Self: HP < 10% --> Bacchus's Wine
- Self: --> Infuse (Changes MP to HP and is used to put the damage dealers into critical HP after two casts)
The items a player needs are:
- 1x Dark Matter (charged to full with Knot of Rust to deal 60k damage)
- Masamune/Yagyu Darkblade (though Yagyu Darkblade does more damage initially, Masamune has a much higher combo chance and will do more damage in the long run)
- Staff of the Magi (for each leader)
- Shell Shield
- Bubble Belts
- Plenty of Hi-Ether
- Plenty of Remedy
- Plenty of Gold Needle
- Plenty of Chronos Tear
- Plenty of Bacchus's Wine
The battle config should be in active mode with the fastest battle speed and cursor set to memorized.
It's recommended to start the battle by using two 'leaders'; the 'trap walker' leader, whose only real purpose is to get rid of all the traps in the arena. The second is the supposed 'main leader' who will initially heal the 'trap walker' when necessary, use the Expose Technick on Yiazmat five times successfully to cut its Defense by half and try to hold Yiazmat for the remainder of the battle. Once all traps are gone, the player should switch out the 'trap walker' and bring in both damage-dealers. When the damage dealers begin to use Infuse the player must manually attack with both damage dealers in between their Infuses, or they will simply kill themselves with the second. The player must be wary of this any time a damage dealer is revived, otherwise everything else the damage dealers do is automatic.
The player will use the leader character(s) to control the fight by running around Yiazmat - chase Yiazmat's tail from its side, so that Yiazmat is following the leader at all times, and yet not actually hitting him/her - using "R2" to enter flee mode in-between casts to help with keeping distance. While running from Yiazmat the player must also keep in mind of the distance between the leader and damage dealers, as when Yiazmat readies Cyclone, the leader must be as far away from them as possible or it will kill them. When Yiazmat readies Death Strike, the player should equip a Shell Shield on the leader and then switch back to Staff of Magi afterward, to help mitigate the chances of instant KO.
Whenever a leader does get knocked out, the player must quickly open the menu and switch out Balthier (or whomever is weaker of the two damage dealers) for a second leader. The priority in reviving/rebuffing is Arise -> Reverse -> Lure -> Bubble (if not using Bubble Belt already). Only after all buffs are ready should the player switch back in the damage dealer. After Yiazmat uses Growing Threat the team leaders should seriously consider using Bubble Belts. It is highly critical at this point in the fight that any leaders who get KO'd are revived with double HP. It is even recommended to hold a fresh character specifically for Yiazmat's last HP bar.
Report and Reward
Six Moogle Siblings gather to celebrate the victory.
- 30,000 gil
- The Godslayer's Badge
The Godslayer's Badge, along with the Omega Badge (earned by defeating Omega Mark XII) and Lu Shang's Badge (earned from the Fishing minigame), is needed in order to acquire the Wyrmhero Blade, one of the game's strongest weapons.
Defeating Yiazmat unlocks his sprite in the Sky Pirate's Den, earning the player the title of Hunter Extraordinaire.
Gallery
Template:Gallery
Etymology
Yiazmat's name is a reference to director Yasumi Matsuno's nickname (Yazumi Matsuno). The additional "i" in Yiazmat's name is not present in the Japanese version, likely being a localization decision to associate it closer to "Tiamat".
Farewell to a Legend?
The title of the hunt is "Farewell to a Legend", a reference to how Matsuno left the company before the game was completed, and the story Montblanc tells is a reference to how the development team felt about him, albeit with a different end.
Another guess is that Yiazmat is the game's depiction of Matsuno, and that the Moogles being the development team, and their master being Square Enix. Matsuno prolonging the game killed Square Enix "financially" and the development team felt Matsuno had to be slain as retribution for his actions. The hunt title basically says "Farewell" to a Legendary monster - Yiazmat - both being an homage and an insult to the director.
Trivia
- One of the random names for Chocobo competitors in the races in Serendipity is "Grand Yiazmat".
- The Garif's bestiary entry tells about the Dragon's Game, where a God created a Dragon more powerful than any before it. The Dragon thought it was greater than the God, and so the God decided to trick the Dragon by making it perform feats of strength that end up trapping it inside a magic ring that restricted its power. This is reminiscent of Yiazmat's appearance and extreme strength, and may be the story behind the foe's origins.
Related Enemies
- Ash Wyrm
- Shield Wyrm
- Lindwyrm (Mark)
- Ring Wyrm (Mark)
- Fafnir (Mark)
- Tiamat (Boss)
- Elder Wyrm (Optional Boss)
- Hell Wyrm (Optional Boss)