We're here. The Final Chapter. I can't exactly remember if this place took long or not. Well if it is I'll let you know :]
Orphan's Cradle
Orphan's Cradle.
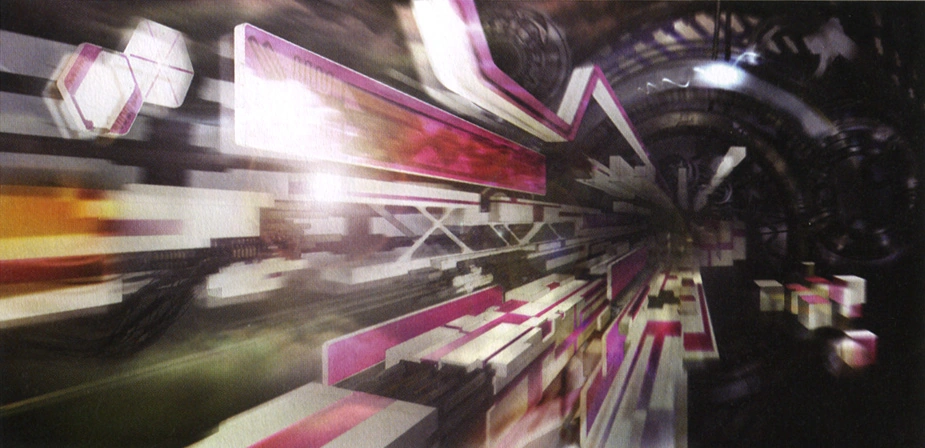
It kinda makes me scared, how much I don't remember this place, but you don't get to come back to 95% of this place, unfortunately. This crazy dungeon is just a big area covered in shades of red and orange. I also seem to remember this song going along with it for various reasons... Also I remember being extremely excited and frightened at the same time, but enough of this.
We should be on the look out for the Cavalry, but they turned into Cie'th so we don't have to. Then the statues start to do somethign freaky and the walls of this place shatter. Ladies and gentlemen, welcome to the most screwed up location in the XIII, Orphan's Cradle. That doesn't exactly mean I hate it though. Another group pep talk and we're good to go. Snow, be quiet...
If you haven't done so, you should level up your Crystarium. Poor Hope barely has any HP nodes, while Sazh and Snow's Crystariums are littered with them. Anyway, we are in The Tesseracts of Orphan's Cradle. There are 2 groups of Sacrifices and that's about it. Up at the destination point, a gold Eden will appear before you, and then more Edens will appear before you. They go to the ends of the 3 paths surrounding you and summon portals that will take us to Gran Pulse, Eden, and further into Orphan's Cradle. You can't go there yet though. If you have unfinished business on Gran Pulse or Eden, you can head there now before you get closer to the end.
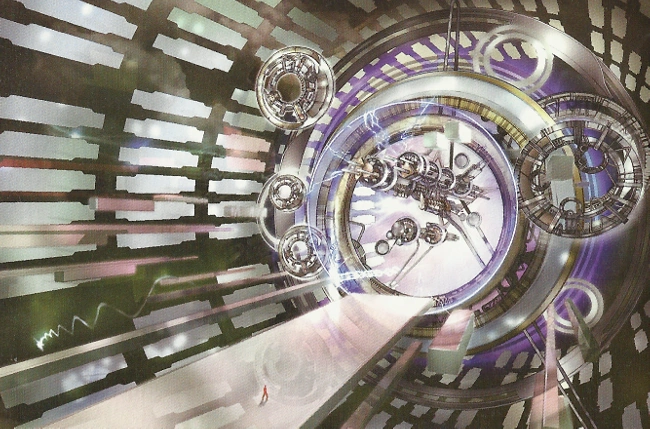
Fancy concept art.
Once you're on your way, you can explore the extra add-ons that the fal'Cie brought here. On the opposite side of the silver Eden, you'll find more Sacrifices and an Aquila Velocycle that is blocking a Librascope. Up on another platform you'll find a Megrim Thresher with a Cherub's Crown and a nugget of Millerite. You're going to need Riot Shield for the beginning of the battle. Until Hope has about 4 buffs on your party, switch to Guerilla and get some debuffs on it. Then switch to Tri-disaster and stagger it. If it uses Fusillade, immediately switch it Combat Clinic. Once it's staggered you can Launch it and defeat it easily.
Silver Eden
Now we should talk to the silver Eden. When we do that, it will bring 2 platforms to us. The right one takes us to our destination point. The left one takes us to an extra strip of land. I'll start with the left one. When you get off, head to the right and get 4 Superchargers. Going left, on the right path you'll find 4 Perfect Conductors. Down the ramp, we'll find a somewhat hidden Item Sphere that holds 5 Turboprops. Going further down the strip, we'll see another Megrim Thresher. Behind that to the left are 2 Particle Accelerators. To the right is a nugget of Uraninite. That's it for this place.
When you get to the other strip, you'll find 20 Seaking's Beards located to the right. You'll run into a few Dagonites along this path. They'll start out by buffing themselves. Nothing a Saboteur can't handle. They're easy to stagger. You can take a U-turn and go up the ramp to find many Sacrifices hanging out. To the right are 2 Cie'th and 2 vials of Aegisol. In the opposite direction, there are more Cie'th. To the left are 9 Tears of Woe. To the right you'll find a Gale Ring. Back down where the Dagonites are, you can find a Shamanic Spear. Good news. There's a Save Station where the Silver Eden is.
Once you've examined it, it will bring a Carbuncle looking thing out of nowhere. Then the platforms move around once again. Complicated much? Yes >.>
Ignoring the destination mark and going straight ahead, you'll eventually come across a Tetradic Crown. Now we can go to the destination mark. First, go straight ahead. You'll run into a few tough groups of enemies. Summon or use shrouds to help you out. At the end you'll get 6 Starblossom seeds. Now, to the platforms on the left. There is a Sanctum Templar. Well I guess not all of them turned Cie'th. Although who knows. Either way they creep me out. They're not difficult unless they're in a group of more than 2. Keep going, then jump onto another platform on your left and you'll get 8 Black Mycelium. Keep going straight and fight the Templar and the Sacrifice, then take a left and get a nugget of Rhodocrosite. Finally go and talk to the Eden once more. We're going to teleport out of the Tesseracts and into battle.
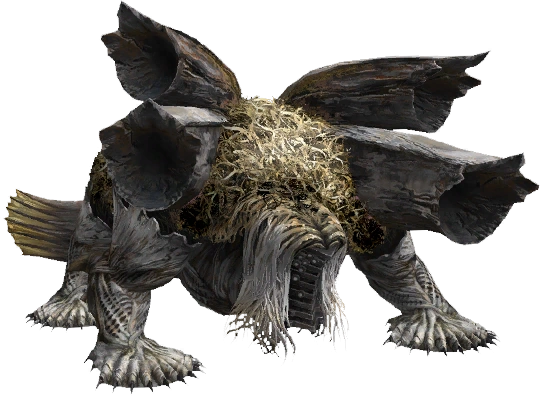
| Boss: Bandersnatch and Jabberwocky |
  What. I'm not using Lightning? What is this?
Use a Librascope before anything else. Keep debuffing the Jabberwocky with everything you can. The Jabberwocky has very strong attacks and can fully heal the Bandersnatch. Switch between Espionage and Hero's Charge. You should heal when your HP goes yellow. If more than one person is in yellow, switch to Combat Clinic. Once they're debuffed and you're buffed plus Enfired, switch to Tri-disaster and stagger the Jabberwocky. Once it is staggered, switch to Relentless Assault. With it's debuffs and our buffs, Fang will absolutely murder it. With that gone, the Bandersnatch should be easy. Debuff it and stagger and you're good to go. |
So now that we're done with that, we're back at the Tesseracts. This is obviously taking forever and Vanille is having a hard time facing the Cie'th. We come up with the idea that it's just a guilt trip set up by Barthandelus, and that our empathy puts us at a disadvantage. But being human is what makes us dangerous. Aww, happy Fang and Vanille moment... ;_; I'm not gonna cry...
Black Eden
Save and do whatever you want before you move forward. When you do go ahead, the silver and black Eden will once again warp the place. Now this area is like some sort of hexagonal pattern and it's the black Eden that we have to get to. Right in front of us is an Immortal. Just like any other Centaurion, it will use Forge Blade. When the blade comes out, debuff it and kill it first. Then stagger the Immortal before it can use Forge Blade again, launch, then debuff. It's easier than it looks. Behind it, there is a warp gate. Warp and you'll end up in a space with a Weirding Glyph and an Adamant Bangle. Warp again and you'll end up on the lowest level with an Elixir and a nugget of Scarletite. There aren't any other treasures that I need to report so continue forward. If you don't feel like fighting you can use a deceptisol, however, there is a Megrim Thresher blocking the path that takes us straight to Eden. There are 2 Sacrifices with it. If you feel like skipping it, let the Thresher see you and make it face you. Then just walk around it and you'll be able to pass it. Get ready to warp to another boss fight.
| Boss: Wladislaus |

Back to Lightning, Fang and Hope. Start out with Riot Shield. Use Libra. Hope should buff everyone with everything up to Enfire. You should heal a party member (mainly Fang) when the HP goes yellow, so switch between Riot Shield and Solidarity. When he starts Mounting Contempt, switch to Solidarity. That move could possibly kill Fang. Once everyone is ready, switch to Aggression and take him down. You might be switching Paradigms a lot. |
Gold Eden
Hope tells me there's something strange about that one. Well anyways, we're on our final stretch. Along these ramps we'll get 3,000 Gil. Here we'll see the last 2 bosses we've faced and a few Templars. These battles will give you a lot of CP, so this place is good for some last minute grinding. The 1st group we'll see is a Wladislaus and a Templar. You should use a Deceptisol, Fortisol and Aegisol. Start out with Relentless Assault and kill the Cie'th first. With that chain gauge being extremely high, it'll die pretty quickly. Then it's just the Templar.
When you're done with them, keep going and get 5,000 Gil. Next group is a Bandersnatch and a Jabberwocky. We've already taken care of those so they should be easy. On the other side, there is another Wladislaus and up ahead are 3 Templars. The 3 Templars are not worth anything so use a Deceptisol and pass them. Take these Paradigms and approach Eden.
| Boss: Tiamat Eliminator |
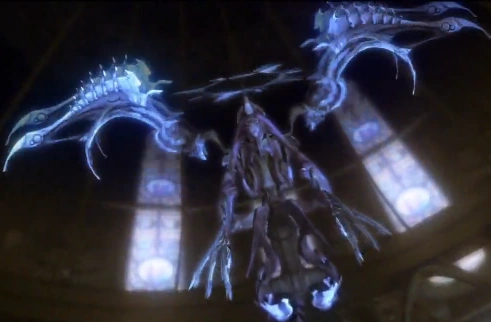
Use Libra. This thing will alternate between Aerial mode and Ground mode. In Aerial mode it will use Ice Grenade. Hope will use Barfrost to null the damage. Its Tail Hammer can cause Imperil. In aerial mode, it is immune to all debuffs. When it is in ground mode, it can be debuffed, but its Lazer Rain will take away you're debuffs. Pinpoint Beam will take away every buff its target has. Use Tri-disaster to stagger, then switch to Bully to apply debuffs and strengthen your party. When it uses Lift-off stay on Riot Shield and switch to Solidarity when you need to. Repeat until dead. |
The gold Eden appears before us and gives us a portal to the Narthex. Take a deep breath and step forward to defy your fate.