Going across the Archylte Steppe and past the fighting beasts is where you want to be. We're going underground.
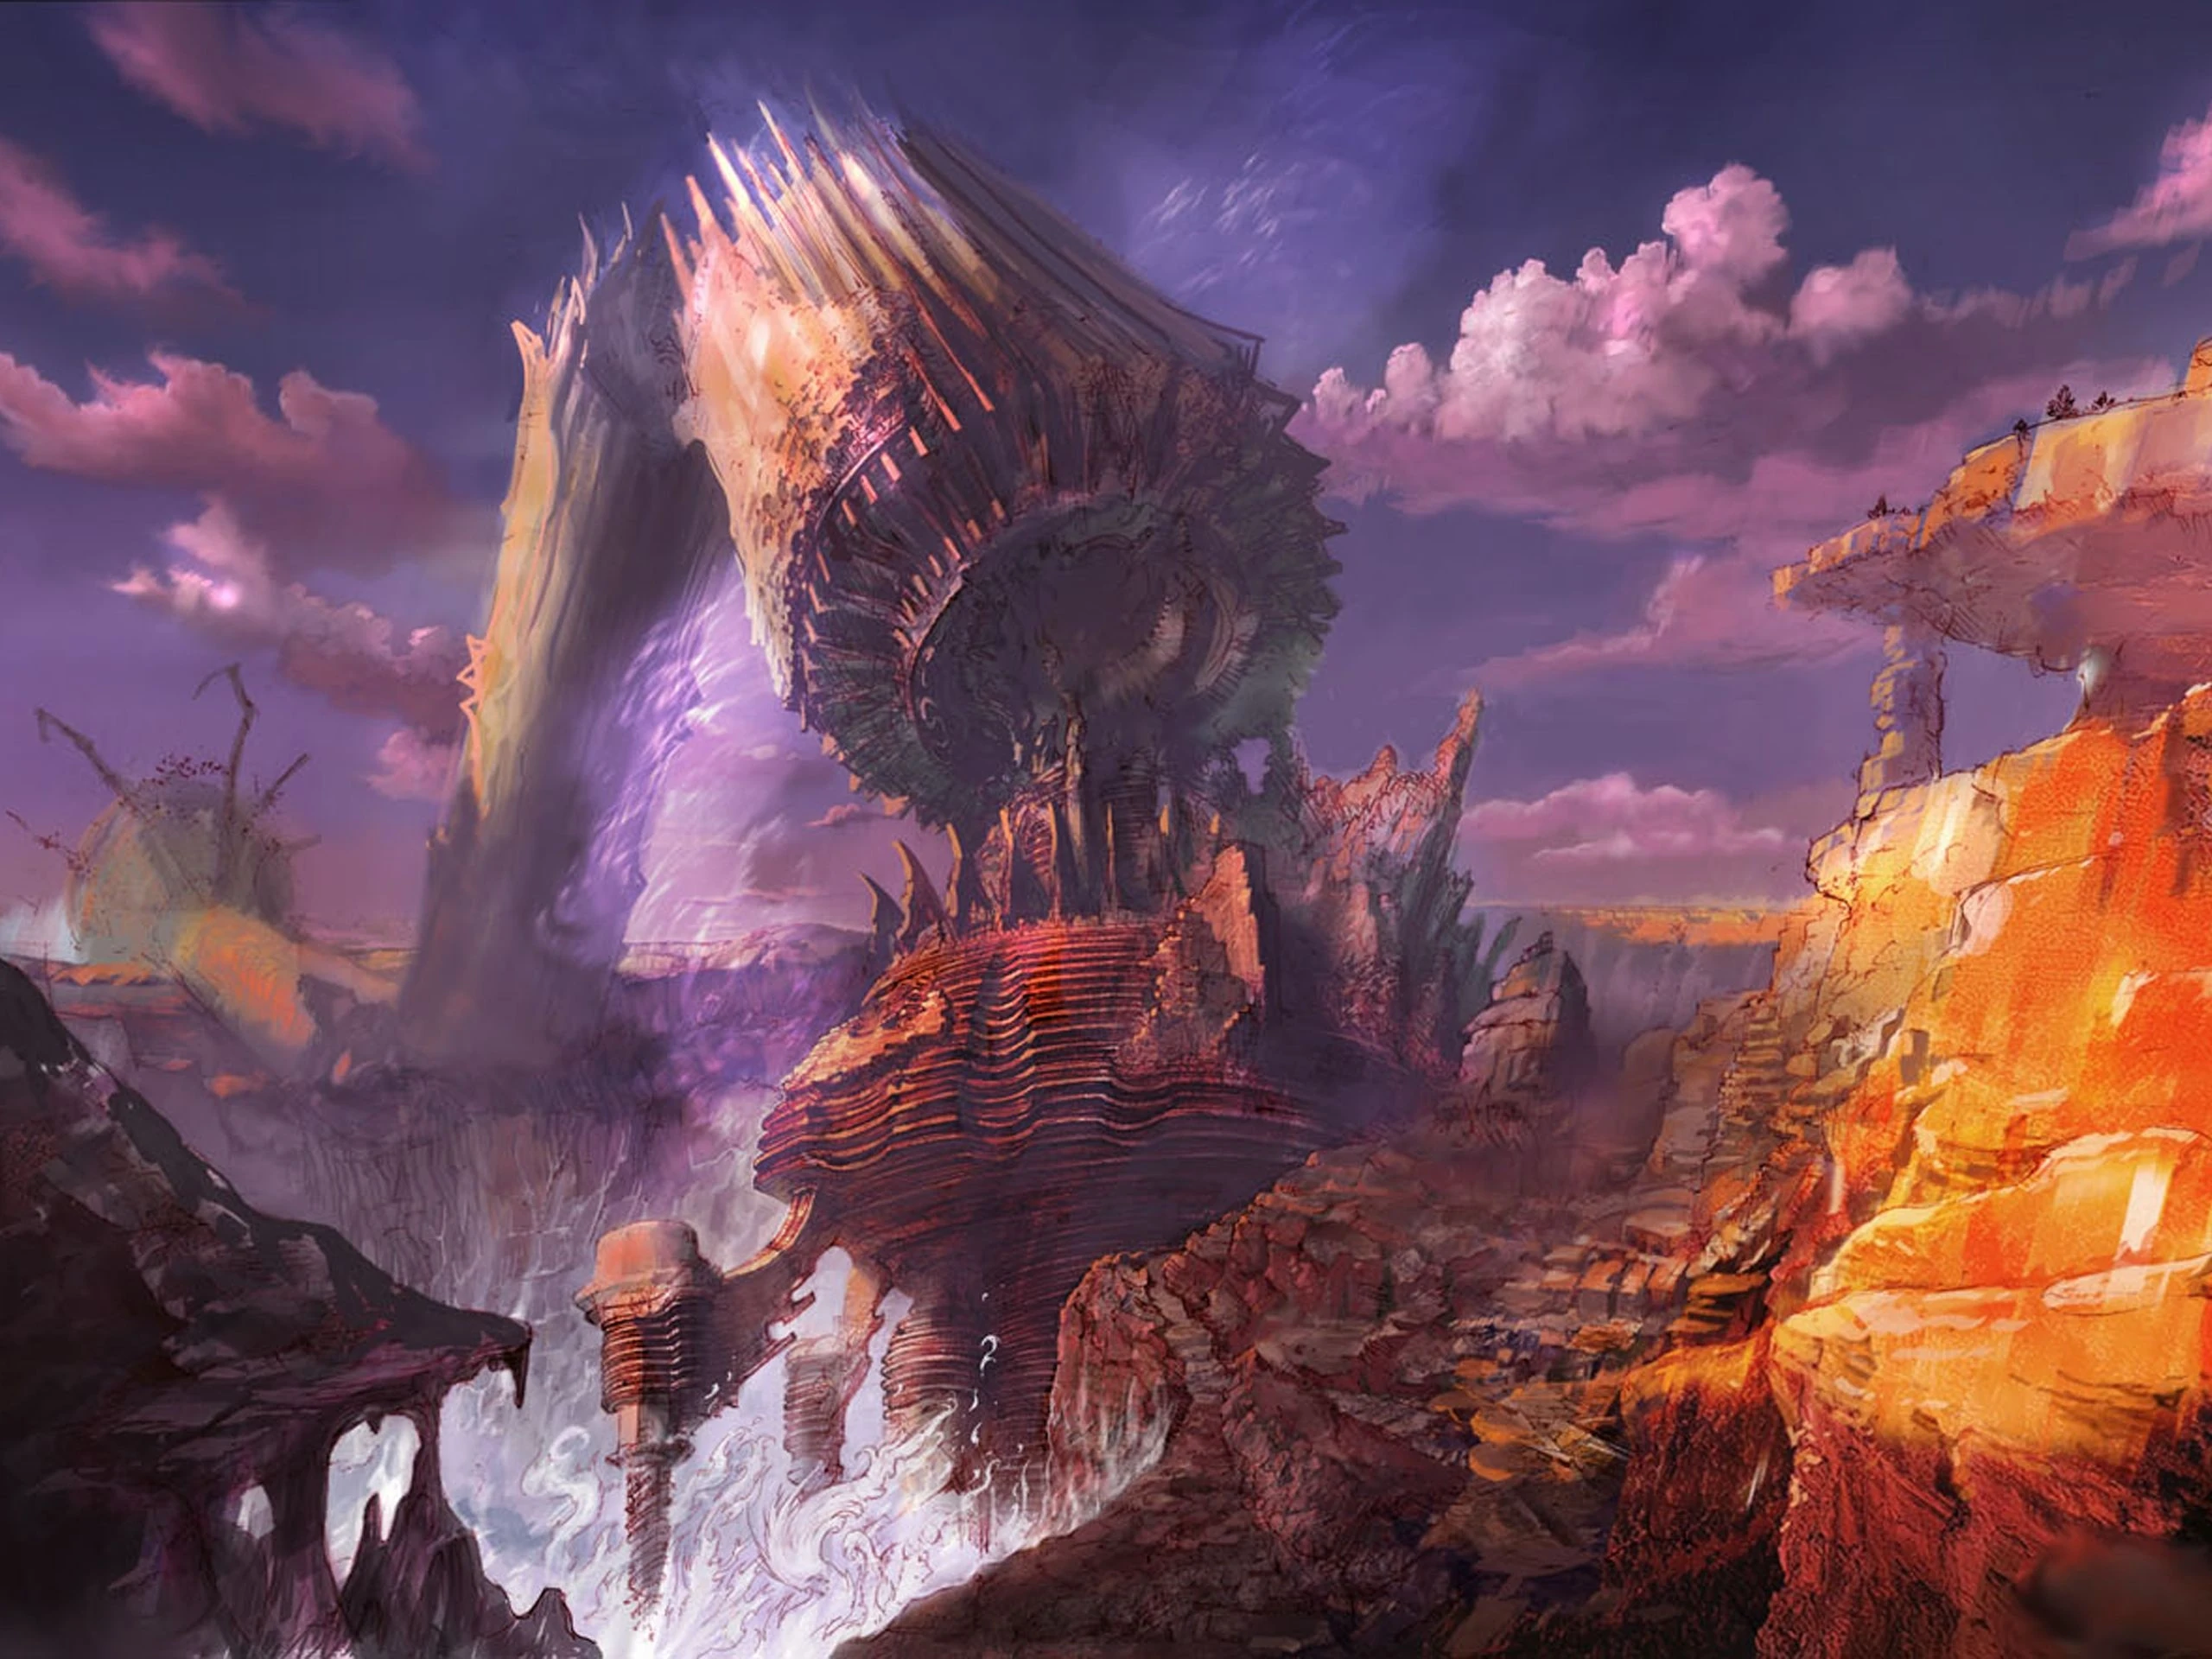
The Mah'habara Subterra
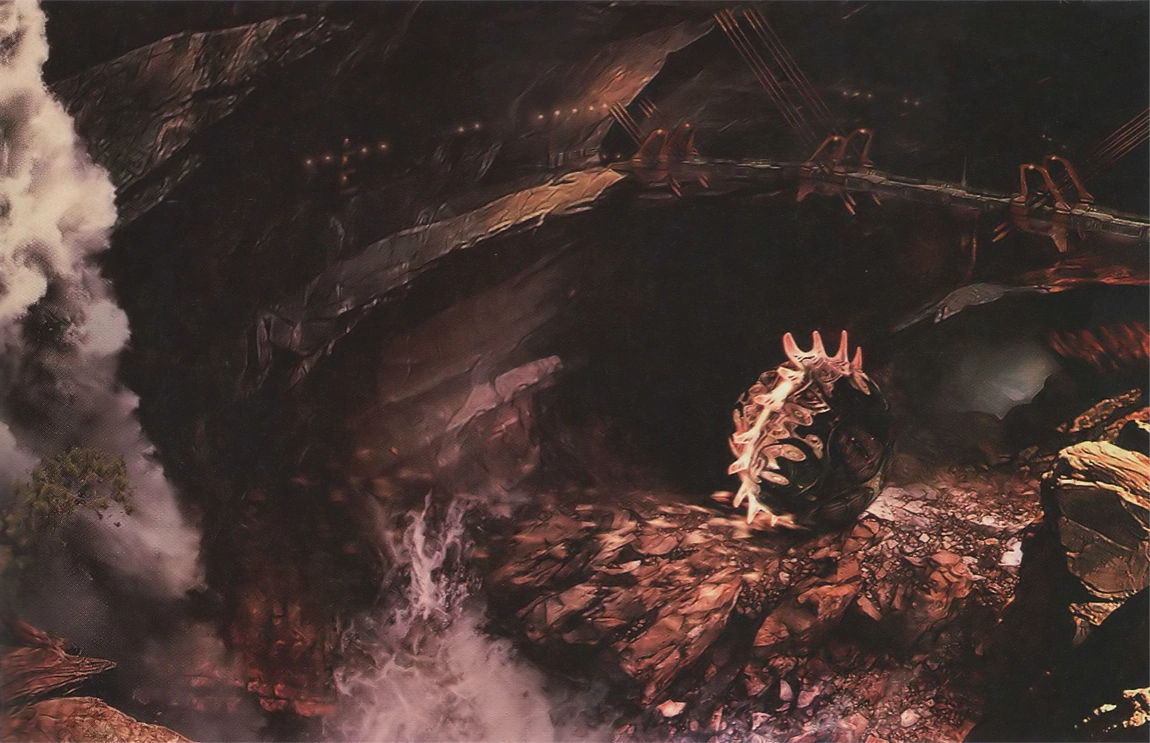
Mah'habara artwork.
Down here we'll find more remnants of Gran Pulse and robots. You'll first run into 3 Hoplites. They're not much of a challenge, but you should switch to Diversity when your HP goes yellow. They can use System Upgrade which will bestow itself with Bravery. That can be very dangerous, but you'll be able to kill them before it happens. Behind that group is the Hauteclaire for Lightning. Up ahead are some more Hoplites.
You may notice a path branching off to the left. That will take you on a path with some Cryohedrons and more Hoplites. If you think that there's some valuable item at the end, you may be correct. There's also a Juggernaut at the end. Good luck because at your level, it will kill you in 2 swipes. As for the Cryohedrons, they use ice-based attacks and absorb ice. In a group of 3, you can probably kill 1. If you're lucky, the other 2 bombs will use Self-destruct and kill your party except the leader, in which case you win. Going on that path is pretty pointless for now. Come back later. When you do, you'll be able to get that Platinum Bangle.
Going ahead, we come across 2 Hoplites and a Boxed Phalanx. Whenever you see a Boxed Phalanx, you need to avoid it. Just go through the Hoplites and walk against the wall. The Boxed Phalanx will gladly make way for you to pass (albeit not on purpose). If you want to try to go for it, you'll need to kill the Phalanx first. It will Issue Orders to make the Hoplites use Version Upgrade which will bestow them with Bravery, Faith, Protect, Shell, Veil, and Vigilance. When that happens you will most likely die horribly. Just skip it.
In this scene, Fang and Vanille explain the relationship between humans and Pulse fal'Cie. Up ahead are more Cryohedrons and 2 Pulsework Centurions. You can probably take on one Centurion, but avoid fighting 2. Not only do they have really strong attacks, but it can use Pilebunker which will heavily murder someone. Other than that, they're pretty easy to stagger, and once they are, they won't be able to attack. You'll come across 4 Electrodes and 4 Chobham Armors in what looks like the storage garages from the Vile Peaks. You're going to come across some Rust Pudding up ahead. They're able to take you out in a few slaps, but they shouldn't be much trouble.
As you come across the bridge, Atomos will grace us with his presence. Our next plan is to hitch a ride on him and get out of here. Ignoring the first ramp up ahead, the second ramp will take you to a broken bridge and an item containing 4 Tesla Turbines. On the main path, you'll see that there are 3 Hoplites and a Boxed Phalanx blocking your way. It's near agonizing suicide to battle that thing. Don't use a Deceptisol, because you'll end up fightning it anyway. Lure the Hoplites further away and towards you. Once you get past those, walk slowly against the wall and the Boxed Phalanx will let you through. If you must fight it, you need to summon an Eidolon. You also need to be able to go into Gestalt mode.
After all that, there is one Rust Pudding you can fight. Up ahead you can find 2 Saint's Amulets. Before you go past the Save Station, you must make sure that Vanille has 4 ATB segments. The ATB level is located in her Medic role. If you don't have enough CP you need to go back and fight more enemies until you do. You also need to make sure she has Raise. We have an Eidolon battle coming up.
| Eidolon: Hecatoncheir |
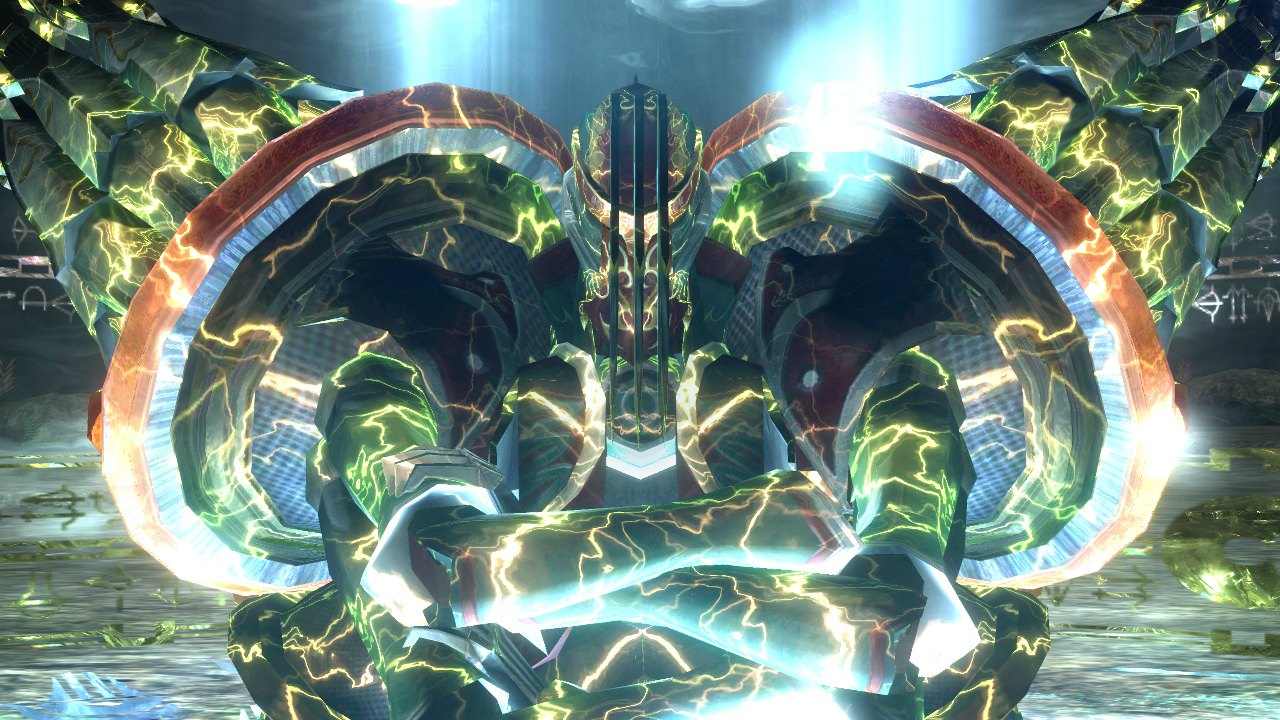
You should go through a round of Divide & Conquer while he's using Looming Wrath, then switch to Stumbling Block for Fang to Provoke him. He always needs to attack Fang. When Hecaton does start to attack, switch to Lifeguard. If you still need healing but he's not attacking, that's what Ying & Yang is for. When you're good, switch to Havoc to fill the gauge more quickly. Eventually Fang's AI will know that Hecaton is immune to the debuffs that she has now, so she'll stop attacking. When that happens, Divide & Conquer + Dual Casting will do wonders. Hit that Vanille gained an ATB segment! |
So Vanille goes from having the lowest ATB level to having the highest in just a matter of minutes. Fang lectures and pretty much threatens Vanille for lying to her. Moving on.
We'll come across 2 Rust Puddings fighting a Centurion, 2 Bombs with a Centurion and an Ice Charm, and 2 more Rust Puddings. Cross the bridge and in front of you is a Juggernaut. To your right is a small path leading to a Particle Accelerator. To your left are 3 Bombs and 2 Centurions (they have to make everything worse) blocking the main path. Making a wide circle around them should get you through. Up to the right are 3 Crystal Oscilators. A few more Bombs. Then we come across a Bomb fightning 3 Puddings and 3 Perfect Conductors. A few more enemies and a Boxed Phalanx. This time it's not being fat and taking up the whole path :D My group is telling me that we're close. Examine the junk in the corner.
There's a bunch of Juggernauts all over the place. We think there's no way through til suddenly—Hope's marching another Dreadnought (in this case a Juggernaut). 'Tis the Vile Peaks all over again indeed. Hope kinda faceplants as the big robot walks off the platform. Lightning is concerned for Hope and tells him to get out of there. 'Tis not that simple for him, Lightning. He's a few feet below where you are... Then somehow he ends up in the middle of the path with Atomos totally trucking it, so it looks like he's gonna die. But then the Juggernauts come to his rescue. Juggernauts need to do this more often. The power of teamwork! Sazh you sound old. Alright people, let's get a move on!
Sulyya Springs
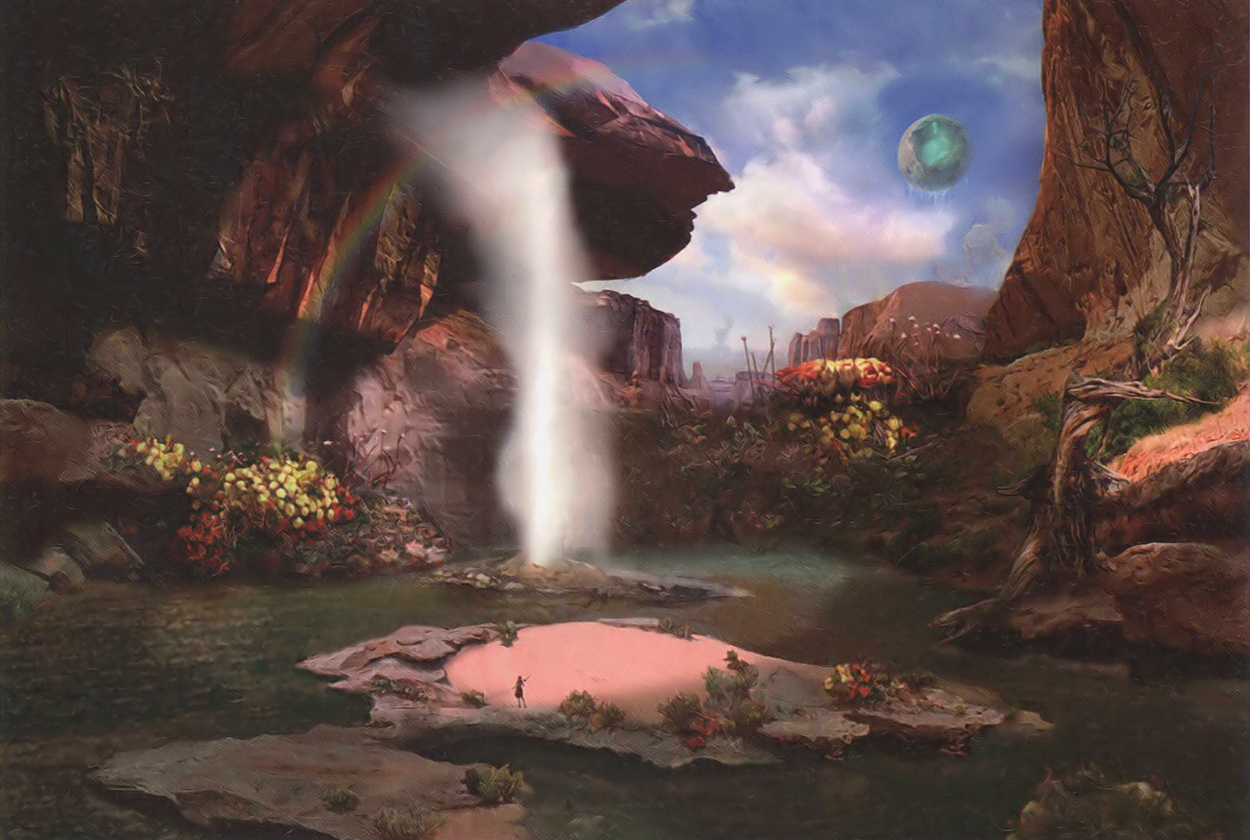
Sulyya Springs artwork. You can see Vanille right down there
Pretty music! Welcome to one of my favorite places in the XIII. Snow's talking to Serah again and Vanille gets to hold her crystal tear this time. We then flashback to another day. We can assume that Vanille fell and got an owie and Serah helped patch her up. They then become wonderful BFFs :D Vanille explains a heavy burden to Serah, and Serah gives her some advice; "If it's too much, face it later." Vanille then passes on that advice onto Sazh. In my opinion, that's some really naive advice. It can be good in a sense but in Vanille's case...well look where she ended up. Facing things later can make things pile up.
Now Serah disguises her condition of being a l'Cie as a dream. Vanille knows it's true though.*She was there after it happened. She kind of indirectly apologizes to Serah for everything that's happened, or at least that's my take on it.
Flashback is over and now Snow knows that Vanille has met Serah. Small world, eh? Yes. Vanille then explains how Serah could have changed her own Focus.
The item to your right contains 13 vials of Strange Fluid. So here we have a few Ceratosaurs. They're violent and can kill you in a matter of seconds. I can't seem to defeat them*When in doubt, Eidolons so hop up on the higher piece of land and grab 10 Vials of Enigmatic Fluid. To the right of that are a few Orobons, Ceratosaurs and a Ceratoraptor. Do not fight a Ceratoraptor that's not alone. It will use Courtship Dance to call in more Ceratosaurs, which will kill you. If it is alone you can stagger it within 5 seconds and launch it so it can't do anything. Take another right to get an Aquabane Brooch. Go in the opposite direction for 6 Moistened Scales and behind those Orobons are 5 Seapetal Scales. In a group of 3, Orobons may just be as difficult as the Boxed Phalanx. Its Water attack may cause Slow and/or Daze. Summon an Eidolon and try to get at least 1 down. The treasure isn't really worth the fight anyway >.> So yeah, avoid almost everything in Sulyya Springs, just until you're strong enough.
As you exit Sulyya Springs, you'll find 7 Abyssal Scales. As you come across the destination mark, your leader will look up at Cocoon and make a comment. Then one of your party members (the person in 2nd position) will tell you that we're stopping here for the night.
We've made it to the Lightning and Snow cutscene that's just so beautiful! ...My eyes are being totally blessed by the HD. And Lightning's showing her soft side. She's not that vicious. I wanna hug her...
After this cutscene, you can backtrack to where the group of Ceratosaurs are and hop on the edge to examine a big disturbance in the water. This is the fal'Cie, Bismarck. He protects the waters of Gran Pulse. Lightning don't think about fighting that thing. You can kill plenty fal'Cie later. This is not one of them.
So the fal'Cie puts up 2 small pieces of land. One to your left and one behind you. The one on you're left has Uraninite, Riptide Ring, 3 Orobons, and 2 Ceratoraptors. The other one also contains 2 item spheres and Ceratoraptors, but 2 Orobons. The items contain a Mnar Stone and a Water Charm. I highly recommend you come back later and get these items, cause right now you aren't strong enough.
As we continue on the main path out of Sulyya Springs we'll come across a Cie'th Tear. Now for...
Taejin's Tower

Taijin's Tower.
This place is massive, just like everything else on Gran Pulse. The tower is already ridiculously huge, then to think that it actually fell over is pretty mindblowing. We're almost home!! I can't wait to get there! Let's hurry up with this place even though it takes a while...
Also, there's the fal'Cie, Dahaka. No one likes it and it's mean.
Before we can get inside the tower, we need to walk a small ways. You'll encounter a few Mánagarmrs along the path. Its Accursed Breath can cause a few debuffs and its Storm Conductor can do some heavy damage. It's easy to take care of, though. It can be debuffed which makes it a lot easier to deal with.
We'll also encounter Amphisbaena. Those can be staggered and taken out quickly, unless it uses Feeding Stoop, which is extremely deadly.
Before you go right to get to the tower, there are 20 Sinister Fangs to the left behind a Mánagarmr and an Amphisbaena. Right in front of the entrance to the tower are 2 Mánagarmrs. Just do what you would normally do, only use Combat Clinic a bit more or something.
And so we enter the tower. Our happy people are hearing voices from the Menhirrim and Fang translates their messages for us. We have to go search the tower for 6 Menhirrim and complete their missions.
Before you get on that elevator, you can explore the ground floor and find a Sparkbane Brooch, 4721 Gil, and 12 Chipped Fangs.
Up on the Second Tier, Dahaka graces us with his presence and blows a hole in the wall, revealing a Menhirrim. These missions are required in order to get further in the game. They do count as real missions and you are going to have to get 5 stars on them if you want to get the l'Cie Paragon trophy/achievement. They're not just one-shots though, so you can come back and do them over if you want. (Obvious advice is obvious.) There are 5 Spark Plugs at the end of the circle.
We start out with Mission 21, which involves the Gelatitan. As you can see on your map, the mission mark is located to the left. Before we go there, we should examine those Pulsework Gladiators. It's best of you always try to get a preemptive strike on them. In a group of 3 they aren't very tough, but later when we get to a group of 4 or more, they're a big challenge. They have very strong attack power, however they are very easy to kill once they're staggered. They give a lot of CP so they're pretty good for grinding at this point in the game.
There's a Mánagarmr in the hallway, the little nuisance. At least we get more CP from it. So we enter the room with the Gelatitan. That thing is so disgusting ._. Get a preemptive strike. You can get it well below half HP when it's staggered. You should need to heal a lot because it's strong, but stick with Tri-Disaster and it shouldn't take you long. For finishing this mission, we get a Speed Sash.
Mission 22
Onto the next Menhirrim, which is right in the room you're now in. Our next mark is the Ambling Bellows. As you can see by the shape, they look like the Boxed Phalanxes. Accompanying the Ambling Bellows are Cryptos. It's pretty much just like the ones back in the Mah'habara, only stronger. Get a preemptive strike to make things a little easier. Then, when people start dying on you, summon an Eidolon. Always attack the Ambling Bellows first. For finishing this mission, we get 3 Particle Accelerators.
Mission 23
The next Menhirrim, which is right in front of us, gives us a Gurangatch to kill. Like always, get a preemptive strike on it. When it's staggered, you're going to want it to have a few debuffs, especially Imperil. When it has those debuffs switch to Relentless Assault or Tri-Disaster. For finishing this mission, we get a Warrior's Wristband.
Now that all the Missions on this floor are completed, the Menhirrim will now give us access to another part of the Second Tier, which will also lead us to the Third Tier. As we make our way to the room, Dahaka starts terrorizing our happy people again. Thankfully, the Menhirrim come to our aid.
In the room where we're supposed to be there are 5 Pulsework Gladiators. They give a wonderful amount of CP, but they're very difficult to beat without a preemptive strike. If you can't get a preemptive, summoning always works too. If you kill them all, congradulations. You earned that 8000 CP :D
Up the stairs, you'll find a Simurgh for Hope. We'll also come across 2 Mánagarmrs. In the next room there are 2 Gladiators and a Menhirrim. Talking to the Menhirrim will activate the tower and make the tiers spin different ways. We also have access to the Fourth Tier. As you exit the room, to your right there are 2 Metal Armbands. Call up the elevator so we can go up to the 4th tier. I'll continue this on the next part. See you there.