Page Fifteen- Your focus on a silver platter. - FlamesofRebirth
Completely Random Introductory Quote-
To have arrived on this earth as a product of a biological accident, only to depart through human arrogance, would be the ultimate irony.
Richard Leakey
Chapter 10[]
What Fal'Cie Want[]
The Fifth Ark[]
The façade of Cocoon’s society is beginning to crumble now. What the hell is this thing doing in Eden? You only have Lightning in your party for the moment, so follow the arrow, talking to your teammates along the way if you want to. When given the option, choose Yes to continue into the ruins. Light and Snow have a short conversation, and I'm not liking her change in attitude toward him. Sure, she says he's "been a total idiot," but it's in more of a teasing way. Where's the contempt? Before you move forward up the stairs, set up your party.
I love the ladies. I mean, they rev my engine.
Brian Fantana, Anchorman
My party of choice for random roaming around leaves the Y-chromosomes behind. Fang is the best attacker, Vanille is a great mage and the best Saboteur, and Light is very flexible. From here on out, I’ll only be switching in the guys for specific purposes in boss battles. This next paradigm deck is also pretty much the standard from now on. The only thing that will change is the last one (to Smart Bomb) after Fang gets some good Saboteur skills. For the first battle Lightning has to be the party leader, so make sure you get the right people in the right roles here.
| Paradigm Deck- Fang, Lightning, Vanille | ||||||||
|---|---|---|---|---|---|---|---|---|
| Relentless Assault | Commando | Ravager | Ravager | |||||
| Diversity | Commando | Ravager | Medic | |||||
| Aggression | Commando | Commando | Ravager | |||||
| Tireless Charge | Commando | Commando | Medic | |||||
| Ruthless | Commando | Ravager | Saboteur | |||||
| Solidarity | Sentinel | Commando | Medic | |||||
"Not Ci'eth, but monsters all the same." - Sazh[]
Move forward to see a scene introducing the next enemies. Don't worry, though, it's not a boss battle.

Battle- Pulsework Knight x 2
Use Relentless Assault to get one of these chained ASAP, just like the Pulsework Soldiers in Vile Peaks they can't attack while Staggered. Then go to Diversity to heal up while you finish the first one off. When you get one out of the way you're good to go.
After the battle, you will gain access to every role with every character, vastly increasing your flexibility. Stick with the first 3 roles for now, though. The secondary roles will suck up all your CP without giving much in return. The jobs that have already been defined for each character will hold throughout the rest of the game, with very few exceptions.
The Power Within[]
Just like the last chapter, this one is all battles with very little plot advancement.
Battle- Pulsework Knight x 2
These guys are behind you, you can get an easy preemptive strike on them. If you go past them and back toward where you started, you can fight two more battles against these things, but there's no point. Just move forward.

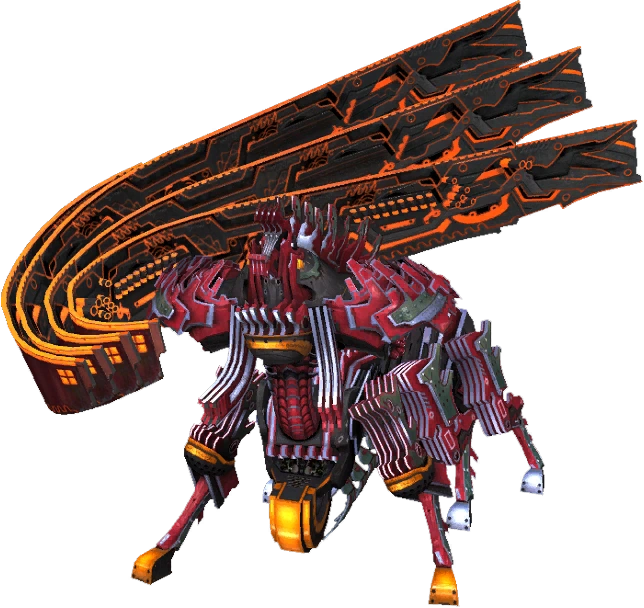
Battle- Pulsework Knight, Circuitron
The Circuitron is similar to the Bombs you fought before, so kill it first.
Battle- Pulsework Knight x 2
They are off to the right, guarding a Hero's Amulet. Pick it up, then go up and around the stairs.
Battle- Circuitron x 2, Pulsework Knight
Take the path to the left down some stairs to reach a treasure sphere.
Battle- Circuitron x 3
Take the 8 Bomb Shells behind them, then follow the mini-map forward.
Battle- Circuitron x 2, Pulsework Knight

Battle- Noctilucale x 5
These guys usually appear in big groups, but Blitz will take care of them easily enough.
Battle- Phosphoric Ooze x 3
When you damage one of them enough, it may try to Merge with another one to form an Alchemic Ooze. You don't want this, those are big and strong and can really ruin your battle. When they do merge, it takes a few seconds for them to actually make the change, so try to kill it or at least do as much damage as possible while it's still small. After you finish them, go to the left end of the area to a dead end.
Battle- Noctilucale x 3, Phosphoric Ooze x 2
Pick up the Saint's Amulet, then turn around and go straight to reach the next fight.
Battle- Noctilucale x 6

Battle- Noctilucale x 4, Phosphoric Ooze x 3
Go all out on the Oozes to keep them from Merging, then switch to Diversity if you have to while you take out the Noctilucales. Behind this group is a fork in the road, go right first.
Battle- Noctilucale x 10
That's a big group, but if you preempt them they can be killed in two Blitzes. The treasure at the dead end is 10 Medicinal Oils. Go back to the split and take the other path.
Battle- Phosphoric Ooze x 4
This group will rise up from the floor, so if you reach them before they've fully emerged you will preempt them. This is crucial to avoiding Merge. Continue around the path until you see a save point ahead and to the left. Turn right instead to get a Rainbow Anklet. Then turn around and go straight past the save point and through the door.
You may notice that there is a narrow path curving off to the left when you enter the next area. You can use it to avoid a few battles it you want to.
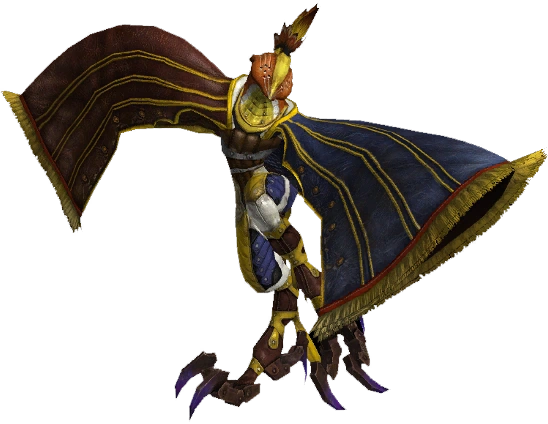
Battle- Skata'ne, Stikini
Take out the Stikini first so it doesn't get a chance to debuff you.
Battle- Skata'ne
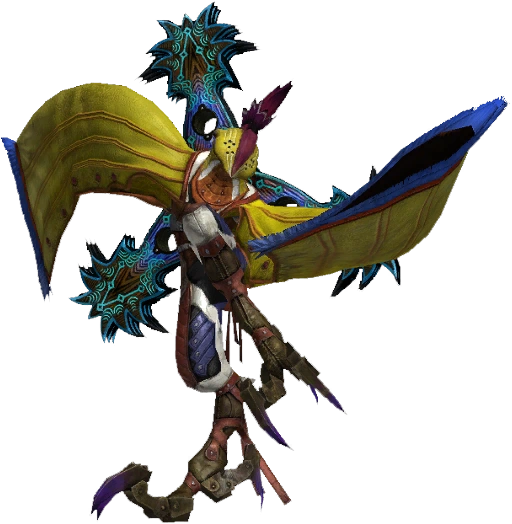
Battle- Skata'ne, Stikini
The sphere next to them holds 600 Gil.
Battle- Skata'ne, Stikini, Circuitron
Kill off the Circuitron first, then the Stikini.
"These things are alive!" - Sazh[]
Before moving into the next room, you may want to spend your CP (remember, only in the three primary roles). Set your default paradigm to Ruthless.
Battle- Berserker
You can sneak around this area to preempt both of these guys. If you don't, they will be able to forge a Centaurion Blade, which can really hit hard. Use Libra on one if you want its info in the datalog. You probably won't be able to finish him in one preemptive stagger, but he won't have enough time to forge a blade afterwards, making this a much easier battle.
Battle- Berserker
Pick up the Rigels in the back right corner of the room on your way out. In the next room, go to the right end of the area first.

Battle- Imp x 3
The Imps can Conjure an Ahriman if you leave them enough time, so get the info on one if you want it. Otherwise, when you see Conjure hit that Imp to kill him off quickly. The treasure here is an Auric Amulet.
Battle- Imp x 3, Phosphoric Ooze x 2
Battle- Phosphoric Ooze x 4
You will most likely have to face an Alchemic Ooze in this fight, so after you kill off the first two Phosphorics go to Ruthless to try to get Deprotect or Deshell on him, then go to Diversity to try to stay alive while you fight him.
Battle- Imp x 4, Phosphoric Ooze x 2
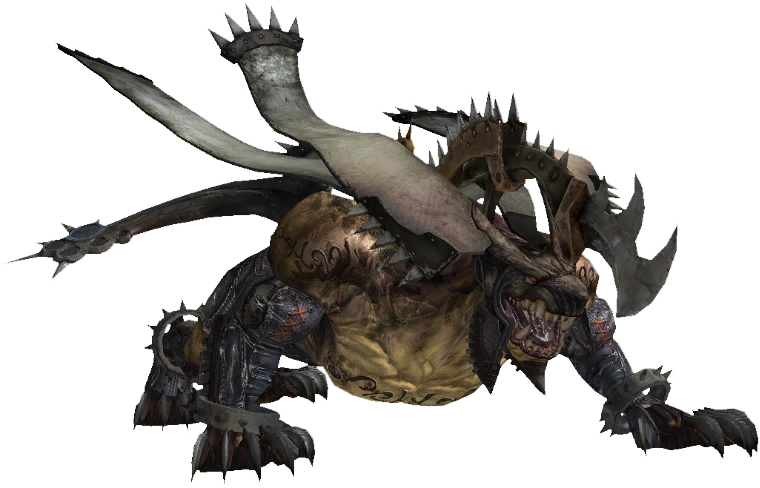
Battle- Greater Behemoth
Set Ruthless as your default paradigm, and get a preemptive strike while he's walking away from you. When he has Deprotect, launch him and do a mid-air shift to Aggression. You can finish this in about 10-15 seconds.
Battle- Phosphoric Ooze x 3, Imp
Along the path behind them is an Alicanto boomerang. Just beyond that the path splits, one goes up while the other goes down to the left. Go up first.
Battle- Noctilucale x 10
They are easily preempted, do it to thin out the herd in the beginning. Then continue along the path.
Battle- Noctilucale x 4, Greater Behemoth
Take out the little guys first, then get to work on the behemoth. When he gets down below half HP, he will stand up and gain full health, as well as stronger attacks. The key is to get as many debuffs on him as possible before he stands up so you can take him down quickly afterward. If you've upgraded some weapons, you may be able to kill him off before he can change forms. You will need to have Deprotect on him, have two Commandos, and get a little bit of luck. Even without upgraded weapons I came within about one or two hits of killing him during his standing up animation. That's really annoying to see the HP bar go from empty all the way up to full. Pick up the 7 Gargantuan Claws up here, then go back and take that other path heading down.
Battle- Greater Behemoth
Another easy preempt, so same strategy as the first one.
Battle- Imp x 3, Greater Behemoth
You can avoid this battle if you want to, but you're not afraid of one measly Behemoth, are you? You'll see a save point and the path forward on your left, but go straight ahead first.
Battle- Imp x 4
After beating them, pick up another Metal Armband. Now go up to that save point and grab the Ethersol next to it.
"We've been played for fools" - Fang[]
Time to bring in one of the menfolk off the bench. Swap Snow in for Fang to take advantage of his Ravager abilities. Use up your CP, you should almost be finished with your main 3 roles. That should tip you off that there's a boss battle and Crystarium expansion about to happen.
| Paradigm Deck- Lightning, Snow, Vanille | ||||||||
|---|---|---|---|---|---|---|---|---|
| Smart Bomb | Ravager | Ravager | Saboteur | |||||
| Thaumaturgy | Ravager | Ravager | Medic | |||||
| Tri-Disaster | Ravager | Ravager | Ravager | |||||
| Diversity | Commando | Ravager | Medic | |||||
| Aggression | Commando | Commando | Ravager | |||||
| Combat Clinic | Medic | Sentinel | Medic | |||||
Boss Battle- Brigadier General Cid Raines[]
I too will challenge my fate
Cid Raines
| Cid Raines | |||||||||||||||||||||||||||||||||||||||||||||||||||||||||||||||||||||
|---|---|---|---|---|---|---|---|---|---|---|---|---|---|---|---|---|---|---|---|---|---|---|---|---|---|---|---|---|---|---|---|---|---|---|---|---|---|---|---|---|---|---|---|---|---|---|---|---|---|---|---|---|---|---|---|---|---|---|---|---|---|---|---|---|---|---|---|---|---|

|
| ||||||||||||||||||||||||||||||||||||||||||||||||||||||||||||||||||||
|
| ||||||||||||||||||||||||||||||||||||||||||||||||||||||||||||||||||||
| |||||||||||||||||||||||||||||||||||||||||||||||||||||||||||||||||||||
"How it ends isn't important!" - Cid Raines[]
Well then, General, I guess I'll let this page end here. We'll finally get off of Cocoon on the next one.