Ah, lunch time. My second favourite part of the day, right after dinner time. Today I'm having a chicken breast and salad bagel, with mackerel on the side. And a Cherry Pepsi, obvs.
Wonder what's for dinner...
Zanarkand[]
Hey! There was more, right? I mean like that time...uh... Anyone?
Tidus, raconteur.
Item Checklist[]
| Item | Amount |
|---|---|
| Fortune Sphere | 1 |
| Spiritual Targe | 1 |
Enemies[]
| Name | HP (Overkill) | AP (Overkill) | Gil |
|---|---|---|---|
| Ahriman | 2800 (4200) | 2200 (4400) | 650 |
| Grendel | 9500 (6972) | 2600 (3900) | 730 |
| Dark Flan | 12800 (19200) | 3750 (7500) | 1080 |
| Behemoth | 23000 (6972) | 6540 (9810) | 1350 |
| Mandragora | 31000 (5384) | 6320 (9345) | 1200 |
| Bashura | 17000 (6972) | 1860 (3720) | 730 |

Watch the scene. It's all come back round from the opening scene. Remember that far back? Tidus tries to entertain the group with witty banter, but Yuna shuts him down. Damn, son. In the morning, head west and along the path. You'll come across two chests on the left side of the path. The first contains a Fortune Sphere. The second, on a blindingly obvious side-path, contains a Spiritual Targe.
We eventually arrive at Zanarkand - Dome. Use the Save Sphere and enter.
Zanarkand - Dome[]
Item Checklist[]
| Item | Amount |
|---|---|
| Gil | 10000 |
| Friend Sphere | 1 |
| Lv. 3 Key Sphere | 1 |
| Luck Sphere | 1 |
| Sun Crest | 1 |
Enemies[]
| Name | HP (Overkill) | AP (Overkill) | Gil |
|---|---|---|---|
| Fallen Monk | 3300 (4950) | 1200 (1400) | 540 |
| YKT-11 | 6200 (8848) | 3200 (4800) | 1080 |
| YAT-97 | 3700 (5550) | 3200 (4800) | 1080 |
| Defender Z | 42300 (8848) | 6000 (9000) | 2400 |
Watch the scene involving an old High Summoner. After the first somewhat enclosed section, climb the rubble to the right and above to find a chest containing 10000 Gil.

Boo hoo, motherfucker.
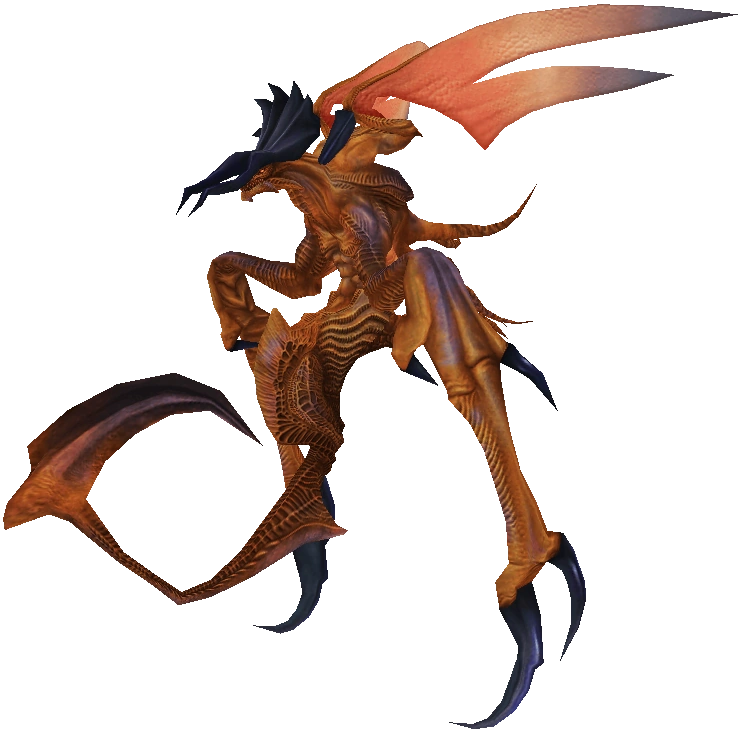
Follow the path anti-clockwise and use the Save Sphere. There's a scene involving - oh look - young Seymour. He doesn't want his mother to become a fayth -- but then how would he have Anima? And let's face it, Anima's awesome. Even more so when we get our hands on her.
Take the right path and nab the Friend Sphere. Up ahead there's a pyrefly vision of the previous summoner and party -- Braska, Auron and Jecht. Take the broken path down to the left for a Lv. 3 Key Sphere. Finally. I've been looking for one of these for ages. Tidus and Auron have been stuck behind a 3-lock tapping their feet since Bikanel Island. Quick Hit, I'm coming. Also, the Defenders Z drop Level 3 Key Spheres as a rare drop. You wait for one bus...
Inside the Dome - Corridor, grab the Luck Sphere on your left. Use the Save Sphere (it's a nice touch that Braska and friends do the exact same thing) and enter the Cloister of Tetris Trials.
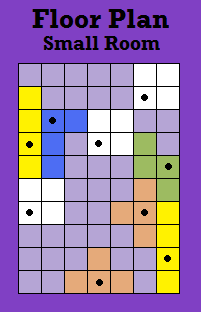
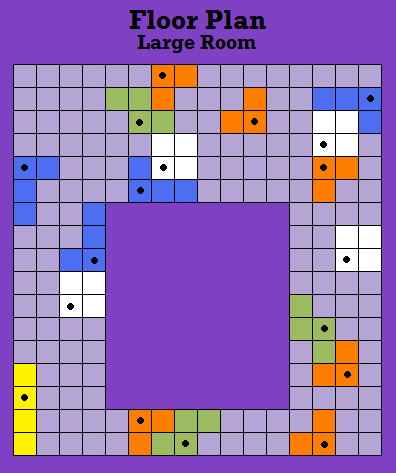
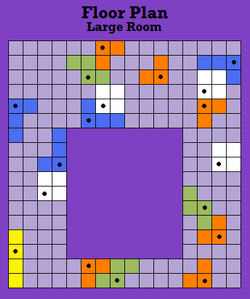
Cloister of Trials - Zanarkand[]
But I want everything!
Tidus, man.

When you complete the puzzle, a Save Sphere appears. Make sure you use it! There's a surprise waiting for you in the large room.
| Boss Battle: Spectral Keeper |
 HP: 52000 (9999) This is something of a puzzle boss. It counters your physical attacks with a party-wide scythe attack. You can however use the trigger command Move to warp to any of the six glyphs on the field, which separates your party and makes it so that the boss can't hit everyone when it uses its counterattack. Unfortunately, it uses Berserk Tail to make one of your party attack relentlessly, triggering a string of counters. You need Protect up as quickly as possible -- Kimahri's Mighty Guard is excellent here. When it uses Glyph Mine, move your characters to unoccupied glyph, even if this brings them closer together -- Glyph Mine is instant death to anyone standing on the glyphs when they explode. |

Yuna suddenly feels rather inadequate.
A lift forms from the glyphs. Glyph lift. Glypht? Anyway, Yuna heads down to discover a shocking surprise.
Huh? What do you mean no Final Aeon?
Jecht
That's right; the 'fayth' is just an old statue. The monk we saw earlier informs us that it's Lady Yunalesca is the one who provides the Final Summoning. And Auron knew all about it. The plot thickens.


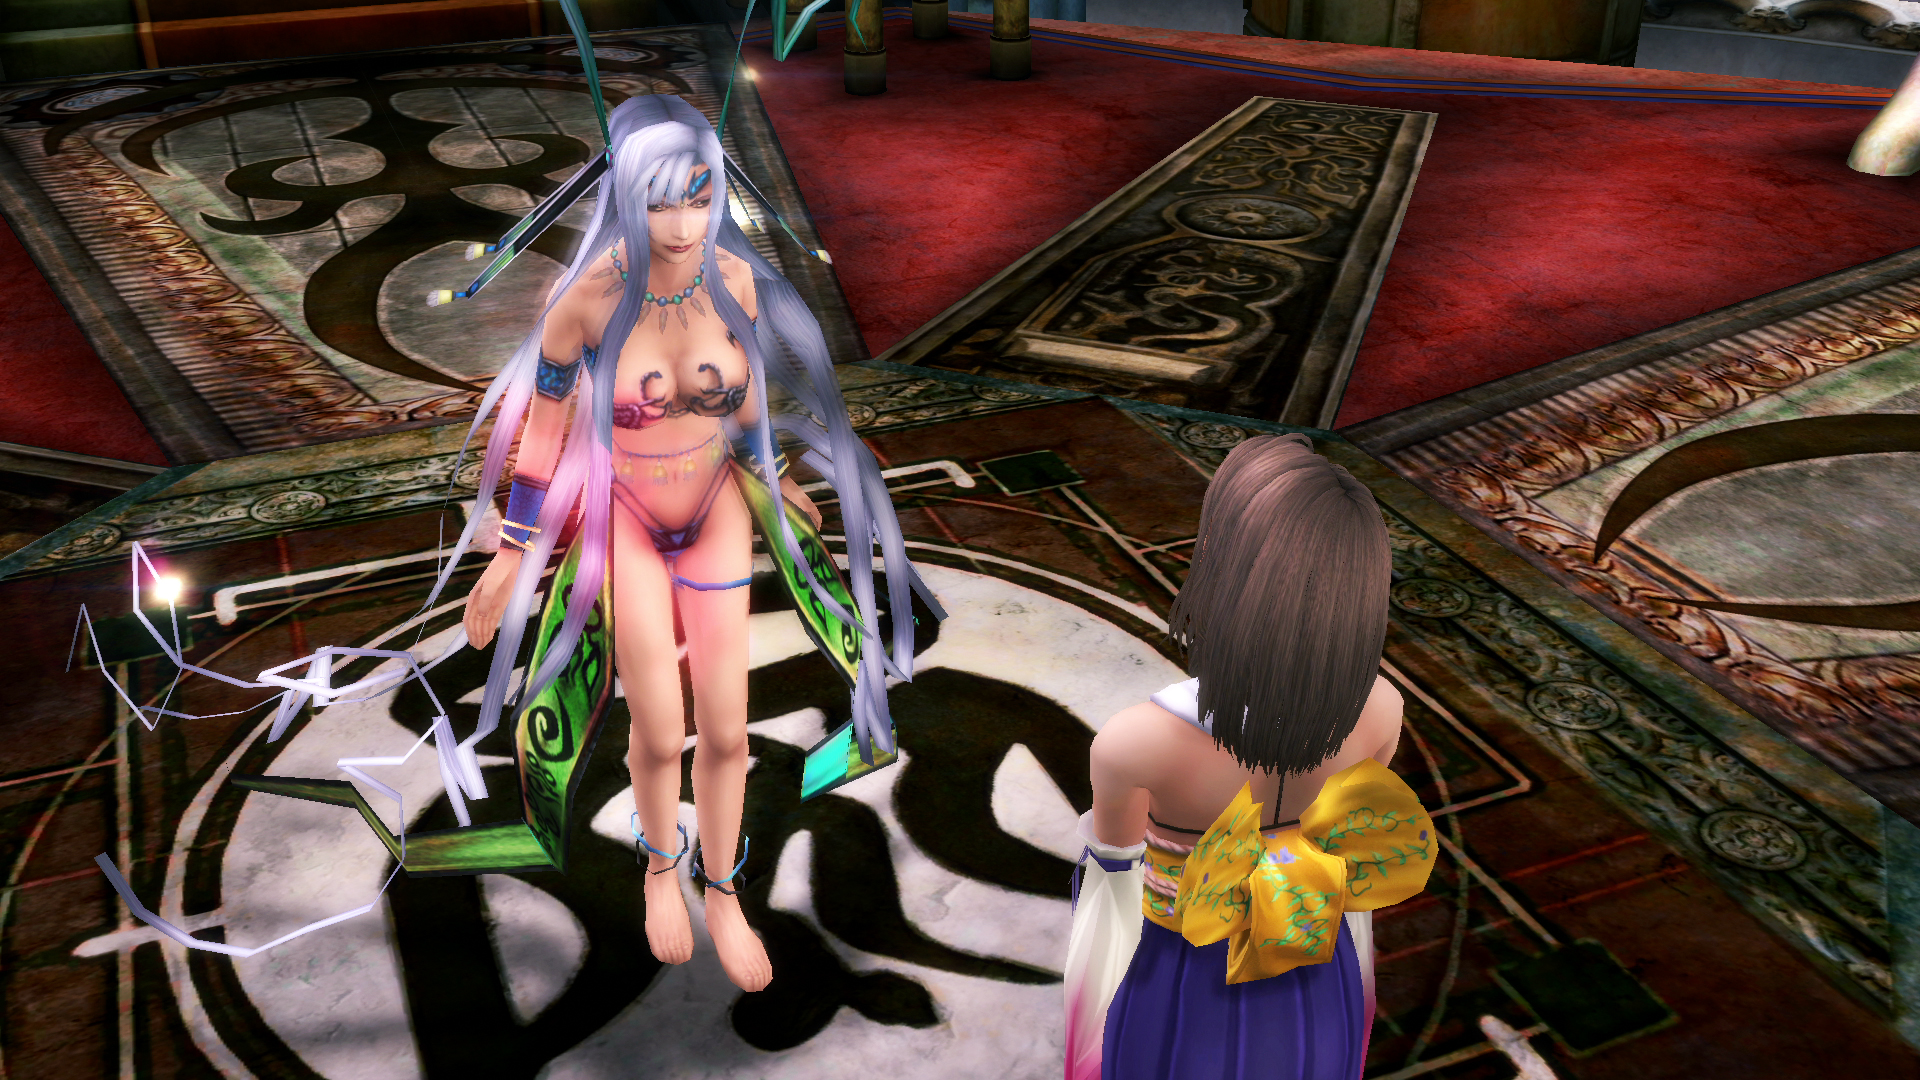
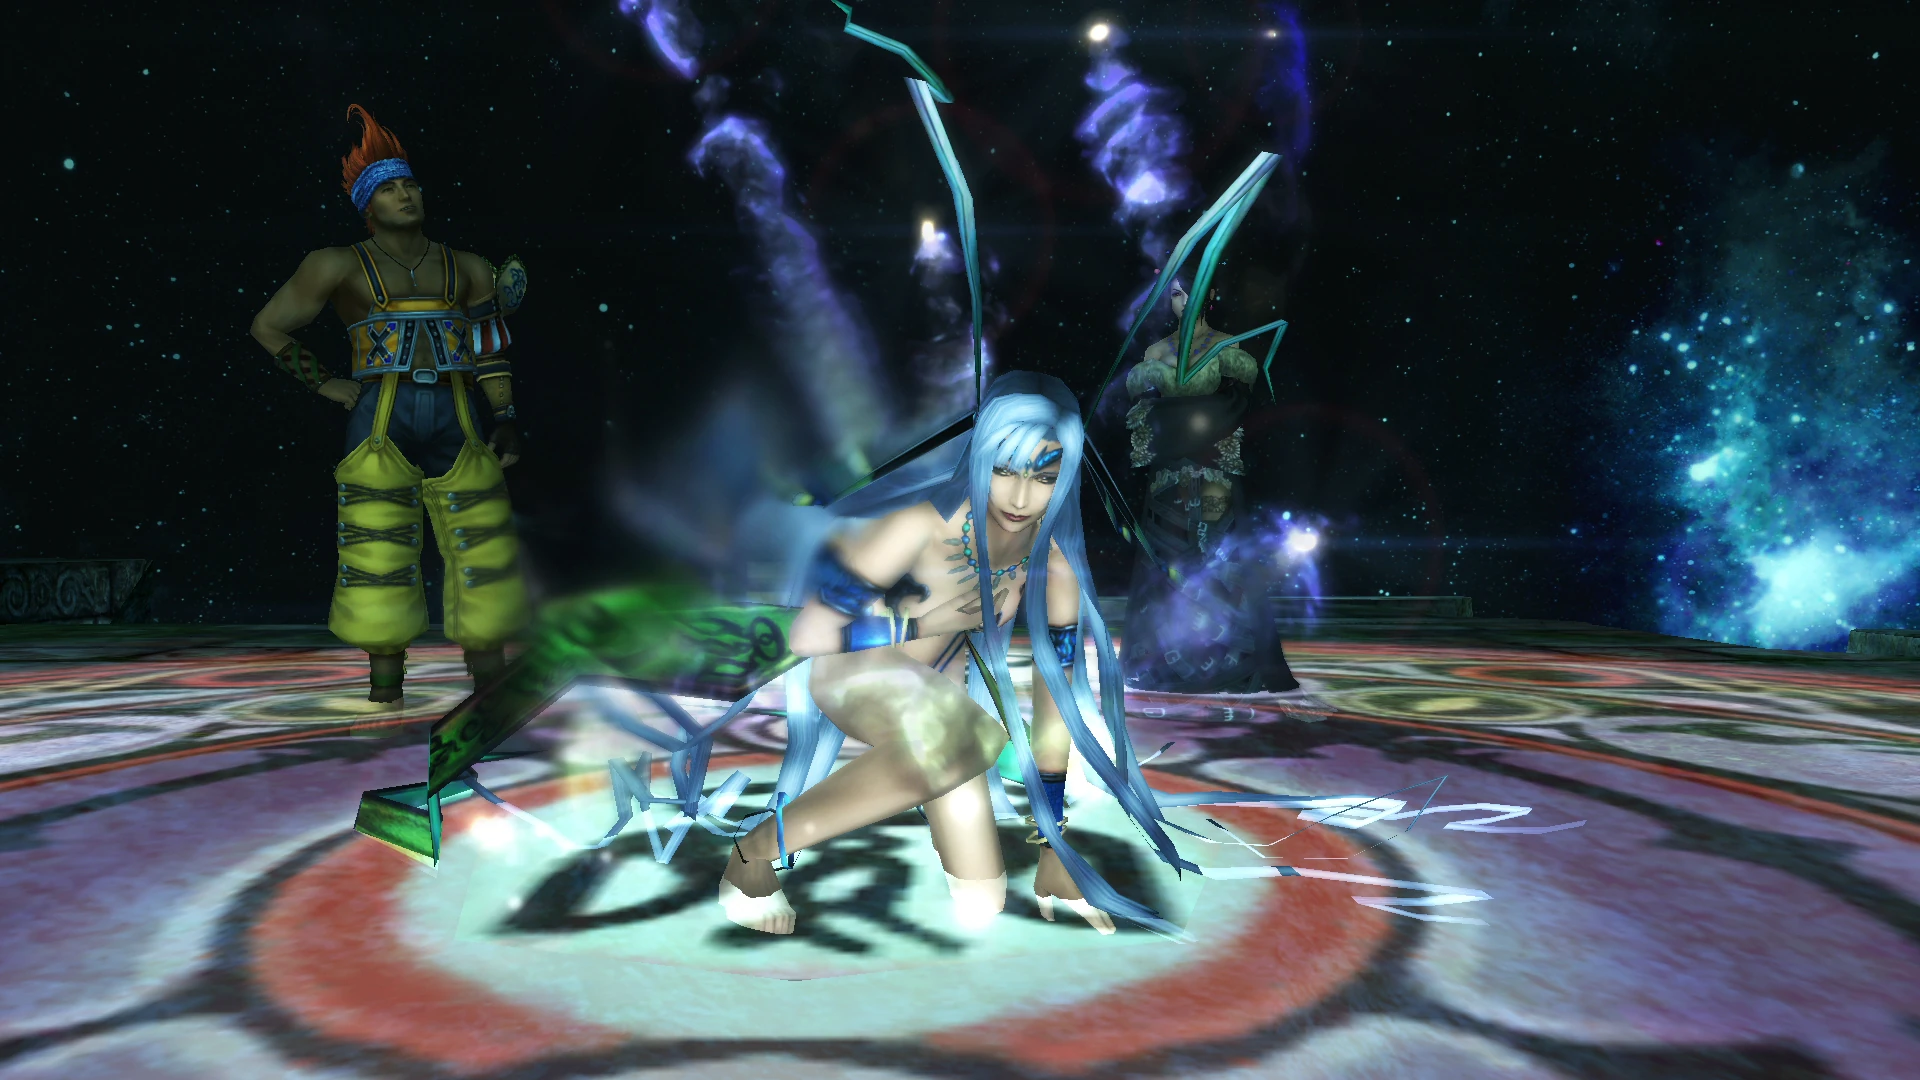
Head into the next room to meet Lady Lingerie herself. Now I'm no prude, but what the hell are you wearing. I mean, at least Dona had a kind of outfit.
After she's done speaking to you, head back to the Save Sphere at the bottom of the lift. The next boss is genuinely incredibly hard and you don't want to have to go through all these scenes again, do you?
Equip any anti-confusion armour you have. Trust me, you'll thank me for it very soon. Follow her into her chamber and get ready the fight of your life. Time to throw away some false hope.
This is an astoundingly good scene. Yunalesca reveals that Sin isn't going anywhere -- whether or not humanity atones. And besides, is that likely ever to happen? The phantom of Auron's failure drives him into an out-of-character rage.
So our journey was effectively pointless; atonement is impossible and Yevon is nothing but a palliative meant to keep people happy while summoners throw away their lives for fleeting peace.
Yuna's faith finally shatters completely, and decides to screw the rules; she'll find another way. Yuna is now officially the main character, so let's kick her namesake off this (somewhat) mortal coil so she can save the world.
| Boss Battle: Yunalesca Phase 1 |
 HP: 24000 (10000) Here's the easy part. All she does is counter your moves to stop you from repeating them; physicals are met with Blind, magic is countered with Silence, and Special commands are responded to with Sleep. Her regular attack is pathetically weak, but removes your buffs. Luckily it only hits one character at a time, so Hastega is still a great opener. Her only other move is Absorb, which drains 50% of one character's maximum HP. It's not so bad now since you're at or near full HP, but it can KO you easily later. Her 24000 HP won't last long, but make sure you're in good condition when you finish her first form. |
| Boss Battle: Yunalesca Phase 2 |
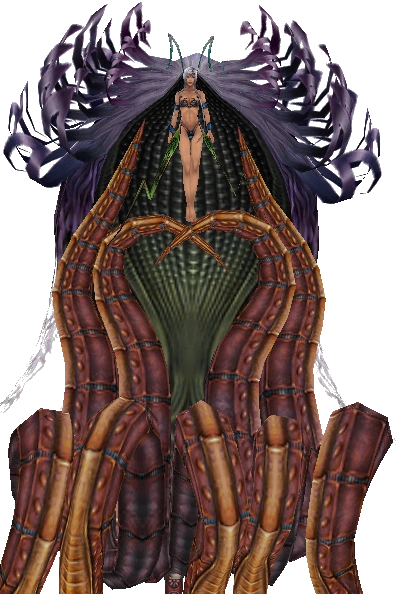 HP: 48000 (10000) Slightly more tricky. She opens with Hellbiter, which does sod all damage but turns your entire party into zombies. Next, she does a Seymour Flux impression and stats healing you to death with Regen and Cura. While she's soft and vulnerable to physical attacks, the best move here is Yuna's Holy, if you have it. If you do, it's pretty much guaranteed to deal 9999 damage to Yunalesca. When Yuna gets low on MP, use a Holy Water and then an Ether to top her up so she can spam Holy until the second form is down. If you don't have Holy, use a Holy Water on whomever is under Regen status. She can only really kill one of you at a time with her anti-cure strategy, so you have a good deal of time to optimise yourself before you attack. Might want to start bringing in Aeons, but save Bahamut for round three. NB: Make sure at least one (better all three) party member is in the Zombie status. Otherwise catastrophe will befall you very shortly. |
| Boss Battle: Yunalesca Phase 3 |
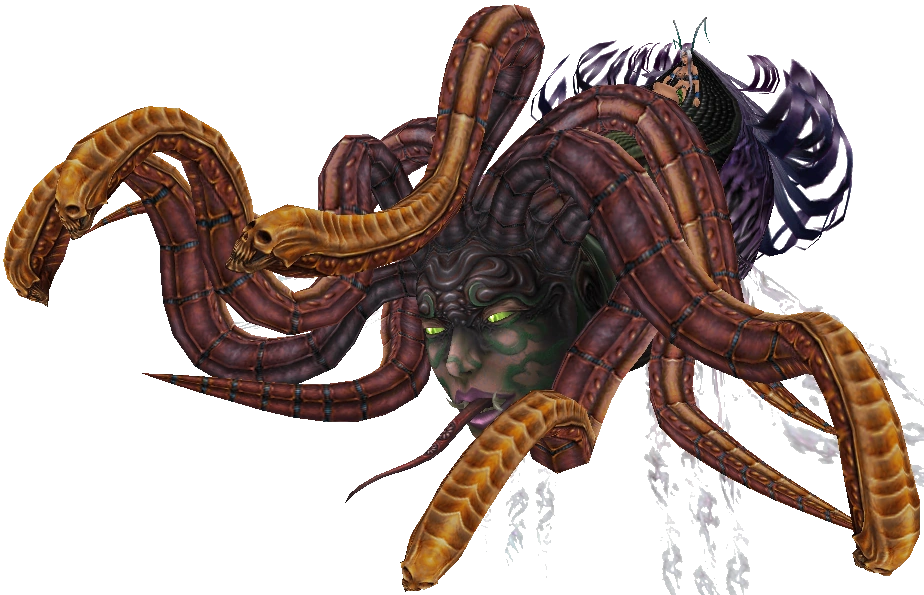 HP: 60000 (10000) Oh boy. Like her previous form opened with Hellbiter, this final form opens with Mega Death. Anyone who isn't a zombie will be KO'd instantly. This has often caused many unexpected Game Overs as new players spend phase two trying frantically to stay out of Zombie status. As well as Mega Death (which she will use more than once, so watch out for that), she can now use Curaga and Mind Blast. Curaga just anti-cures you harder, but Mind Blast is an absolute beast. It can Curse and Confuse your entire party, and if you know anything about mass party confusion it can often mean you just sit there killing yourself. This is why I recommended the anti-confusion armour, oui caa? As for actually fighting her, do exactly the same as you did last time. She has more HP, but by now you should be hitting for 3000+ damage per go with Tidus, 4500+ with Auron, which amounts to 3-4 extra hits. Her damage output is only strong against one character, so the chances of being wiped out entirely in one shot is low. This is the ultimate battle of attrition -- finding the right time to attack while your HP saps away slowly. Grand Summon Bahamut to finish her off with Mega Flare. Short of Blitz Ace or Attack Reels (which may well be cursed shut) I think it's the only way to break the 9999 damage limit at this point, and you need to finish her off with 10000+ damage to achieve Overkill. Make sure you do bring out Bahamut with a full gauge, otherwise she'll Mind Blast him and you can no longer use Mega Flare. |

Wakka looks surprisingly happy about this.
And Yunalesca is down! Fuck Yevon, am I right? Before we leave, head down the stairs at the back of the room - the screen will flash and you'll appear somewhere else in the room. Go back to where the stairs are and look to the left to find a hard-to-see chest containing the Sun Crest. We can now create Tidus' ultimate weapon, though there's still some legwork to be done. Do this now, otherwise you'll have to fight Dark Bahamut to get the crest, and having Tidus' ultimate weapon in-hand makes that particular superboss slightly less horrific.

'sup brah?
As you leave, Auron shows you some of his memories. Yes, he too is an unsent. That explains why he didn't go to the Farplane back in Part 11. Not sure about Rikku, though.
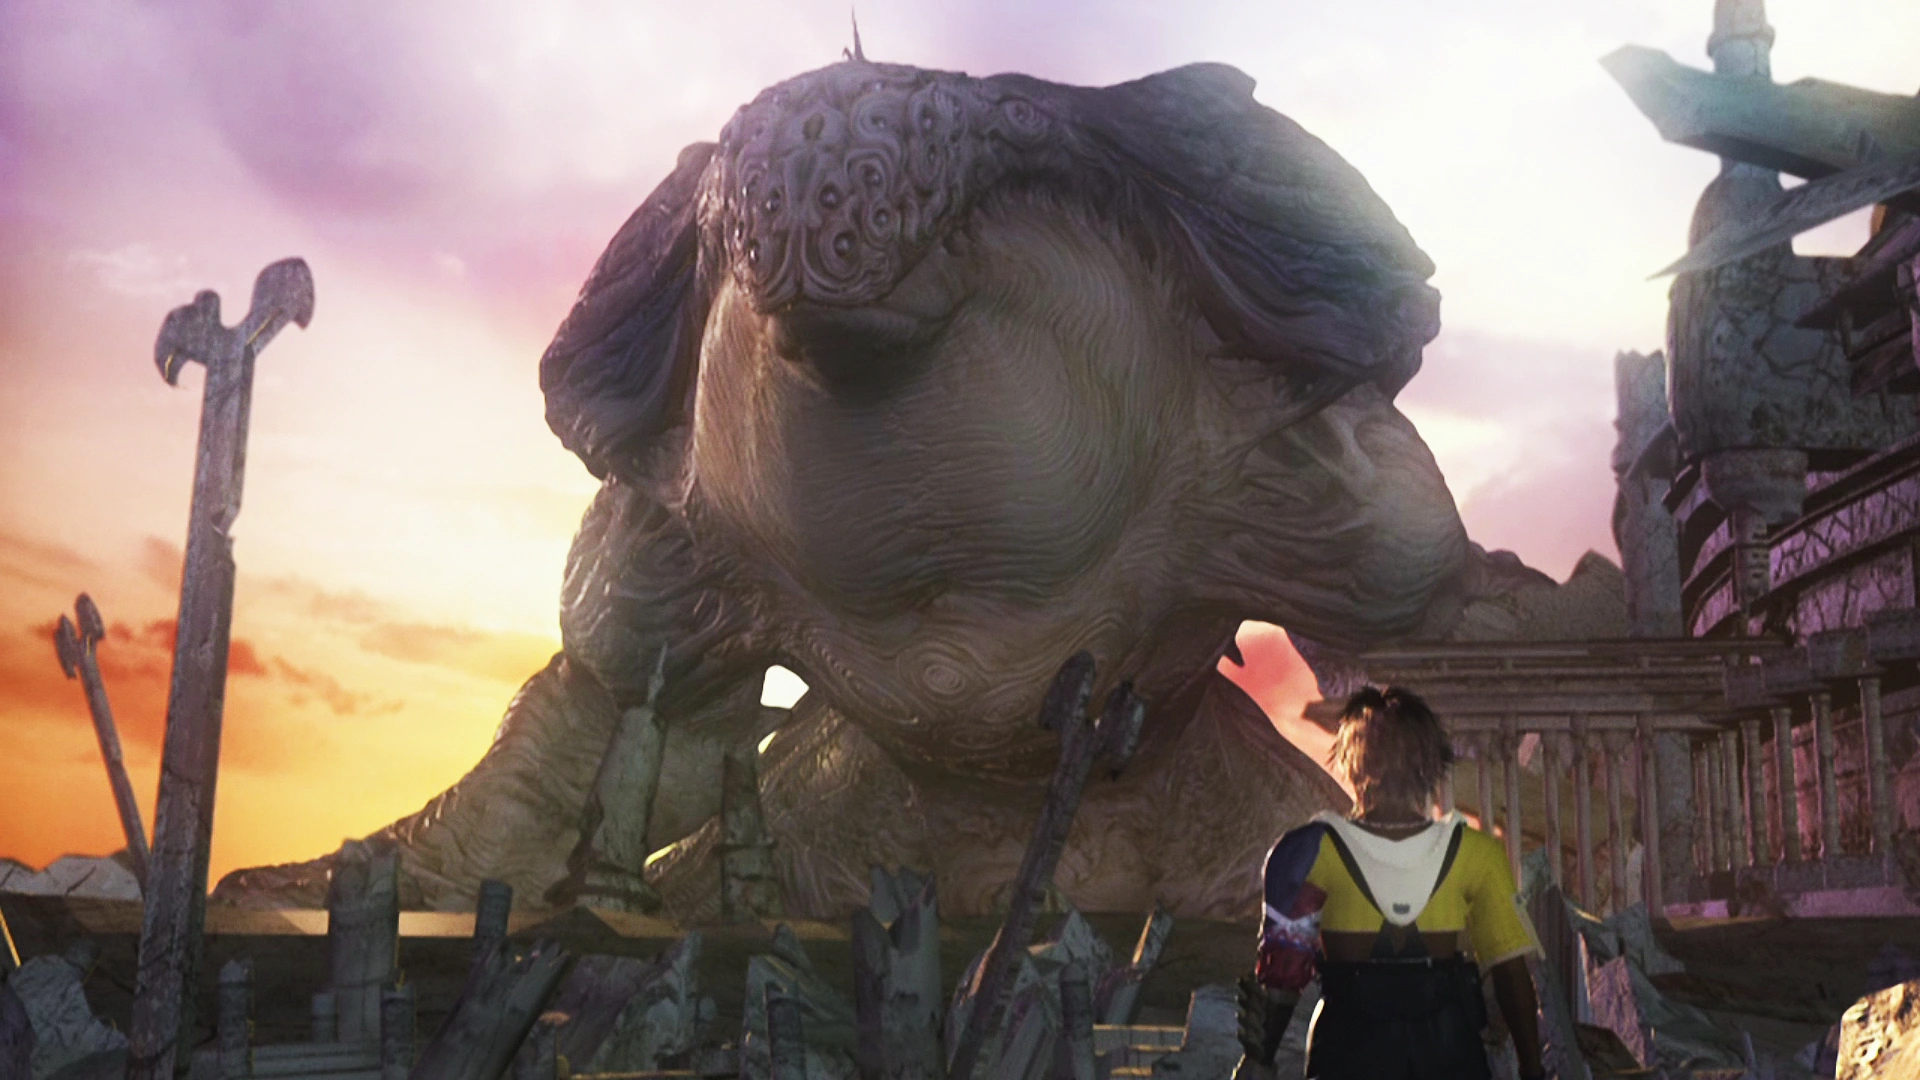
Leave the temple and holy shit, it's Sin, googly-eyed whale horror. Tidus fobs him off with a 'we'll think of something' and the beast leaves, looking somewhat dejected. If you can even tell.
And hey look, it's the Fahrenheit! Where the hell have you guys been?! Anyway, Cid is so overjoyed to see Yuna alive and well he cries manly (hidden) tears. And we're free! Relatively. Auron suggests that Tidus' link with Jecht may be the key to defeating him once and for all. Let's go check on Yuna, shall we?
She's on the level before the lift to the deck, hanging out with Kimahri. Yuna feels like she's powerless, knowing nothing outside of Yevon's teachings. Kimahri suggests knowing both sides of the argument; interrogating Grand Maester Mika for details.
Head back to the bridge, where Wakka and Rikku compete to tell Tidus the plan -- before Lulu blurts it out. The Hymn of the Fayth calms down Sin, as it did in Macalania and Zanarkand. If he can project the hymn all over Spira, Sin may become docile enough to attack head-on.
It goes without saying, but this is the final act of the game. (I've managed to fit each chapter into exactly seven sections without actually intending to.) Now that you have the airship, almost every sidequest in the game opens up. We have one more thing to do before we're in the clear. It's time to go find Mika.
← Home
← Part 20: "What's next, the dreaded pillow gauntlet?"
→ Part 22: Yo, Mika!