| Final Fantasy VI (SNES) Walkthrough by Crazyswordsman | ||
| Top | 01 - 02 - 03 - 04 - 05 - 06 - 07 - 08 - 09 - 10 | Top |
| 11 - 12 - 13 - 14 - 15 - 16 - 17 - 18 - 19 - 20 21 - 22 - 23 - 24 - 25 - 26 - 27 - 28 - 29 - 30 31 - 32 - 33 - 34 - 35 - 36 - 37 - 38 - 39 - 40 Advance extras | ||
This is part 6 of the Walkthrough for the Super NES version of Final Fantasy VI.
Brushin' off
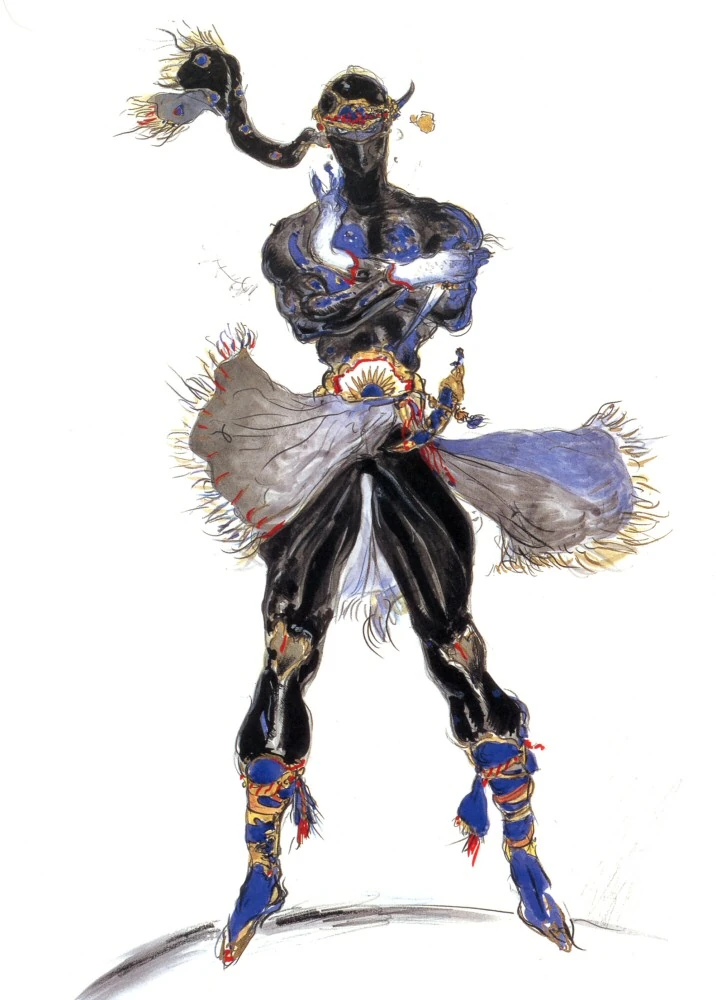
Hey. Yuffie fanboys. This is what a Ninja should be.
We now rejoin our good friend Sabin, who has somehow survived a roaring river replete (there's your new vocabulary word of the day, children) with squids and other monsters. But not only did he survive, he's clean as a whistle. Make sure you have his best stuff on. The Mithril Claw, Mithril Shield, Bandana, and Kung Fu Suit. Give him a Star Pendant as well, as the Beakor enemies in this area can Poison him. The enemies attack in large groups here, especially if you decide to wander off into the woods, and Sabin has no way of dealing MT damage at this point unless you're overlevelled (don't worry, we'll have Sabin learn some MT very soon).
In the meantime, head into the house you see, or rather, into its front yard. Remember Shadow from before? Well he's here. Talk to him and have him join your party. Now, talk to the Imperial soldier riding the Chocobo. Don't worry, he's reformed (or at least I think so), because he sells you some stuff. Buy 99 Shurikens from him. That's right, I said buy 99 of them. What? Think they're too expensive. Well, a Shuriken costs 30 GP. You want 99 of them. Simple math says that's only 2970 GP, which is 30 GP less than a certain something you'll get later on. If you have some GP to spare, purchase some Inviz Edges and Shadow Edges. Now, go into the house if you want and you'll hear the old man inside say some crazy things about wanting all his stuff repaired (sorry buddy, you have the wrong Figaro bro. It's Edgar you're looking for). Anyway, when you're done, equip Shadow with a Buckler and a Plumed Hat, and stick him in the Back Row. Now, leave the house and head south. Watch out for Crasshopprs on the way, as they can use Wing Snap to inflict Berserk, a new status ailment, on a character. This will increase a character's Speed and Vigor, but causes the character to attack physically every turn at a random target. And the damage will be halved because you're in the Back Row. Walk to the north, then east across the isthmus, then south through the woods. Eventually, you'll come to a small patch of desert and a bridge over a river. This leads to your next area.
"This is an Imperial Camp. Too many soldiers."
Immediately upon entering, you'll hide and watch a cutscene involving some soldiers and Kefka, who seems to be making enemies within his own army. Once Kefka leads, you'll learn that the soldiers are attacking Doma Castle.
The scene switches to Doma, where the soldiers begin a siege on the castle. The leader of the Doma Sentries, Cyan, will suggest that they go for the leader. You control Cyan now. Give him Locke's Heavy Shield and a Plumed Hat and stick him in the Back Row. Now, if you want to, you can fight the lesser soldiers. Doing so will force you to fight a pair of Soldiers which yield 96 GP and no EXP. Instead go right for the Leader. Defeat it using Dispatch and you'll net yourself a Black Belt.
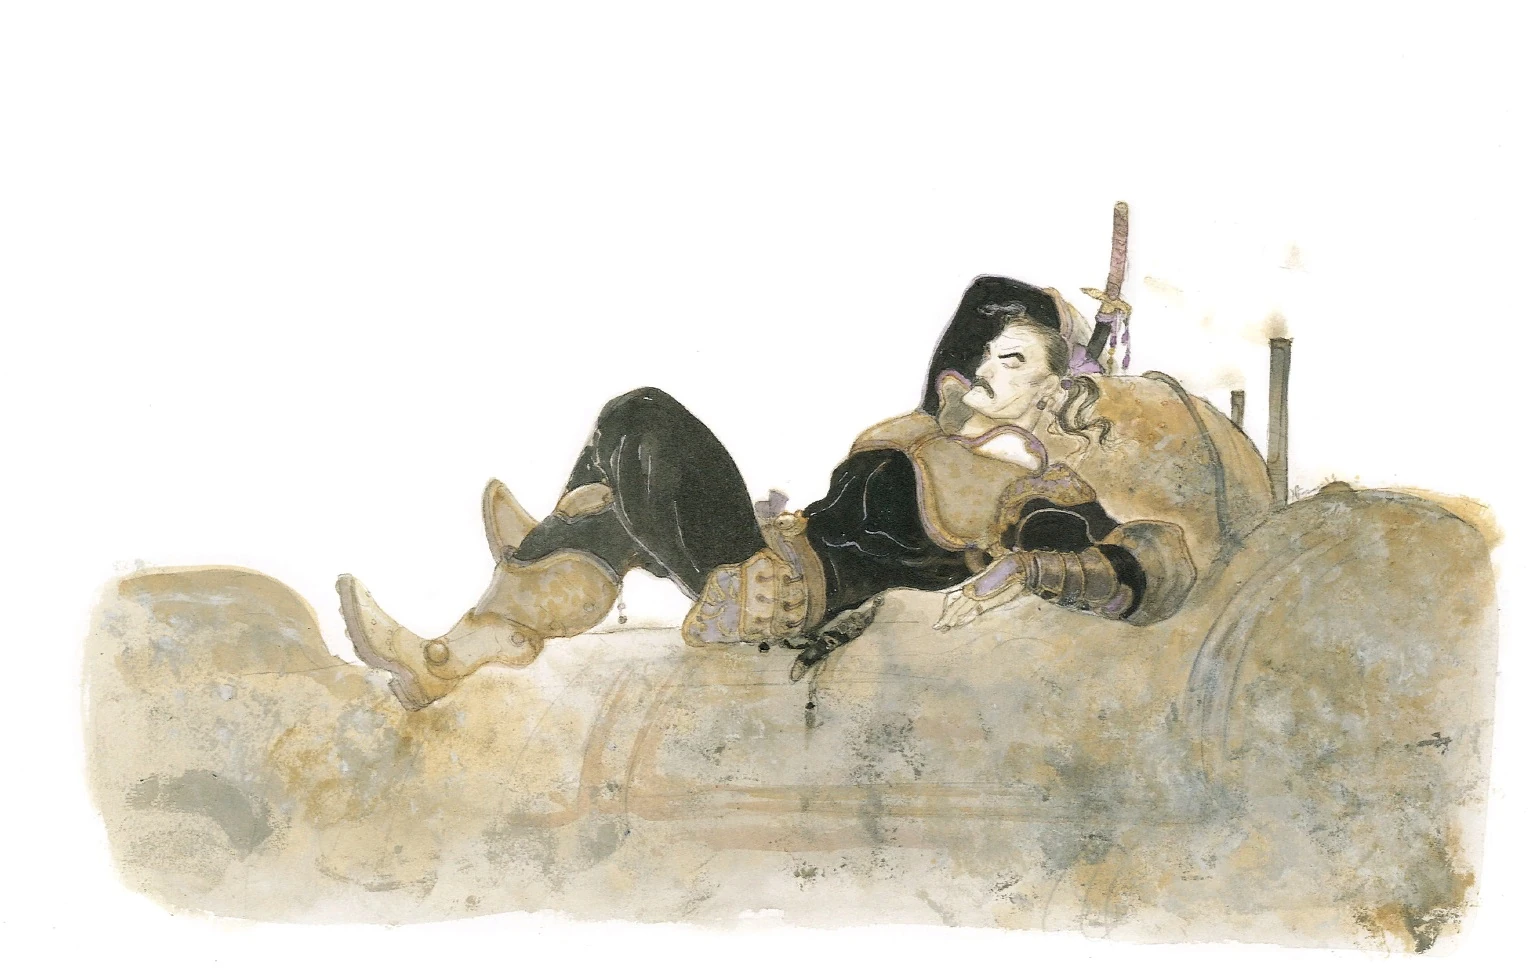
I hate this character. This is a very accurate picture of how we're going to be dealing with him.
The scene switches back to the Imperial Camp, and you will control Sabin and Shadow again. If you talk to the Imperial soldier, you'll have to fight a pair of Soldiers and an M-Tek Armor. Of course, many people like to sneak around these places. Me? I just like to go in with guns blazing and take out as many of the opposition as I can (taking a cue from my good friend Barret here). Enter the eastern tent and you'll find a chest. Choose the top option and you'll have to fight three Dobermans. They're easy to kill. Just have Sabin use Aurabolt and Shadow Throw Shurikens. This is the only chance you'll have to fight them for a reason I will explain in a later section. Now, you can open the chest and get a Star Pendant. Now, head south and you'll get another cutscene, and will meet General Leo for the first time. Apparently, Leo, not Kefka, is in charge of the camp, and is very angry at Kefka. However, he has to leave to attend to business with Gestahl. This leaves Kefka in charge of the camp, and Kefka decided to dump poison into the river leading to Doma. Your job is to try and stop him. Attack him and he'll throw a tantrum about getting hurt (when you reach the end of the game, you'll wonder how he ever goes nuts and starts crying at the slightest physical touch at this point). Anyway, don't talk to him again until you go into the lefthand tent near you. Inside you'll find two chests. Open the one on the right for a MithrilGlove, which casts Safe on a character who is low on HP. Before opening the left chest, put Sabin in the Front Row and give him the Genji Glove if you have it so he can equip a second Mithril Claw (or, if you don't have one, use the MetalKnuckle). If you have the Hyper Wrist or Atlas Armlet, give one of them to him as his second Relic. Give Shadow the Mithril Shield for now. Now, open the left chest.
You'll have to fight a Telstar here. Go ahead and use a Blitz on it. It will prompt a Megazerk counter, which Berserks Sabin, but since he can't do anything but Fight anyways, might as well enjoy the free bonus to damage. It also uses Schiller to Blind both Sabin and Shadow, which of course does nothing in this game. It also uses Tek Laser. After 25 seconds, he'll call in two Soldiers to help him. After 55 seconds, he'll call in three Soldiers, and after 120 seconds, he'll call in four Soldiers. Telstar shouldn't be too hard. Have Sabin use his physical and have Shadow begin by Throwing Inviz Edges at himself so he gets Clear status, and then have him Throw Shurikens. Once it dies, you'll get a Green Beret, which is the best helmet you'll have for a very long time. In addition to its high defense, it increases HP by 1/8, which REALLY makes it awesome! Give it to either Sabin or Shadow.
Now, exit this tent and jump off the ledge to the northwest of it to enter another tent. Inside is a chest with a Barrier Ring. Before doing anything else, give Sabin and Shadow back their normal stuff, and put them in the Back Row again, where they belong. Now, go back and chase Kefka again. You'll wind up fighting him again, and once again, he'll throw a temper tantrum when you attack him. Keep giving him chase and you'll end up in a fight with a pair of Soldiers and a pair of Templars (was Woolsey a member of Opus Dei?). Yeah. Still no MT attacks. Just use Aurabolt and Shurikens. And watch out for Counter and Axe when the Soldiers and Templars die.
Now, you'll get a cutscene where Kefka dumps the poison into the river. You'll go back to Doma where you regain control of Cyan. Now, go into the throne room and talk to King Doma (it would have been nice if Square actually gave him a standing up sprite so we could see what he looked like. This is why FFVI needs an Ultimania, because I don't want to have to write one and then get sued by Square (let this be a warning to you, Square! MAKE AN FFVI ULTIMANIA!)). Watch him die. Ah, FFVI, the game with more deaths of important characters than any other FF game (I'm looking at you, FFVII, and laughing hard!). Anyway, he'll tell Cyan to go check on his wife. Don't do that! Break your vows and go down the steps in the foyer and enter the door on the right. Inside is a pot with a Remedy. Now put Cyan in the Front Row, and have him enter the northeast door in thie room. Inside is his (dying) wife Elayne. This will make Cyan throw a temper tantrum and run to the Imperial Camp and start dispatching (no, not Dispatching, just dispatching. You know, the one that's not supposed to be in uppercase) soldiers.
You'll control Sabin and Shadow again, and you'll have to sneak up behind Cyan and surprise him, otherwise he'll punish you for "jumping in there." You'll face three battles in this manner, the first two against three or four Grunts and the last against a pair of Grunts and a Cadet (so apparently they're able to have a fully functioning military academy at this tiny outpost?). Cyan will be controlled automatically. He'll use his physical 2/3 of the time and Dispatch the rest of the time. After all three battles are over, Cyan will join the party officially. Now you'll have to escape... by hijacking Magitek Armor! Our favorite toy! Unfortunately, Cyan complains about how much he hates machines and mechanical weapons. Get used to this whining for the rest of the game, as I've never seen a more anti-technology character in any FF game. What, was he raised Amish? Anyway, you'll face three battles on the way out. The first will be against a single M-Tek Armor, the second against an M-Tek Armor and a pair of Soldiers, and the third againt a pair of M-Tek Armors. Use Bolt Beam on the M-Tek armors, and whatever you want on the Soldiers. Use Heal Force when your HP gets low. After the three battles you'll ditch your Magitek Armor (boo-hoo) and get to head south.
| Final Fantasy VI (SNES) Walkthrough by Crazyswordsman | ||
| Top | 01 - 02 - 03 - 04 - 05 - 06 - 07 - 08 - 09 - 10 | Top |
| 11 - 12 - 13 - 14 - 15 - 16 - 17 - 18 - 19 - 20 21 - 22 - 23 - 24 - 25 - 26 - 27 - 28 - 29 - 30 31 - 32 - 33 - 34 - 35 - 36 - 37 - 38 - 39 - 40 Advance extras | ||