m (Now you're just being stupid. They aren't in your article; so where's the problem? Linking to redirects is WRONG!) |
Intangir Bot (talk | contribs) m (Renaming lists in accordance with Forum:Renaming list articles and deleting redundant lists) |
||
| (20 intermediate revisions by 8 users not shown) | |||
| Line 4: | Line 4: | ||
{{spoiler}} |
{{spoiler}} |
||
| − | ==Raid on Narshe== |
+ | == Raid on Narshe == |
| − | [[ |
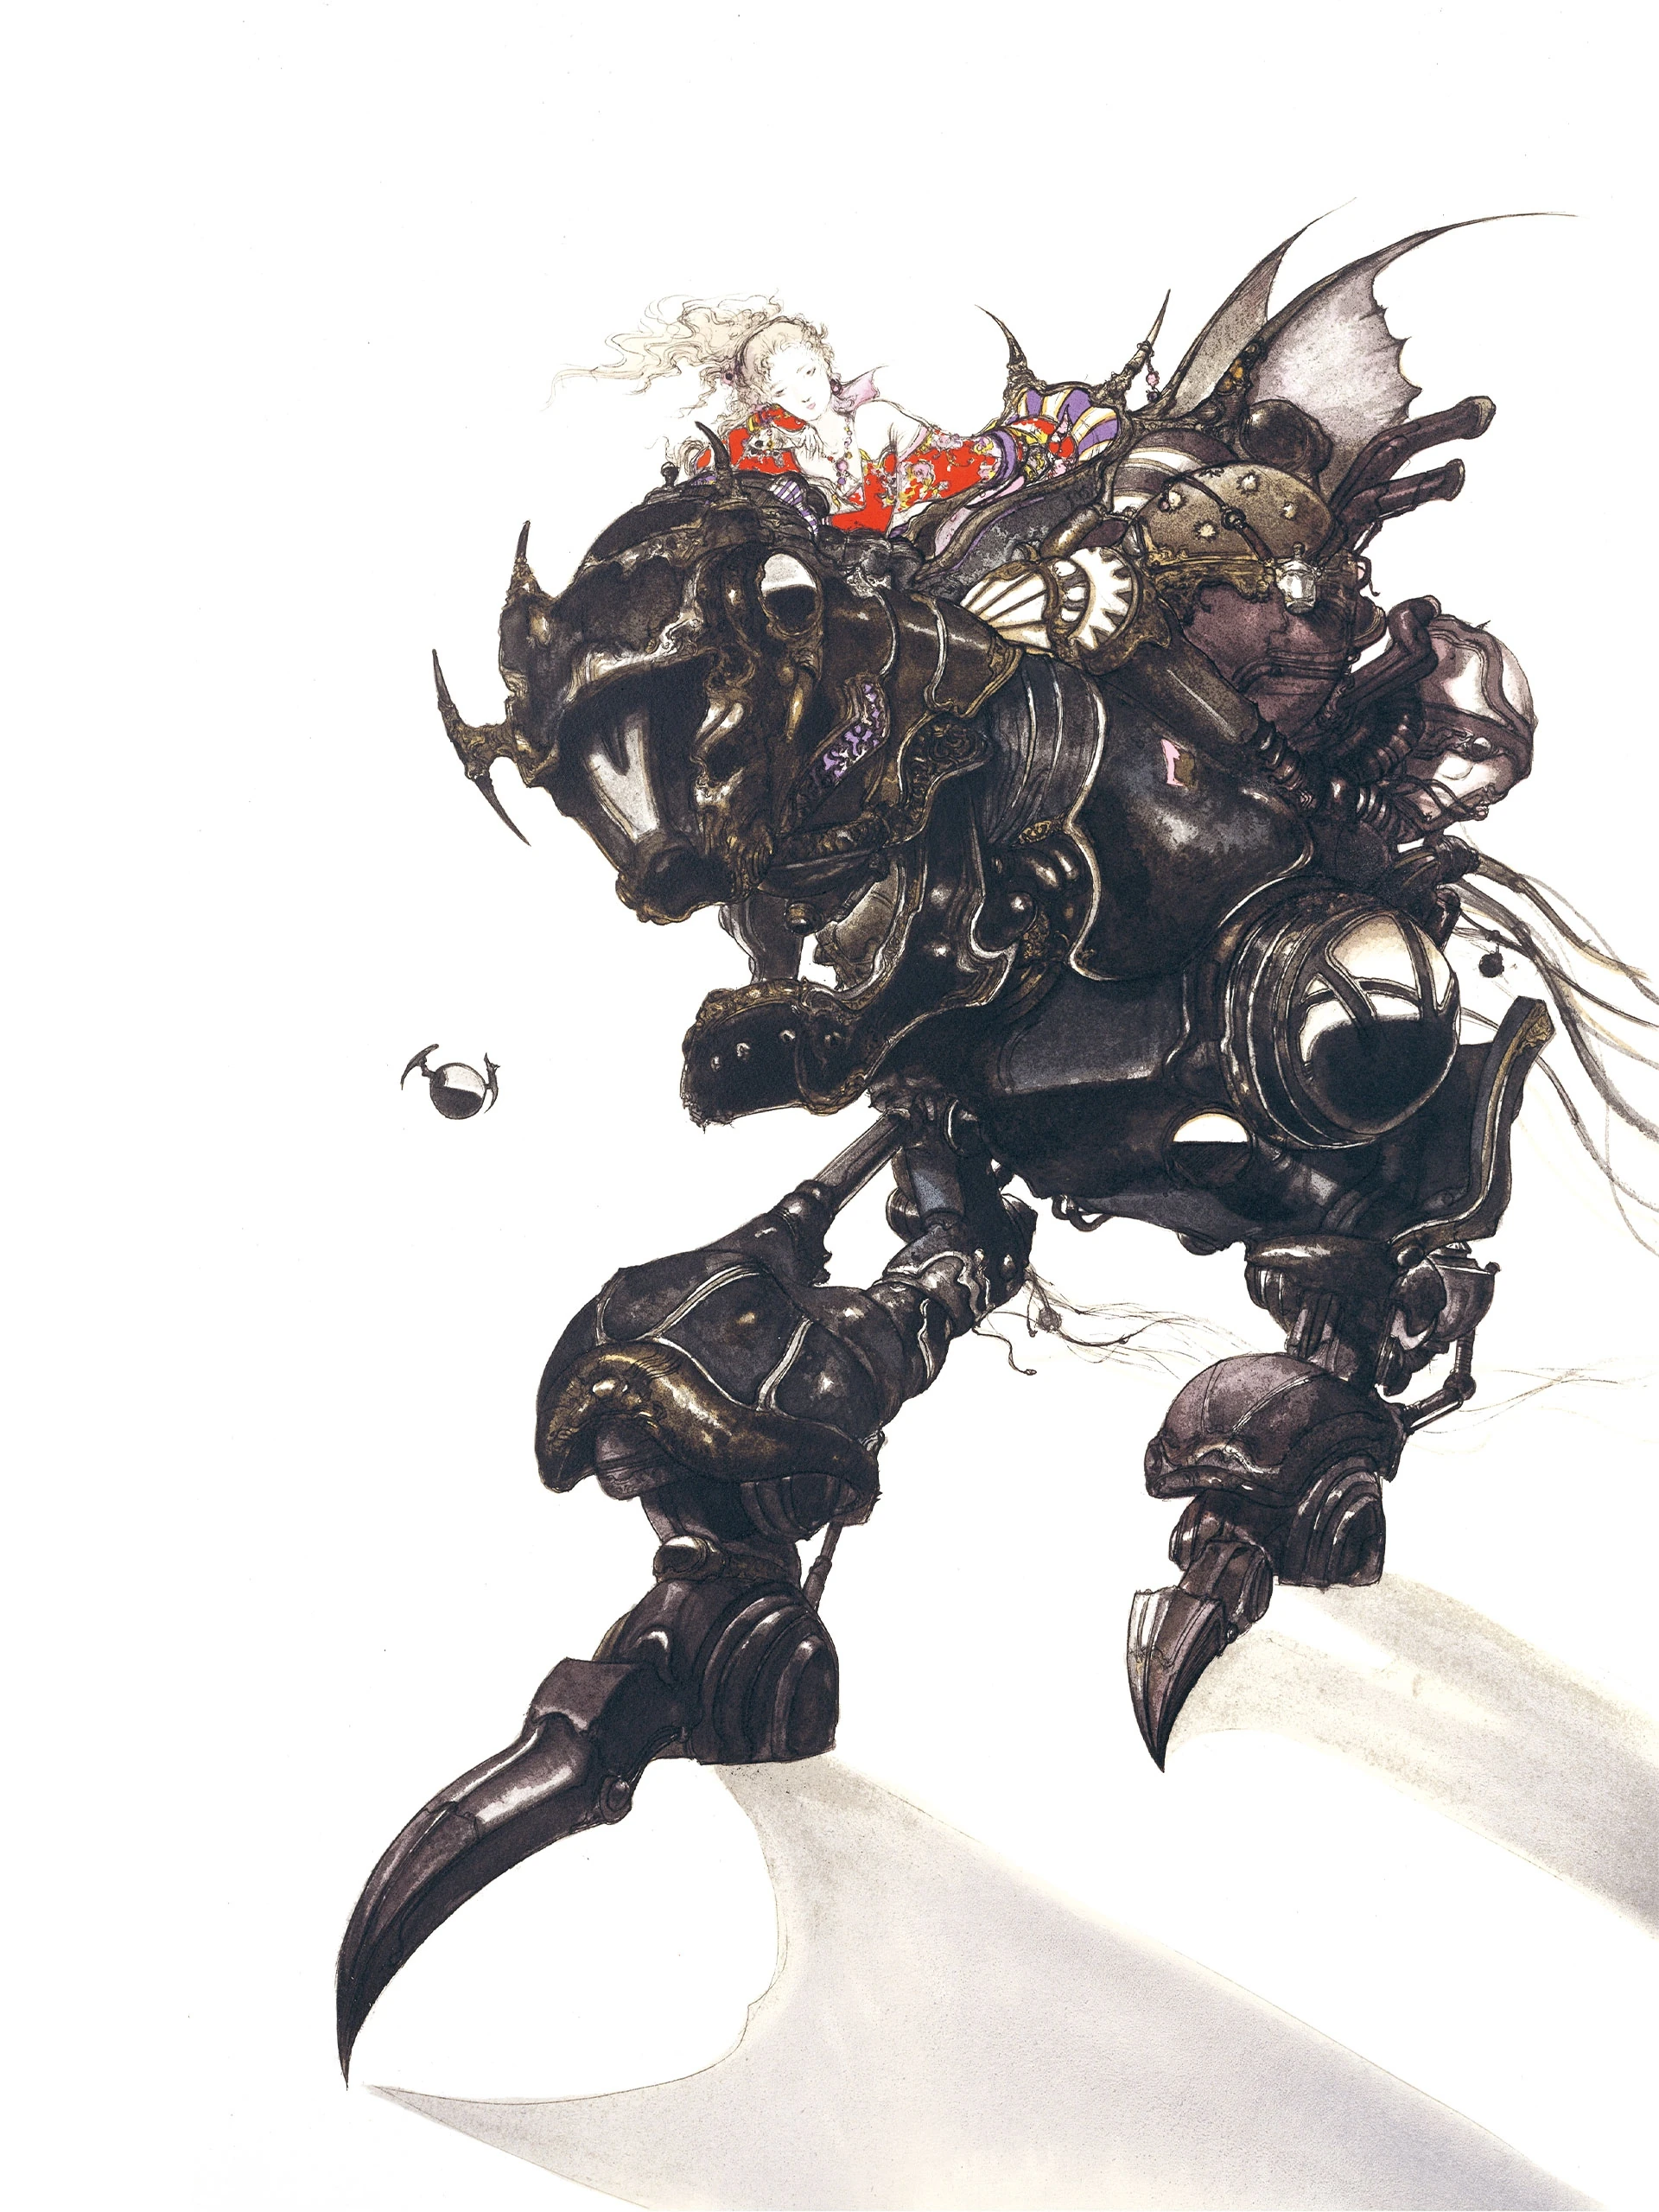
+ | [[File:Terramagitek.jpg|thumb|Final Fantasy's most iconic image.]] |
| − | You start the game out with [[Vicks and Wedge]] and a character known only as "??????." |
+ | You start the game out with [[Vicks and Wedge]] and a character known only as "??????." They are all piloting [[Magitek Armor]] into the town of [[Narshe]] in order to investigate a frozen [[Esper (Final Fantasy VI)|Esper]] as a service to the [[Gestahlian Empire|Empire]]. When you get into Narshe, the guards will begin attacking. You are required to go due north in this part. Unfortunately, you cannot enter any of the buildings at this time, nor can you leave the city. If you go off to the right at your first opportunity, you will be ambushed by a [[Lobo]]. If you engage this fight, Vicks and Wedge should use [[Magitek|Fire Beam]] on it and "??????" should use [[Magitek|TekMissle]] on it. All three characters should use [[Magitek|Heal Force]] if they ever get low on HP. |
| − | Your next fight will be against a pair of [[Guard (Final Fantasy VI)|Guards]]. |
+ | Your next fight will be against a pair of [[Guard (Final Fantasy VI)|Guards]]. Vicks and Wedge should use any of their Beam attacks on them, and "??????" should use [[Magitek|Bio Blast]] on them if her turn comes up while both of them are still alive, as they are weak to Poison. Otherwise, she should stick with TekMissle. The next fight will be against two Lobos. Kill them the same way you did the first one. You will then face two more Guards immediately after. Kill them as you did the first pair. |
| − | Your next fight will be a different kind of battle than you've seen in a ''[[Final Fantasy |
+ | Your next fight will be a different kind of battle than you've seen in a ''[[Final Fantasy series|Final Fantasy]]'' game. This is called a '''Pincer Attack,''' and it involves the enemies surrounding your party. If your back is turned to an enemy, it will do extra damage to you if it attacks physically. This fight will be against a Lobo and a pair of Guards. One Guard will be on the same side as the Lobo and the other side will have the Guard alone. Be advised that "??????'s" Bio Blast will only take out one side at a time. Use Heal Force whenever your HP gets low. "??????" will gain a level after this fight. |
| − | You will now be able to proceed to the next area. |
+ | You will now be able to proceed to the next area. Here, you will only have to fight once. However, the fight is against two Guards and two [[Megalodoth (Final Fantasy VI)|Vomammoths]]. "??????" should use Bio Blast immediately to take them all out in one go. If Vicks or Wedge goes first, they should focus on the Vomammoths. |
| − | After a small cutscene, you will be able to enter the Narshe Mines. |
+ | After a small cutscene, you will be able to enter the Narshe Mines. Random encounters will begin here, so you can use this opportunity to gain some levels if you want (mind that the most EXP you can get from a battle in this area is 21, so you probably won't be able to do much levelling). Also, be advised that the [[Were-Rat]]s in this area absorb Poison, so despite any urge you may have for "??????" to use Bio Blast, don't do it. It will heal the Were-Rats. Have her stick to TekMissle instead. They ARE weak to Fire though, so Vicks and Wedge should use Fire Beam. The [[Bandit (Final Fantasy VI)|Repo Men]] ARE weak to Poison though, but since they always show up with a Were-Rat, it's not worth using Bio Blast. It may throw its '''Wrench''' at a party member when it dies, so watch out for that, although it's not a threat at this point. |
| − | [[ |
+ | [[File:Whelk.PNG|thumb|It stores lightning in its shell.]] |
| − | Immediately when you enter the mines, you'll find a [[Save Point]] to your left. |
+ | Immediately when you enter the mines, you'll find a [[Save Point]] to your left. Stepping on it will give you a tutorial about how Save Points work. You can't enter the path to the east while wearing Magitek Armor. If you continue North, Vicks and Wedge will break down a wall. This will infuriate the Narshe Guards, and they will send [[Ymir (Final Fantasy VI)|Whelk]] on your party. Listen to Vicks and Wedge in their tutorial on how to defeat the Whelk. In a nutshell, you shouldn't attack the shell (bad pun intended). Doing so will have it counter with [[Final Fantasy VI enemy abilities#Mega Volt|Mega Volt]], which can severely damage your entire party. If this happens, immediately use Heal Force. However, it can only counterattack three times, so it can be damaged after that. Vicks and Wedge should attack the head using any of their Magitek beams, while "??????" uses TekMissle on it. When the head retreats into the shell, start using Heal Force on your party, as you have nothing better to do. If you defeat the head, you'll win a [[Hi-Potion|Potion]]. If you defeat the shell, you'll win a [[Tincture]]. Mind it is possible to do this even though it can only counterattack three times, but it has 50,000 HP, which is more than the vast majority of enemies and bosses in the game, so you're better off just beating the head, which only has 1600 HP. If you can defeat ''both'' the head and the shell, you'll win BOTH the Potion and Tincture! But you can only do this with a well timed Bio Blast (or a [[Fire (ability)|Fire]] spell from "??????," but why use Magic when you have the power of Magitek Armor on your side? Don't do drugs.). If you try to do this, there's a 99% chance you're just bored, and a 1% chance you're doing drugs. |
| − | After defeating the Whelk, continue north. |
+ | After defeating the Whelk, continue north. You will encounter a new enemy in this area (the [[Spritzer (Final Fantasy VI)|Vaporite]]), but this is more of a factoid than anything else. You probably won't even encounter anything in this room. At the north end, you'll encounter the Esper you've been searching for. However, it will kill Vicks and Wedge, and "??????," who up until this point has been silent, will start getting confused, and will be knocked out by the Esper. |
| − | ==Get out of Narshe!== |
+ | == Get out of Narshe! == |
| − | "??????" will awaken in an old man's house in Narshe, and she'll talk for the first time. |
+ | "??????" will awaken in an old man's house in Narshe, and she'll talk for the first time. The old man, named [[Arvis]], will reveal that "??????" was wearing a [[Slave Crown]] the entire time, and thus was being controlled by the Empire. "??????" has amnesia, but will reveal that she remembers her name, which is [[Terra Branford|Terra]]. However, the Narshe Guards will soon knock on the door, and demand that Arvis turn Terra over to them. Arvis shows Terra a door which she can escape through. You will now regain control of Terra, who has lost her Magitek Armor. Before going through the door though, check the clock on the west side of Arvis's house. It has an [[Elixir (item)|Elixir]]. In most towns, there will be a clock with an Elixir inside. This walkthrough will tell you exactly which clocks have Elixirs in them. |
| − | Anyway, go out the back door and cross the bridge. |
+ | Anyway, go out the back door and cross the bridge. The guards will notice Terra is up there, but continue west into the mines anyway. There's a Save Point here, so utilize it. You'll immediately notice the enemies (which are the same as you encountered before, only with more Vaporites involved) will be doing more damage to you now that your Magitek Armor is gone, especially the Repo Men, which can now deal significant damage with their wrenches. Mind if you don't kill them, they may use the Wrench ability on ''themselves'' which will kill them off, so just be aware of that. Also, you may be tempted to open the chests you see here-don't open them! At this point they only contain a [[Fenix Down]] and a [[Sleeping Bag]], but if you leave them for when I tell you to open them, they'll have much better items in them. Spend some time leveling if you wish, and use a [[Cure (ability)|Cure]] spell to recover some HP if it gets low. When you're ready, head north and you'll be surrounded by guards! They will force Terra into a pit where she will fall and get knocked out. You'll then see a flashback of how Terra got the Slave Crown. You learn that one of the Empire's top generals, [[Kefka Palazzo]], put the Slave Crown on Terra's head so she would do whatever Kefka said. You'll also learn that [[Gestahl]], the emperor, is using Magitek and Espers to become the dominant power in the world. |
| − | ==Save Terra!== |
+ | == Save Terra! == |
| − | [[ |
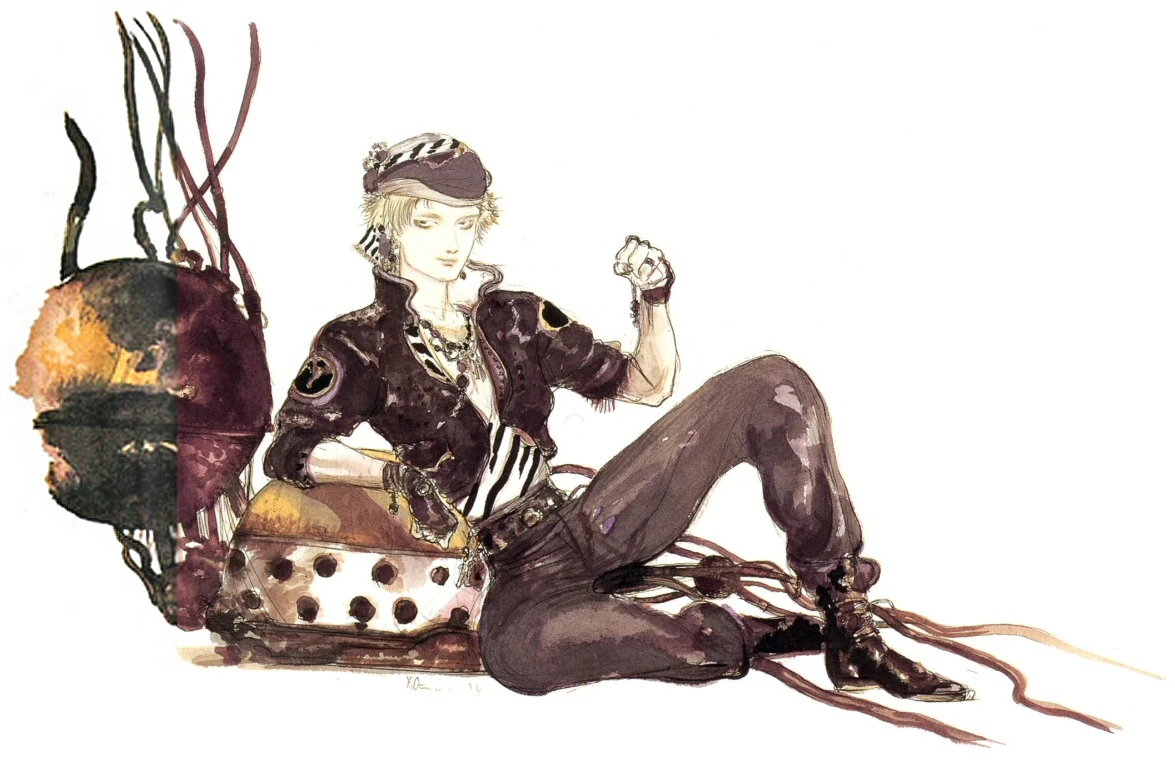
+ | [[File:192px-6-locke-a.jpg|thumb|There hasn't been a better Thief since this guy. I mean, he's like James Dean or the Fonz. Come on!]] |
| − | The game will then return to Arvis's house, and you'll learn that he summoned a ragtag adventurer and <s>[[Thief]]</s> Treasure Hunter named [[Locke]]. |
+ | The game will then return to Arvis's house, and you'll learn that he summoned a ragtag adventurer and <s>[[Thief (job)|Thief]]</s> Treasure Hunter named [[Locke]]. He'll tell Locke about Terra, but Locke will be skeptical, as he heard horror stories of Terra burning up cities. However, Arvis will tell him that she's no longer under Imperial control, and that Locke should rescue her and take her to [[Figaro]]. Locke agrees, and heads for the mines. When he gets there, he meets [[Mog (Final Fantasy VI)|Mog]], and [[Ten Moogles|ten of his friends]], who agree to help him save Terra from the Narshe guards. |
| − | This will be a three party battle. |
+ | This will be a three party battle. One party will include Mog, Kuku, Kutan, and Kupan (this will be referred to as "Mog's party" from now on). Another will include Kushu, Kuru, Kurin, and Kamog (this will be referred to as the "anonymous Moogle party" from now on). The final party will have Locke, Kupek, Kupop, and Kumama (this will be referred to as "Locke's party" from now on). Use the Y-button to switch between parties. One party should stay behind and guard the path leading to Terra, and the others should fight. Each fight will be against a Lobo and a Vomammoth. Be careful though, as if any party member is Level 7 or higher, the Vomammoth will open with a casting of [[Final Fantasy VI enemy abilities#Blizzard|Blizzard]], which can take off around 40 HP to the entire party. There's no way to avoid this at this point. |
| − | Make sure you do at least one fight involving Mog's party. |
+ | Make sure you do at least one fight involving Mog's party. This is so he can learn his first [[Dance (Final Fantasy VI)|Dance]], '''Dusk Requiem.''' (you'll be able to use this when he becomes a permanent party member later!) After that, you can kill off the rest of the Lobos and Vomammoths using whichever party you want. Also, at some point, you should remove Mog's [[Final Fantasy VI weapons#Mithril Pike|Mithril Pike]] and [[Final Fantasy VI armor#Mithril Shield|Mithril Shield]] so you can use them for the rest of your adventure. Equip Locke with the Mithril Shield for now, but save the Mithril Pike. |
| − | [[ |
+ | <nowiki>[[File:FFVI Guard Leader Trasparent.gif|thumb|left|Not much of a Marshal if you ask me...]]</nowiki> |
| − | When you're ready to face the leader of the pack, make SURE you use Locke's party. |
+ | When you're ready to face the leader of the pack, make SURE you use Locke's party. You'll see why in a minute. Also, make sure you removed Mog's Mithril Pike and Mithril Shield and equip the latter on Locke. After that, bring Locke's party to the south end of the room to fight the leader. It is a [[Marshal]] flanked by two Lobos. First get rid of the Lobos, as the Marshal can attack using its [[Final Fantasy VI enemy abilities#Net|Net]], which causes the [[Stop (status)|Stop]] status, which prevents a character from doing anything for a certain amount of time. He'll stop using Net when the Lobos die. Next, have Locke [[Steal]] from the Marshal. He has a [[Final Fantasy VI weapons#Mithril Knife|Mithril Knife]] for Locke to equip. Immediately change Locke's [[Final Fantasy VI weapons#Dirk|Dirk]] with this, as the Mithril Knife is much stronger. Watch out though, as the Marshal uses '''Charge''' when left alone, which is a massive physical attack that can deal upwards of 90 HP damage. You should still be able to defeat it. You win a [[Hi-Potion|Potion]] from it. |
| − | After the fight, the Moogles will leave, and Locke will bring Terra to a passage in another mine. |
+ | After the fight, the Moogles will leave, and Locke will bring Terra to a passage in another mine. Terra will awaken, and Locke will offer to take her to meet a friend of his. Terra accepts Locke's offer, and Locke presses a switch which opens up a secret door which leads outside the mines, right near the Narshe gates. |
| − | Enter the building you see to the left of the gates. |
+ | Enter the building you see to the left of the gates. This is a classroom where you can learn all the basics of the game. More importantly is the recovery pot near the entrance. It will recover all your HP and MP and remove any abnormal status you may have. Now, go into the furthest right of the three doors to enter a room called "Environmental Science." Here, you can learn about things to watch for while exploring. There is a Save Point in this room, so use it. Also, the pot in the upper right hand corner has a [[Tincture]] in it. The chest to the left is a Monster-in-a-box, and it conceals a Lobo. Have Locke steal a [[Ether|Tonic]] from it, and you may win another one from the battle. There are several chests in the game which conceal monsters, but they usually will have rare items for the taking; this one is for educational purposes only. Now, enter the center door in the classroom lobby to go to the "Battle Tactics" room, where you'll learn the basics of fighting. There's a chest in this room with a [[Sleeping Bag]]. Take it. The room on the far left is called "Advanced Battle Tactics." Here, you'll learn some tips and tricks for fighting. There's a chest with a [[Ether|Tonic]] inside, take it. |
| − | Once you get the chests, leave the classroom. |
+ | Once you get the chests, leave the classroom. You can't enter the town of Narshe at this point, so head south. |
{{../Navigation|1}} |
{{../Navigation|1}} |
||
| − | [[Category:Final Fantasy VI |
+ | [[Category:Final Fantasy VI walkthroughs]] |
Latest revision as of 04:29, 21 December 2018
| Final Fantasy VI (SNES) Walkthrough by Crazyswordsman | ||
| Top | 01 - 02 - 03 - 04 - 05 - 06 - 07 - 08 - 09 - 10 | Top |
| 11 - 12 - 13 - 14 - 15 - 16 - 17 - 18 - 19 - 20 21 - 22 - 23 - 24 - 25 - 26 - 27 - 28 - 29 - 30 31 - 32 - 33 - 34 - 35 - 36 - 37 - 38 - 39 - 40 Advance extras | ||
The following is Part 1 of a walkthrough for the Super NES version of Final Fantasy VI
Raid on Narshe[]
Final Fantasy's most iconic image.
You start the game out with Vicks and Wedge and a character known only as "??????." They are all piloting Magitek Armor into the town of Narshe in order to investigate a frozen Esper as a service to the Empire. When you get into Narshe, the guards will begin attacking. You are required to go due north in this part. Unfortunately, you cannot enter any of the buildings at this time, nor can you leave the city. If you go off to the right at your first opportunity, you will be ambushed by a Lobo. If you engage this fight, Vicks and Wedge should use Fire Beam on it and "??????" should use TekMissle on it. All three characters should use Heal Force if they ever get low on HP.
Your next fight will be against a pair of Guards. Vicks and Wedge should use any of their Beam attacks on them, and "??????" should use Bio Blast on them if her turn comes up while both of them are still alive, as they are weak to Poison. Otherwise, she should stick with TekMissle. The next fight will be against two Lobos. Kill them the same way you did the first one. You will then face two more Guards immediately after. Kill them as you did the first pair.
Your next fight will be a different kind of battle than you've seen in a Final Fantasy game. This is called a Pincer Attack, and it involves the enemies surrounding your party. If your back is turned to an enemy, it will do extra damage to you if it attacks physically. This fight will be against a Lobo and a pair of Guards. One Guard will be on the same side as the Lobo and the other side will have the Guard alone. Be advised that "??????'s" Bio Blast will only take out one side at a time. Use Heal Force whenever your HP gets low. "??????" will gain a level after this fight.
You will now be able to proceed to the next area. Here, you will only have to fight once. However, the fight is against two Guards and two Vomammoths. "??????" should use Bio Blast immediately to take them all out in one go. If Vicks or Wedge goes first, they should focus on the Vomammoths.
After a small cutscene, you will be able to enter the Narshe Mines. Random encounters will begin here, so you can use this opportunity to gain some levels if you want (mind that the most EXP you can get from a battle in this area is 21, so you probably won't be able to do much levelling). Also, be advised that the Were-Rats in this area absorb Poison, so despite any urge you may have for "??????" to use Bio Blast, don't do it. It will heal the Were-Rats. Have her stick to TekMissle instead. They ARE weak to Fire though, so Vicks and Wedge should use Fire Beam. The Repo Men ARE weak to Poison though, but since they always show up with a Were-Rat, it's not worth using Bio Blast. It may throw its Wrench at a party member when it dies, so watch out for that, although it's not a threat at this point.

It stores lightning in its shell.
Immediately when you enter the mines, you'll find a Save Point to your left. Stepping on it will give you a tutorial about how Save Points work. You can't enter the path to the east while wearing Magitek Armor. If you continue North, Vicks and Wedge will break down a wall. This will infuriate the Narshe Guards, and they will send Whelk on your party. Listen to Vicks and Wedge in their tutorial on how to defeat the Whelk. In a nutshell, you shouldn't attack the shell (bad pun intended). Doing so will have it counter with Mega Volt, which can severely damage your entire party. If this happens, immediately use Heal Force. However, it can only counterattack three times, so it can be damaged after that. Vicks and Wedge should attack the head using any of their Magitek beams, while "??????" uses TekMissle on it. When the head retreats into the shell, start using Heal Force on your party, as you have nothing better to do. If you defeat the head, you'll win a Potion. If you defeat the shell, you'll win a Tincture. Mind it is possible to do this even though it can only counterattack three times, but it has 50,000 HP, which is more than the vast majority of enemies and bosses in the game, so you're better off just beating the head, which only has 1600 HP. If you can defeat both the head and the shell, you'll win BOTH the Potion and Tincture! But you can only do this with a well timed Bio Blast (or a Fire spell from "??????," but why use Magic when you have the power of Magitek Armor on your side? Don't do drugs.). If you try to do this, there's a 99% chance you're just bored, and a 1% chance you're doing drugs.
After defeating the Whelk, continue north. You will encounter a new enemy in this area (the Vaporite), but this is more of a factoid than anything else. You probably won't even encounter anything in this room. At the north end, you'll encounter the Esper you've been searching for. However, it will kill Vicks and Wedge, and "??????," who up until this point has been silent, will start getting confused, and will be knocked out by the Esper.
Get out of Narshe![]
"??????" will awaken in an old man's house in Narshe, and she'll talk for the first time. The old man, named Arvis, will reveal that "??????" was wearing a Slave Crown the entire time, and thus was being controlled by the Empire. "??????" has amnesia, but will reveal that she remembers her name, which is Terra. However, the Narshe Guards will soon knock on the door, and demand that Arvis turn Terra over to them. Arvis shows Terra a door which she can escape through. You will now regain control of Terra, who has lost her Magitek Armor. Before going through the door though, check the clock on the west side of Arvis's house. It has an Elixir. In most towns, there will be a clock with an Elixir inside. This walkthrough will tell you exactly which clocks have Elixirs in them.
Anyway, go out the back door and cross the bridge. The guards will notice Terra is up there, but continue west into the mines anyway. There's a Save Point here, so utilize it. You'll immediately notice the enemies (which are the same as you encountered before, only with more Vaporites involved) will be doing more damage to you now that your Magitek Armor is gone, especially the Repo Men, which can now deal significant damage with their wrenches. Mind if you don't kill them, they may use the Wrench ability on themselves which will kill them off, so just be aware of that. Also, you may be tempted to open the chests you see here-don't open them! At this point they only contain a Fenix Down and a Sleeping Bag, but if you leave them for when I tell you to open them, they'll have much better items in them. Spend some time leveling if you wish, and use a Cure spell to recover some HP if it gets low. When you're ready, head north and you'll be surrounded by guards! They will force Terra into a pit where she will fall and get knocked out. You'll then see a flashback of how Terra got the Slave Crown. You learn that one of the Empire's top generals, Kefka Palazzo, put the Slave Crown on Terra's head so she would do whatever Kefka said. You'll also learn that Gestahl, the emperor, is using Magitek and Espers to become the dominant power in the world.
Save Terra![]
There hasn't been a better Thief since this guy. I mean, he's like James Dean or the Fonz. Come on!
The game will then return to Arvis's house, and you'll learn that he summoned a ragtag adventurer and Thief Treasure Hunter named Locke. He'll tell Locke about Terra, but Locke will be skeptical, as he heard horror stories of Terra burning up cities. However, Arvis will tell him that she's no longer under Imperial control, and that Locke should rescue her and take her to Figaro. Locke agrees, and heads for the mines. When he gets there, he meets Mog, and ten of his friends, who agree to help him save Terra from the Narshe guards.
This will be a three party battle. One party will include Mog, Kuku, Kutan, and Kupan (this will be referred to as "Mog's party" from now on). Another will include Kushu, Kuru, Kurin, and Kamog (this will be referred to as the "anonymous Moogle party" from now on). The final party will have Locke, Kupek, Kupop, and Kumama (this will be referred to as "Locke's party" from now on). Use the Y-button to switch between parties. One party should stay behind and guard the path leading to Terra, and the others should fight. Each fight will be against a Lobo and a Vomammoth. Be careful though, as if any party member is Level 7 or higher, the Vomammoth will open with a casting of Blizzard, which can take off around 40 HP to the entire party. There's no way to avoid this at this point.
Make sure you do at least one fight involving Mog's party. This is so he can learn his first Dance, Dusk Requiem. (you'll be able to use this when he becomes a permanent party member later!) After that, you can kill off the rest of the Lobos and Vomammoths using whichever party you want. Also, at some point, you should remove Mog's Mithril Pike and Mithril Shield so you can use them for the rest of your adventure. Equip Locke with the Mithril Shield for now, but save the Mithril Pike. [[File:FFVI Guard Leader Trasparent.gif|thumb|left|Not much of a Marshal if you ask me...]] When you're ready to face the leader of the pack, make SURE you use Locke's party. You'll see why in a minute. Also, make sure you removed Mog's Mithril Pike and Mithril Shield and equip the latter on Locke. After that, bring Locke's party to the south end of the room to fight the leader. It is a Marshal flanked by two Lobos. First get rid of the Lobos, as the Marshal can attack using its Net, which causes the Stop status, which prevents a character from doing anything for a certain amount of time. He'll stop using Net when the Lobos die. Next, have Locke Steal from the Marshal. He has a Mithril Knife for Locke to equip. Immediately change Locke's Dirk with this, as the Mithril Knife is much stronger. Watch out though, as the Marshal uses Charge when left alone, which is a massive physical attack that can deal upwards of 90 HP damage. You should still be able to defeat it. You win a Potion from it.
After the fight, the Moogles will leave, and Locke will bring Terra to a passage in another mine. Terra will awaken, and Locke will offer to take her to meet a friend of his. Terra accepts Locke's offer, and Locke presses a switch which opens up a secret door which leads outside the mines, right near the Narshe gates.
Enter the building you see to the left of the gates. This is a classroom where you can learn all the basics of the game. More importantly is the recovery pot near the entrance. It will recover all your HP and MP and remove any abnormal status you may have. Now, go into the furthest right of the three doors to enter a room called "Environmental Science." Here, you can learn about things to watch for while exploring. There is a Save Point in this room, so use it. Also, the pot in the upper right hand corner has a Tincture in it. The chest to the left is a Monster-in-a-box, and it conceals a Lobo. Have Locke steal a Tonic from it, and you may win another one from the battle. There are several chests in the game which conceal monsters, but they usually will have rare items for the taking; this one is for educational purposes only. Now, enter the center door in the classroom lobby to go to the "Battle Tactics" room, where you'll learn the basics of fighting. There's a chest in this room with a Sleeping Bag. Take it. The room on the far left is called "Advanced Battle Tactics." Here, you'll learn some tips and tricks for fighting. There's a chest with a Tonic inside, take it.
Once you get the chests, leave the classroom. You can't enter the town of Narshe at this point, so head south.
| Final Fantasy VI (SNES) Walkthrough by Crazyswordsman | ||
| Top | 01 - 02 - 03 - 04 - 05 - 06 - 07 - 08 - 09 - 10 | Top |
| 11 - 12 - 13 - 14 - 15 - 16 - 17 - 18 - 19 - 20 21 - 22 - 23 - 24 - 25 - 26 - 27 - 28 - 29 - 30 31 - 32 - 33 - 34 - 35 - 36 - 37 - 38 - 39 - 40 Advance extras | ||