Part 1 of Drake Clawfang's The After Years walkthrough! Let's move out!
Intro[]
We open up our tale with a throwback to the original game, a prologue giving us a summary of the first game. Then we cut to the Red Wings airship fleet flying across the sky. This is our hero, time for a character box!
PLAYABLE CHARACTER - Ceodore Harvey
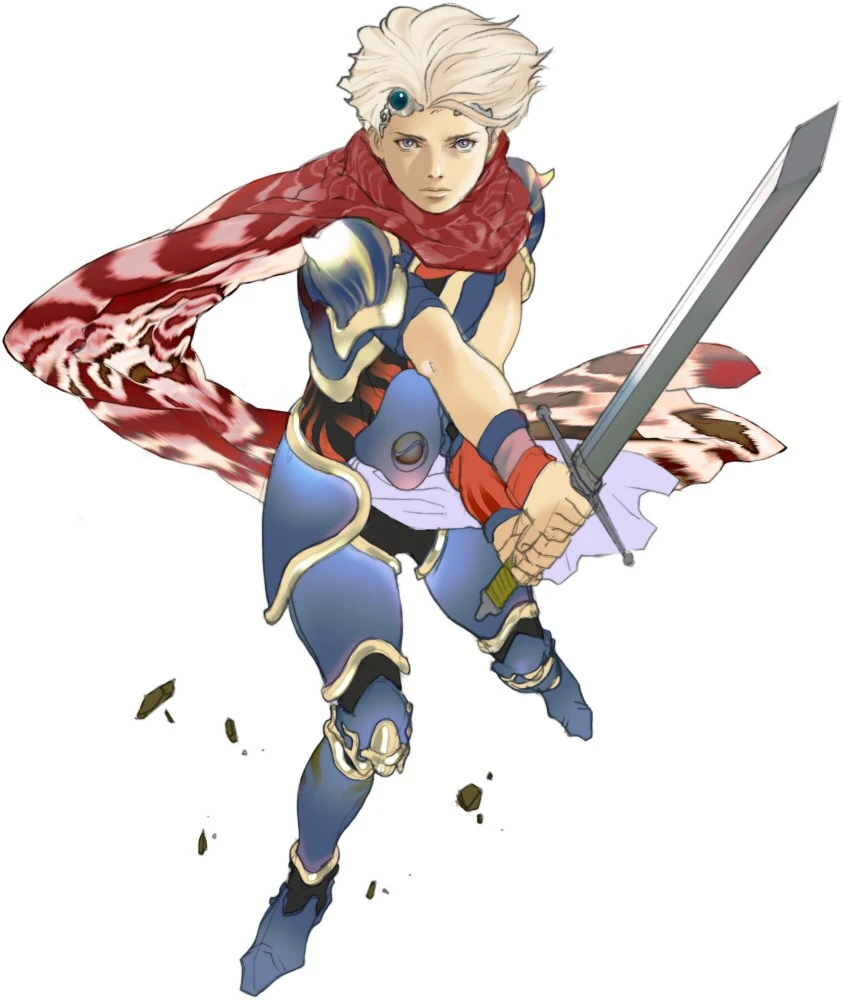
Ceodore is the designated protagonist of the game, the son of Cecil and Rosa and a squire aspiring to knighthood. I say "designated" protagonist because while Square-Enix considers him such, much as with Vaan Ceodore has more or less nothing to do with the overarcing plot of the game, and even in his own tale dedicated to him he doesn't get to shine much. Ceodore is a pretty bland character, I never got any character traits from his aside from general hero-ish stuff. I think he's not particularly proud of his heritage, which I don't see the problem with because he doesn't want preferential treatment because he's a prince, sounds fine to me.
Ceodore is pretty good in battle, he's got decent speed and of the three White Magic-using fighters he has the largest arsenal, eventually learning Haste, Protect, Shell and Curaga. BTW, in this game Protect and Shell stack and can be group-cast, so they're twice as effective as usual. He's also a good fighter too, though in both spell and sword characters dedicated to such roles outclass him. Ceodore's ability is Awaken, which increases his stats and heals him fully, but a few turns later drops him to critical health. It's fairly useless due primarily to its considerable charge time, since the only time you would want to use it is when you're in a jam without a healer and need Ceodore cured up fast.
Anyway, we're here with Biggs and Wedge, and for some reason we have to talk to every crew member, so do that. First thing I do actually is open settings and set the Dash to On, you'll have to do this every time you begin a new tale so remember that. You can also set the battle to Wait or Active. REAL men play Active, and so will I. Ladies, you don't get off easy just because you have different plumbing, I expect the same from you. Once you've spoken to everyone the story progresses. Captain Biggs is a giant prick, smacking Ceodore around for no reason at all, Ceodore is being humble about his heritage and Biggs tells him to learn to keep his mouth shut. I suspect he's jealous of living his career in Cecil's shadow and has to take out his frustrations on the son. Whatever the case, we soon land at the Adamant Isle near the village Mythril. You're told to report to the village, head in.
First thing, you talk to Biggs and Wedge, who tell you you have to spend the night in the inn to sleep until the Full Moon before we can enter the dungeon. Now check around town to find three chests hidden in the grass. Just walk in the grass until you bump into something you can't see and press X to open it. You'll find a Tent, a Potion, and a Ruby Ring. Hand the ring over to the pig outside the Weapon and Armor shops for 500 gil. Now enter the shops, buy Ceodore a Bronze Helm and a Longsword and suit him up. Now, we'll be healed for free at the Inn so let's head outside and fight a bit. Ceodore is Level 1 and could stand to be toughened up. You can also board the airship to find a pot that will heal you too, if you don't wanna head to the Inn yet but are feeling weak. I recommend getting Ceodore to Level 5 or so, it won't take long since he'll level up after pretty much any battle. Use the money you make to buy a few Potions in town. When you're ready head to the Inn and rest up. During the Full Moon your physical attacks are weaker, but Black Magic is stronger. Save on the map if you wish, then enter the cave.
The Trial of a Knight[]
Once again Biggs is an asshole to us for no reason. Open the chests for a Potion, Ether, Tent and Phoenix Down. Then talk to Biggs and he and Wedge will join the party. They come in at Levels 12 and 10. Biggs has Black Magic and Wedge has White Magic. If you didn't buy a Longsword for Ceodore, you can swipe one from either of them and give them his Broadsword. I also recommend taking Iron Gloves for Ceodore from one of them too. I choose Biggs because he's stronger than Wedge and thus suffers less, and also because he's a douche and I don't care if he dies from poor equipment. Speak to the little person in front of the stairs to begin the trial.
Walk up and you'll automatically enter battle. Wedge now points out the Moon Phase weakening our attacks. A handy coloring of red for weakened and green for strengthened will be provided for effected commands throughout the game. Even with the Moon weakening our blades though, the Goblins you're facing die in one hit each. Further on is another scripted battle where the two demonstrate their Band skill, Vibra Edge. Hit right on the control pad, select Band, select Biggs or Wedge (the other one you aren't controlling), select Attack and hit Square. The two will slash apart the Goblins all at once. Cool yes, but it costs 10 MP from both of them each time, and with only 90 MP on Wedge you can't just spam Vibra Edge every battle. Or do, I don't care, you're the one playing. Since there's no point to using any other skills you can speed up time by pressing Select to initiate Auto-Battle, your party members will just attack on their own and the battles will go much faster.
Collect the Potion from the chest and head right to a fork. Take the path up to a Tent, then go right and follow the linear path until you see the stairs to the next area. Head left for an Ether first, then move on. Biggs and Wedge leave your party now, we'll be trekking the rest of the dungeon alone. Enter the door to find a Save Point, though you shouldn't need rest yet. However, if you want to use a Tent anyway, the Moon will cycle to Waning, which powers up physical attacks and weakens special attacks, which you don't use yet. Go ahead if you like, but know that enemy attacks are powered up too. On the other side head left immediately through a hidden path in the wall to a Phoenix Down, then head back up the stairs and go right. Go up the next set of stairs you find for a Bomb Fragment. Head down to the stairs to the next floor, snagging the Eye Drops from a nearby chest first.
Open the first chest in view for a Bronze Hourglass, then head right across the bridge. Claim the Tent from the chest on the ledge, then go all the way down to find an Antarctic Wind. Go back up, take the left path and follow it left to some Echo Herbs. Down below is a notch in the lower wall, it leads to a hidden path with a chest containing Iron Gloves, in case you didn't take a pair from Biggs and Wedge. Enter the door for a Save Point, save and rest to heal. If you didn't rest last time, now we'll be on the Waning Moon and attacks are stronger. This is good for us. Down the stairs outside lies our first boss. Ceodore should be around Level 9 or 10 for this, if you go a bit higher to Level 12 you'll learn Protect, which will be helpful later but not here.
Awaken, Young Squire[]
| Boss | |||||
| Sand Worm | |||||

| |||||
| HP | MP | Dangerous Attack | |||
| 350 | N/A | None | |||
| Steal | Morph | Drops | |||
| N/A | N/A | Nothing | |||
| Weakness | Resistance | Difficulty | |||
| Nothing | Nothing | 1/5 | |||
Open the chest up on the ledge to begin the battle, a Sand Worm. If you haven't used it yet, hit Select and watch the Auto-Battle. No matter how much you hack away the worm won't die, and after a few turns it'll use Whirlwind to drop you to low HP. Biggs and Wedge run in but Ceodore stands and continues to fight alone. He'll automatically use Awaken now, healing himself and boosting his damage output. Now just slice and dice the worm, with the stat boost from Awaken it'll be over quick, especially if you leveled up as I said. The worm may use Whirlwind again, laugh as it fails to effect our determined little knight-in-training. Once the Sand Worm keels over you'll obtain the Knight's Emblem, and from now on Ceodore will have Awaken to be used freely in battle. Now head back out of the cave the way we came in. Before going up the stairs to the entrance though, open the menu and remove all of Biggs and Wedge's equipment. Up top Biggs will leave the party. Go outside, save, and perhaps restock your item supply at Mythril if you used up some Potions in the cave, then board the airship. Inspect the pot to heal, then tell the soldier you're ready to go.
In the air, Biggs is slightly less of a jerkass to us now that we've shown him our power firsthand. Suddenly monsters attack and we're thrown into battle with two Belphegors. If you're on the Waning Moon they pack a punch with normal attacks and can use Whirlwind. Fortunately it doesn't weak us like the Sand Worm's, it instead does minor damage to the entire party.. Since Biggs and Wedge are unequipped use Biggs's Fira spell on them while Ceodore casts Protect on the party to buff defenses. Wedge is on healing duties with Cura. Switch Ceodore to attacking once you've got two or three Protects up. The Belphegors will take a lot of punishment before they go down, cast Fira on a single target to take them down one at a time rather than both at once. You'll get 1000 Exp for your victory, more if you decide to let Biggs and/or Wedge die before you deal the final blow. Ceodore will learn Raise at Level 14, which he may be at if you've been a good little level grinder. In the aftermath it seems Baron is under attack.
| Drake Clawfang's TAY Walkthrough | ||||||||||||||
| Top |
|
Next page | ||||||||||||
| ||||||||||||||