Intangir Bot (talk | contribs) m (Bot: Replacing category Final Fantasy III Walkthrough with Final Fantasy III walkthroughs; cosmetic changes) Tag: apiedit |
No edit summary |
||
| Line 1: | Line 1: | ||
| + | |||
| − | This particular walkthrough page is dedicated to Kuja, for being the greatest Villian ever created -- [[User:Rocking Chair|Rocking Chair]] |
||
== Preperations == |
== Preperations == |
||
| − | [[File:Djinn-FFIII.jpg|thumb|234px| |
+ | [[File:Djinn-FFIII.jpg|thumb|234px|I've included this image of our old friend Djinn to show you I am serious.]] |
| + | |||
| − | We have come a long way since we first started on Page 1. Now it's time to put your Final Fantasy III skills to the test because ask anyone on this wiki and the thing they remember this game for is the Final Dungeon. Luckily we have a couple of things to do first and a couple of weapons to grab from Eureka. However the difficulty is upped for the rest of the game and you need to be able to handle that. |
||
| + | We have come a long way since we first started on Page 1. Now it is time we put our Final Fantasy III skills to the test. Ask anyone about their experiences of this title and they will all mention the Final Dungeon. With many bosses, no save points and a brutal final boss, it is a massive challenge to overcome. I will say that it is achievable through some grinding, diligence and strategy and certainly a good feeling of accomplishment is earned from this task. |
||
| + | |||
| + | First comes the Eureka section of the dungeon which will net you some of the most impressive weapons in the game. You're hand is held a bit better during this section of the final dungeon, though this doesn't mean the random battles aren't fairly tough to overcome (or the bosses for that matter). I'll give some advice on how you can prepare for this. |
||
| + | |||
| + | Firstly I advise that we do a bit of level grinding. The best place to do this would be the Ancients' Maze (where you got the Earth Crystal, we are going back there now actually!) The Crystal Tower is also great once we make it in there though there is no easy access to an inn once we are there. A minimum of level 50 is probably best for approaching Eureka and the Crystal Tower though once we get to running towards the final boss, even being at 60 would likely be a good target to make it a fairer fight. |
||
| + | As for Jobs, you can switch them about to improve your stats if you like (Black Belts for HP etc.) though I always found this took forever. I'd just pick Jobs you like though make sure you have at least a White Mage of Devout. For the record, I used a Knight, Devout, Ninja, and Black Belt. I'd just raise your job level through regular grinding though you can also find some weaker enemies and guard a few times before finishing the battle to raise these quickly. I always found that even more tedious than grinding though. At least make sure they are past the Job transition phase! |
||
| − | Firstly I advise that we do a bit of training. The best places at the moment will probably be The Cave of Shadows and Bahamut's lair. I'd get yourself up to a minimum of level 50 for now but going up to 60 or even 70 is not such a bad idea. It's also a good idea to find yourself a set of jobs that you like. There's no real battles from here on in that require particular jobs so you can go with favourites. Once you have picked some try and get their job levels up to 50 as well. |
||
| − | A handy tip I picked up from [[User:Hexedmagica|Hexed]] was to put everyone in your party as Black Belts, then level grind them up and increase their job levels and watch their HP soar. Once you are happy with their HP you can revert them back to their other Jobs. |
||
== [[Ancients' Maze]] == |
== [[Ancients' Maze]] == |
||
[[File:Ancients'_Maze.jpg|thumb|left|256px]] |
[[File:Ancients'_Maze.jpg|thumb|left|256px]] |
||
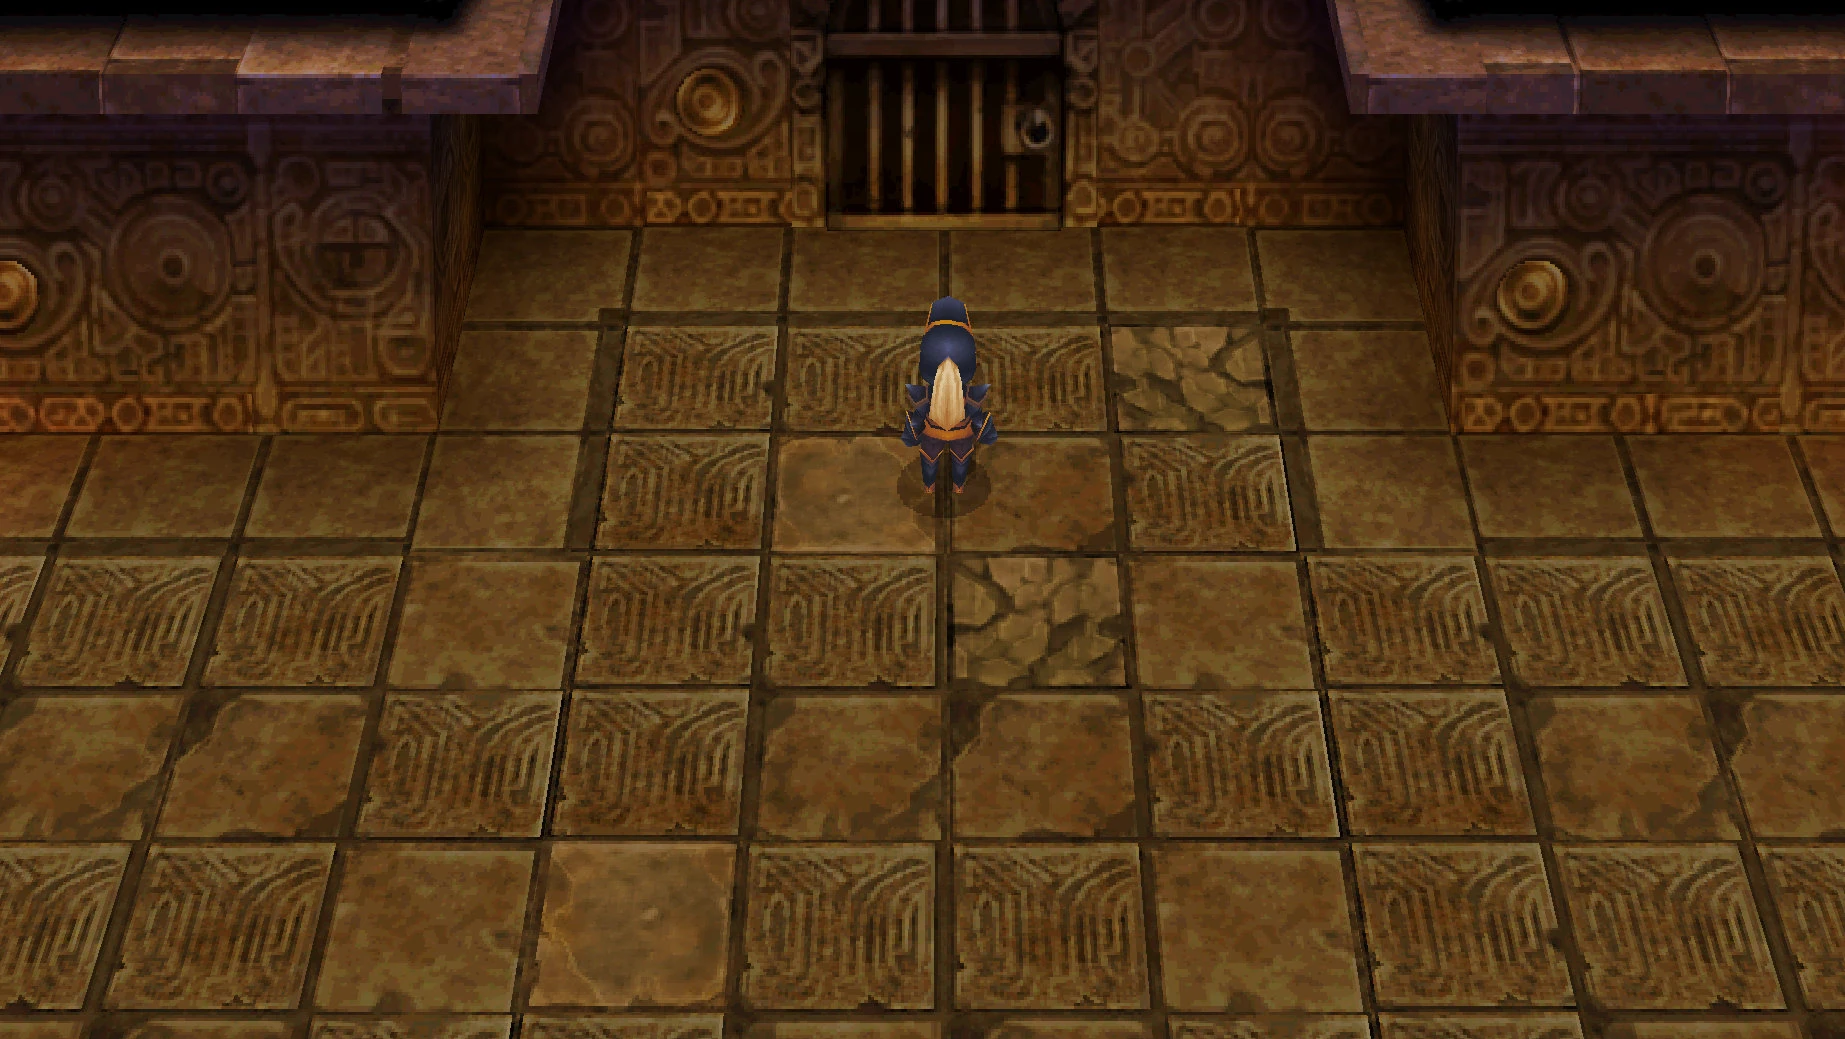
| − | Welcome back to the Ancients maze, |
+ | Welcome back to the Ancients maze, we have already been here before but this time we have other business to attend to. The enemies here are another step up in difficulty but you should of done plenty of grinding before you came here. As usual, follow my instructions and I will take you where you really need to be. |
'''<u>First Floor</u>''' |
'''<u>First Floor</u>''' |
||
| − | When you walk through those doors last time you went straight forwards. This time we are going right and up to find |
+ | When you walk through those doors last time you went straight forwards. This time we are going right and up to find an elixir. You will also see the stairs here. |
'''<u>Second Floor: Room 1</u>''' |
'''<u>Second Floor: Room 1</u>''' |
||
| − | Start by grabbing the two chests on the left which contain a Crystal Shield and Lilith's Kiss. Now run right and up and then |
+ | Start by grabbing the two chests on the left which contain a Crystal Shield and Lilith's Kiss. Now run right and up and then left again until you reach a Crystal Mail. All the way up is a White Musk and then work your way right and remember to pick up the Crystal Gloves on the way. I don't exactly know how you could forget to but its important you do. Run through the black space into the next area. |
'''<u>Second Floor: Room 2</u>''' |
'''<u>Second Floor: Room 2</u>''' |
||
| − | Grab the Crystal Helm nearby and start making your way down south. Keep going |
+ | Grab the Crystal Helm nearby and start making your way down south. Keep going south whenever possible and you will come across three treasure chests containing a Break Blade, Phoenix Down and Chocobo's Wrath. Head back up to the intersection and go right up and you will reach the end of this room. Before you leave though pick up the Dual Haken. |
'''<u>Second Floor: Room 3</u>''' |
'''<u>Second Floor: Room 3</u>''' |
||
| − | + | Instead of providing a straight path heading right, you're going to have to wind your way there cause it isn't called a Maze for nothing! On the way grab the Phoenix Down and then right at the end is a Protect Ring. Run up the stairs and onto the next floor. |
|
'''<u>Third Floor</u>''' |
'''<u>Third Floor</u>''' |
||
| − | Run forwards to find a Holy Lance. Go |
+ | Run forwards to find a Holy Lance. Go east or west from here, it doesn't really matter, and then up and around to another treasure chest with some Hellish Claws. What makes these claws so hellish? Continue forward and you will come to some stairs which will take you outside. |
== [[Eureka (location)|The Forbidden Land of Eureka]] == |
== [[Eureka (location)|The Forbidden Land of Eureka]] == |
||
| − | Now that you are back outside we can save up and get ready for the next Dungeon. Unfortunately you cannot heal and you won't be able to for the rest of the game unless you want to walk all the way back to your ship. If you do |
+ | Now that you are back outside we can save up and get ready for the next Dungeon. Unfortunately, you cannot heal yourself with a tent or an inn and you won't be able to for the rest of the game unless you want to walk all the way back to your ship. If you do it involves traversing that maze again. What a horrible way to inconvenience the player! |
| − | Enter the Crystal Tower and run straight up until you get to a door with a weird marking on it. You'll know you've run into it when our characters ( |
+ | Enter the Crystal Tower and run straight up until you get to a door with a weird marking on it. You'll know you've run into it when our characters (do you even remember who they are?) discover that the key is reacting in a weird way. You'll soon be teleported into the magical land of Eureka and ready to move again. First of all id like to say how cool Eureka looks, it has a very cool look compared to many of the dungeons in this game. |
[[File:Forbidden_Land_Eureka.jpg|thumb|256px]] |
[[File:Forbidden_Land_Eureka.jpg|thumb|256px]] |
||
'''<u>First Floor</u>''' |
'''<u>First Floor</u>''' |
||
| − | Start off by going south along the right path and you will come across a small path going in towards the middle with an |
+ | Start off by going south along the right path and you will come across a small path going in towards the middle with an Elixir and a White Musk. Continue along south and you will eventually run into the stairs, but if you run up along the left path you can find a symmetrical path with a Chocobo's Wrath and a Fuma Garb. Now you may head down and take the stairs. |
'''<u>Second Floor</u>''' |
'''<u>Second Floor</u>''' |
||
| − | This floor is kinda similar to previous. For something different we will take the |
+ | This floor is kinda similar to previous. For something different we will take the left path this time and there is a room with a White Musk there. Now run around in a circle and back up the right of screen and enter the room for a White Musk, Chocobo's Wrath and a Phoenix Down. There is another treasure chest in the middle of this circle which is guarded by a Ninja. He likes to attack fast and throw some status effects on you but he isn't up to boss standards so dispose of him quickly. For winning you get a ribbon (VERY IMPORTANT!). |
There are two sets of stairs you can go down, take the left one first which isn't special enough to get a whole title page as it just contains a Shuriken and an impressive looking waterfall in the background. Head back and this time take the right path for the real third floor |
There are two sets of stairs you can go down, take the left one first which isn't special enough to get a whole title page as it just contains a Shuriken and an impressive looking waterfall in the background. Head back and this time take the right path for the real third floor |
||
| Line 51: | Line 55: | ||
'''<u>Third Floor</u>''' |
'''<u>Third Floor</u>''' |
||
| − | Cross the bridge and head west to grab an Elixir. |
+ | Cross the bridge and head west to grab an Elixir. Now move down and follow the path West finding a Shuriken and a Phoenix Down along the way. |
| − | |||
| ⚫ | |||
| − | |||
| − | |||
| ⚫ | |||
[[Walkthrough:Final Fantasy III/Rocking Chair/Part 25|<- Previous Page ]] |
[[Walkthrough:Final Fantasy III/Rocking Chair/Part 25|<- Previous Page ]] |
||
Revision as of 03:01, 17 May 2019
Preperations

I've included this image of our old friend Djinn to show you I am serious.
We have come a long way since we first started on Page 1. Now it is time we put our Final Fantasy III skills to the test. Ask anyone about their experiences of this title and they will all mention the Final Dungeon. With many bosses, no save points and a brutal final boss, it is a massive challenge to overcome. I will say that it is achievable through some grinding, diligence and strategy and certainly a good feeling of accomplishment is earned from this task.
First comes the Eureka section of the dungeon which will net you some of the most impressive weapons in the game. You're hand is held a bit better during this section of the final dungeon, though this doesn't mean the random battles aren't fairly tough to overcome (or the bosses for that matter). I'll give some advice on how you can prepare for this.
Firstly I advise that we do a bit of level grinding. The best place to do this would be the Ancients' Maze (where you got the Earth Crystal, we are going back there now actually!) The Crystal Tower is also great once we make it in there though there is no easy access to an inn once we are there. A minimum of level 50 is probably best for approaching Eureka and the Crystal Tower though once we get to running towards the final boss, even being at 60 would likely be a good target to make it a fairer fight.
As for Jobs, you can switch them about to improve your stats if you like (Black Belts for HP etc.) though I always found this took forever. I'd just pick Jobs you like though make sure you have at least a White Mage of Devout. For the record, I used a Knight, Devout, Ninja, and Black Belt. I'd just raise your job level through regular grinding though you can also find some weaker enemies and guard a few times before finishing the battle to raise these quickly. I always found that even more tedious than grinding though. At least make sure they are past the Job transition phase!
Ancients' Maze
Welcome back to the Ancients maze, we have already been here before but this time we have other business to attend to. The enemies here are another step up in difficulty but you should of done plenty of grinding before you came here. As usual, follow my instructions and I will take you where you really need to be.
First Floor
When you walk through those doors last time you went straight forwards. This time we are going right and up to find an elixir. You will also see the stairs here.
Second Floor: Room 1
Start by grabbing the two chests on the left which contain a Crystal Shield and Lilith's Kiss. Now run right and up and then left again until you reach a Crystal Mail. All the way up is a White Musk and then work your way right and remember to pick up the Crystal Gloves on the way. I don't exactly know how you could forget to but its important you do. Run through the black space into the next area.
Second Floor: Room 2
Grab the Crystal Helm nearby and start making your way down south. Keep going south whenever possible and you will come across three treasure chests containing a Break Blade, Phoenix Down and Chocobo's Wrath. Head back up to the intersection and go right up and you will reach the end of this room. Before you leave though pick up the Dual Haken.
Second Floor: Room 3
Instead of providing a straight path heading right, you're going to have to wind your way there cause it isn't called a Maze for nothing! On the way grab the Phoenix Down and then right at the end is a Protect Ring. Run up the stairs and onto the next floor.
Third Floor
Run forwards to find a Holy Lance. Go east or west from here, it doesn't really matter, and then up and around to another treasure chest with some Hellish Claws. What makes these claws so hellish? Continue forward and you will come to some stairs which will take you outside.
The Forbidden Land of Eureka
Now that you are back outside we can save up and get ready for the next Dungeon. Unfortunately, you cannot heal yourself with a tent or an inn and you won't be able to for the rest of the game unless you want to walk all the way back to your ship. If you do it involves traversing that maze again. What a horrible way to inconvenience the player!
Enter the Crystal Tower and run straight up until you get to a door with a weird marking on it. You'll know you've run into it when our characters (do you even remember who they are?) discover that the key is reacting in a weird way. You'll soon be teleported into the magical land of Eureka and ready to move again. First of all id like to say how cool Eureka looks, it has a very cool look compared to many of the dungeons in this game.

First Floor
Start off by going south along the right path and you will come across a small path going in towards the middle with an Elixir and a White Musk. Continue along south and you will eventually run into the stairs, but if you run up along the left path you can find a symmetrical path with a Chocobo's Wrath and a Fuma Garb. Now you may head down and take the stairs.
Second Floor
This floor is kinda similar to previous. For something different we will take the left path this time and there is a room with a White Musk there. Now run around in a circle and back up the right of screen and enter the room for a White Musk, Chocobo's Wrath and a Phoenix Down. There is another treasure chest in the middle of this circle which is guarded by a Ninja. He likes to attack fast and throw some status effects on you but he isn't up to boss standards so dispose of him quickly. For winning you get a ribbon (VERY IMPORTANT!).
There are two sets of stairs you can go down, take the left one first which isn't special enough to get a whole title page as it just contains a Shuriken and an impressive looking waterfall in the background. Head back and this time take the right path for the real third floor
Third Floor
Cross the bridge and head west to grab an Elixir. Now move down and follow the path West finding a Shuriken and a Phoenix Down along the way.
This next floor contains the first of the Sealed Weapons which are all guarded by a semi-difficult boss. There are a bunch of these you need to fight so I'm going to begin on the next page.