m (Enterprise → Invincible) Tag: Source edit |
|||
| (15 intermediate revisions by 7 users not shown) | |||
| Line 1: | Line 1: | ||
| − | This Walkthrough page brought to you by RC Cola, The Cola with more [[User:Rocking Chair|Rocking Chair]] |
||
| − | == The |
+ | == The Invincible == |
| − | [[File:Enterprise.jpg|thumb|302px|lets just pretend that is the ship your flying, it comes under the name "Enterprise"]] |
||
| − | Here is a quick run-down on how the Enterprise works. Unei will pretty much explain it to you but i will also type it up. This ship is more like a HouseBoat or a Campavan that flies in the sky. Your team can Fly around the surface world but can also retreat in here to Have a rest, buy weapons, play some cards or have a smoke. You can restore your health and stuff by resting in the beds, you can buy weapons and armour from the coin operated machine that acts as a shop and you can even summon the Fat Chocobo. The downside is that you can't fly as fast as you would on you old ship =( |
||
| + | Here is a quick run-down on how your new ship The Invincible works. Unei will pretty much explain it to you but I will also type it up in case you were distracted. This is one large ship, complete with its own internal space that you can wander around in. You can fly your ship around and retreat into the interior at the touch of a button to use some of the facilities. In here, you have some beds to rest, a Fat Chocobo and Mognet as well as some handy shops including high end weapons and armour. That all sounds pretty good hey! The problem is that this ship is incredibly slow to fly, much slower than the Nautilus was though it is capable of clearing the smaller mountain barriers scattered about the world. Even worse is the annoying landing procedure where you have to leave the wheel and walk down the stairs onto the ground. This isn't so bad the first few times but it can become very tedious. |
||
| − | Unei will somehow hear Doga longing from some loving from his Circle Cave. Unei who has spent her time in the dream world is desperate for some good-old fashioned sex. I wish i hadn't said that now! Please forgive me for adding those pictures into your head. Next stop is the Cave of Shadows according to Unei but we have to stop at Falgabard first. Unei will now leave the party never to return. Your on your own for the rest of the game. |
||
| + | Unei suggests that we visit old Doga in the Circle Cave which we will eventually come to but first we have some other work to do. Before then, we have to visit the Cave of Shadows and before even that, we have to stop at Falgabard. Say goodbye to Unei who will now leave the party never to return. That was your last guest character so you're on your own for the rest of the game. |
||
| − | Whoa! when you rise your ship look how far we managed to venture away from the Continent. We are going to stop in Falgabard which is in the middle of the Western Continent over some mountains. |
||
| + | We are going to stop in Falgabard which is in the middle of the Western Continent over some mountains. Like everything over there, it is a pain to find. If you find a small mountain barrier you can clear it with your new ship and you'll know you're at your next destination. |
||
| − | == [[Falgabard]] == |
||
| + | |||
| + | == [[Falgabard (Final Fantasy III)|Falgabard]] == |
||
[[File:Falgabard.jpg|thumb|left|256px]] |
[[File:Falgabard.jpg|thumb|left|256px]] |
||
| − | Falgabard is the town of Dark Knights much |
+ | Falgabard is the town of Dark Knights, much in the same vein as other Job-centric towns. Why they all congregate together is an interesting question, the segregation of Jobs is somewhat bizarre. Now is a good time to grab at least one Dark Knight though feel free to bring in a second. Just make sure you've still got a White Mage (Bard if you're adventurous) and the last pick is you're choice. Thief and Dragoon are both useful around this stage. |
| ⚫ | Each of the shops here sell Weapons and Armour suited for Dark Knights. Before you do this though, I recommend you raid this place for free gear first. The cave in the back of the town serves as a warm-up for the upcoming dungeon so you can learn the enemy mechanics. You'll have already come across some splitting enemies in a few Monster-In-A-Box battles in the Sunken Cave and the Dark Knight's weapons prevent them from doing so. Even then it isn't a massive issue from my experience. In the entrance is a Blessed hammer then take the secret passage on the right and when you are back in the light, follow the winding path north. When you hit the Demon Mail in the treasure chest, head through the secret passage on the right that will take you up. The last two chests have an Ashura and Kotetsu and you may leave this cave. |
||
| − | Each of the shops here sell weapons and Armour suited for Dark Knights. Now is the time to deck out your characters with the gear that they need. Once you have done that you can head to the magic shop. It only sells level 2 spells though so buy them if for some bizarre reason. At least make sure you have “Cura” and “Teleport” |
||
| + | |||
| + | One other secret little area is if you walk into the waterfall at the north-east of town. In here, you can approach the sitting NPC who turns out to be a [[Shinobi|Shinobi (Final Fantasy III)]]. This battle can be treated as a bit of an easier boss encounter in which you're reward is a Kiku-Ichimonji (that was a pain to write). Now head down into the water and outside where you can run around to a little island. Just tap that A or X button all over here to find some Demon Mail and Shield, Blessed Hammer and a High Potion. |
||
| + | |||
| + | The Magic shop here only sells level 3 spells you should already have. Just make sure you have Cura and Teleport. Now we can head to the Cave of Shadows which is found on the Eastern Continent (about halfway up). To get there, you have to navigate an annoying maze of mountains that you can use your ship to rise over. |
||
| ⚫ | |||
== [[Cave of Shadows]] == |
== [[Cave of Shadows]] == |
||
| − | This place is a |
+ | This place is a hassle to walkthrough sorry, I'll do my best though! It involves a lot of dark areas that you mostly have to feel your way through. It can be a bit of a long trek compared to what you are used to. As mentioned above, a lot of enemies here can split and are weak to your Dark Knight's weapons. There's a Boss in this place too so be careful with that MP. See you on the other side! |
'''<u>First Floor</u>''' |
'''<u>First Floor</u>''' |
||
| + | [[File:Cave of Shadows - WM.jpg|thumb|256px]] |
||
| − | |||
| − | At the entrance there is a secret passage to the right |
+ | At the entrance there is a secret passage to the right where you will find Black Musk. Head back and ignore the Dark Knight who has nothing of interest to say. Along the road down south you will find some Dark Claws and near the stairs there is a Dark Knight who is not long for this world. He will give you a Kotetsu before he leaves in case you didn't pick up weapons earlier. He has contributed to our cause at least. |
'''<u>Second Floor</u>''' |
'''<u>Second Floor</u>''' |
||
| − | Walk to the |
+ | Walk to the north along this path, taking a secret passage going west with a Tranquilizer. Continue back along the main path which should lead west through a secret passage into a small room with a Lilith's Kiss. Now head down through a dark passage (Not the Spyro Stage) and you will be back in an empty room. Now head through the other dark passage and you can head down the stairs. |
'''<u>Third Floor</u>''' |
'''<u>Third Floor</u>''' |
||
| − | Walk straight south from the entrance and ignore the passage |
+ | Walk straight south from the entrance and ignore the passage secret passage going left, it doesn't go anywhere. Now just run west and then north before you find some stairs at the other side yet another dark and difficult to navigate passage. |
'''<u>Fourth Floor</u>''' |
'''<u>Fourth Floor</u>''' |
||
| − | This room is a little tricky. If you go straight |
+ | This room is a little tricky. If you go straight south you will go into the black and just wind up going around in a circle. So instead, go east all the way and then south at the first secret passage you see. If you got the right one then you will end up at some Genji gloves and the stairs. |
| + | |||
'''<u>Fifth Floor</u>''' |
'''<u>Fifth Floor</u>''' |
||
| + | [[File:Cave of Shadows.jpg|thumb|left|256px]] |
||
| − | |||
| − | Head down into the |
+ | Head down into the wall then head north-west along a secret path. Now head down into another secret path which should take you diagonally south-east. Head down and another secret path going west just above the exit. Finally head down to find the stairs. |
'''<u>Sixth Floor</u>''' |
'''<u>Sixth Floor</u>''' |
||
| − | This is getting very tiring, There isn't too much further to go though. Head |
+ | This is getting very tiring, There isn't too much further to go though. Head east through a secret path. Then when you are back in the light, head south until you reach the end and head west through the dark. At the end you will find a Kiku-ichimonji and some stairs. |
| + | |||
| + | '''<u>Seventh Floor</u>''' |
||
| + | |||
| + | Straight away you will find a Genji shield. Now head east through a secret path/passage/trail (pick your favourite!) and south to the bottom and then west through another secret passage. Once you reach the end you will find the stairs. I have a really big suspicion that this is exactly the same layout as the last floor. |
||
| + | |||
| + | '''<u>Eigth Floor</u>''' |
||
| + | |||
| + | This place never ends does it? There is a massive bone spine set conveniently as a bridge for you to cross. Whoever hid the fang here must of put it there I guess (maybe it was Noah?). All we know is that we need to cross it east to get to the stairs and another piece of Genji equipment in the form of a helmet. Onto the next floor! |
||
| + | |||
| + | '''<u>Ninth Floor</u>''' |
||
| + | |||
| + | This is the final floor. Before you run forwards you will want to head into the secret passage going East and grab the Genji Armour. Now we can run across another massive spine and right up to the fang of Earth. However a dark shadow will attack you similar to back when we battled the Land Turtle. We sure have come a long way..... |
||
| + | |||
| + | |||
| + | {|border="1" cellspacing="0" cellpadding="2" width="70%" |
||
| + | |- bgcolor="springgreen" |
||
| + | |width="10%" style="text-align:center"|<font color="orange">'''Medium'''</font> |
||
| + | |width="50%" style="text-align:center"|<font color="white">'''''Boss Battle: Hecatoncheir'''''</font> |
||
| + | |- |
||
| + | |colspan="2"| [[File:HecatoncheirDS.png|center]] |
||
| + | |- |
||
| + | |bgcolor="#1E90FF" colspan="2"| |
||
| + | |||
| + | '''Hp:''' 30,000 |
||
| + | |||
| + | '''Drop:''' Shining Curtin, Shell Breaker, Black Musk, Lillith's Kiss |
||
| + | |||
| + | '''Weakness:''' None |
||
| + | |||
| + | ---- |
||
| + | |||
| + | Aww Heck, this boss fight comes at the end of a pretty long and tiring dungeon so I'll put it at the Medium level. It's all about how good your defence is though. |
||
| + | |||
| + | All that the Hec has is his physical attack where he swings that sword at you. He likes to do it twice though and if you're only going to do one thing, you may as well do it well since these can hurt a bit. Hopefully he doesn't start swinging wildly at your White Mage. The only other move you might see here is Quake which he sometimes turns to when he is low on health and can hit your whole party. Just make sure you keep on healing. |
||
| + | |||
| + | There isn't much to say on the offensive front. Your Dark Knights shouldn't need to use any self-harming methods and stick to regular attacks. That can always be a bit risky if you start taking off your own HP. Get them Dragoons Jumping if you want though be mindful that this leaves a higher chance of your weaker defensive classes being left to take the brunt of his attacks. This is a pretty basic battle though I'd just make sure that you stay on the defensive side, you don't want to do this dungeon again! |
||
| + | |} |
||
| + | |||
| + | With Hecky out of the way we are free to take the final of the Four Fangs. Don't get your hopes up, nothing exciting will happen yet. All this means is that we are free to progress to the next part of the game. Teleport out and heal in the Invincible, then fly your Invincible over to the next page. |
||
| − | [[Walkthrough:Final Fantasy III/Rocking Chair/Part 22|<- Previous Page |
+ | [[Walkthrough:Final Fantasy III/Rocking Chair/Part 22|<- Previous Page]] |
| |
| |
||
[[Walkthrough:Final Fantasy III/Rocking Chair|Main Page]] |
[[Walkthrough:Final Fantasy III/Rocking Chair|Main Page]] |
||
| |
| |
||
| − | [[Walkthrough:Final Fantasy III/Rocking Chair/Part 24|Next Page -> |
+ | [[Walkthrough:Final Fantasy III/Rocking Chair/Part 24|Next Page ->]] |
| − | [[Category: |
+ | [[Category:Final Fantasy III walkthroughs]] |
Latest revision as of 13:26, 24 January 2021
The Invincible[]
Here is a quick run-down on how your new ship The Invincible works. Unei will pretty much explain it to you but I will also type it up in case you were distracted. This is one large ship, complete with its own internal space that you can wander around in. You can fly your ship around and retreat into the interior at the touch of a button to use some of the facilities. In here, you have some beds to rest, a Fat Chocobo and Mognet as well as some handy shops including high end weapons and armour. That all sounds pretty good hey! The problem is that this ship is incredibly slow to fly, much slower than the Nautilus was though it is capable of clearing the smaller mountain barriers scattered about the world. Even worse is the annoying landing procedure where you have to leave the wheel and walk down the stairs onto the ground. This isn't so bad the first few times but it can become very tedious.
Unei suggests that we visit old Doga in the Circle Cave which we will eventually come to but first we have some other work to do. Before then, we have to visit the Cave of Shadows and before even that, we have to stop at Falgabard. Say goodbye to Unei who will now leave the party never to return. That was your last guest character so you're on your own for the rest of the game.
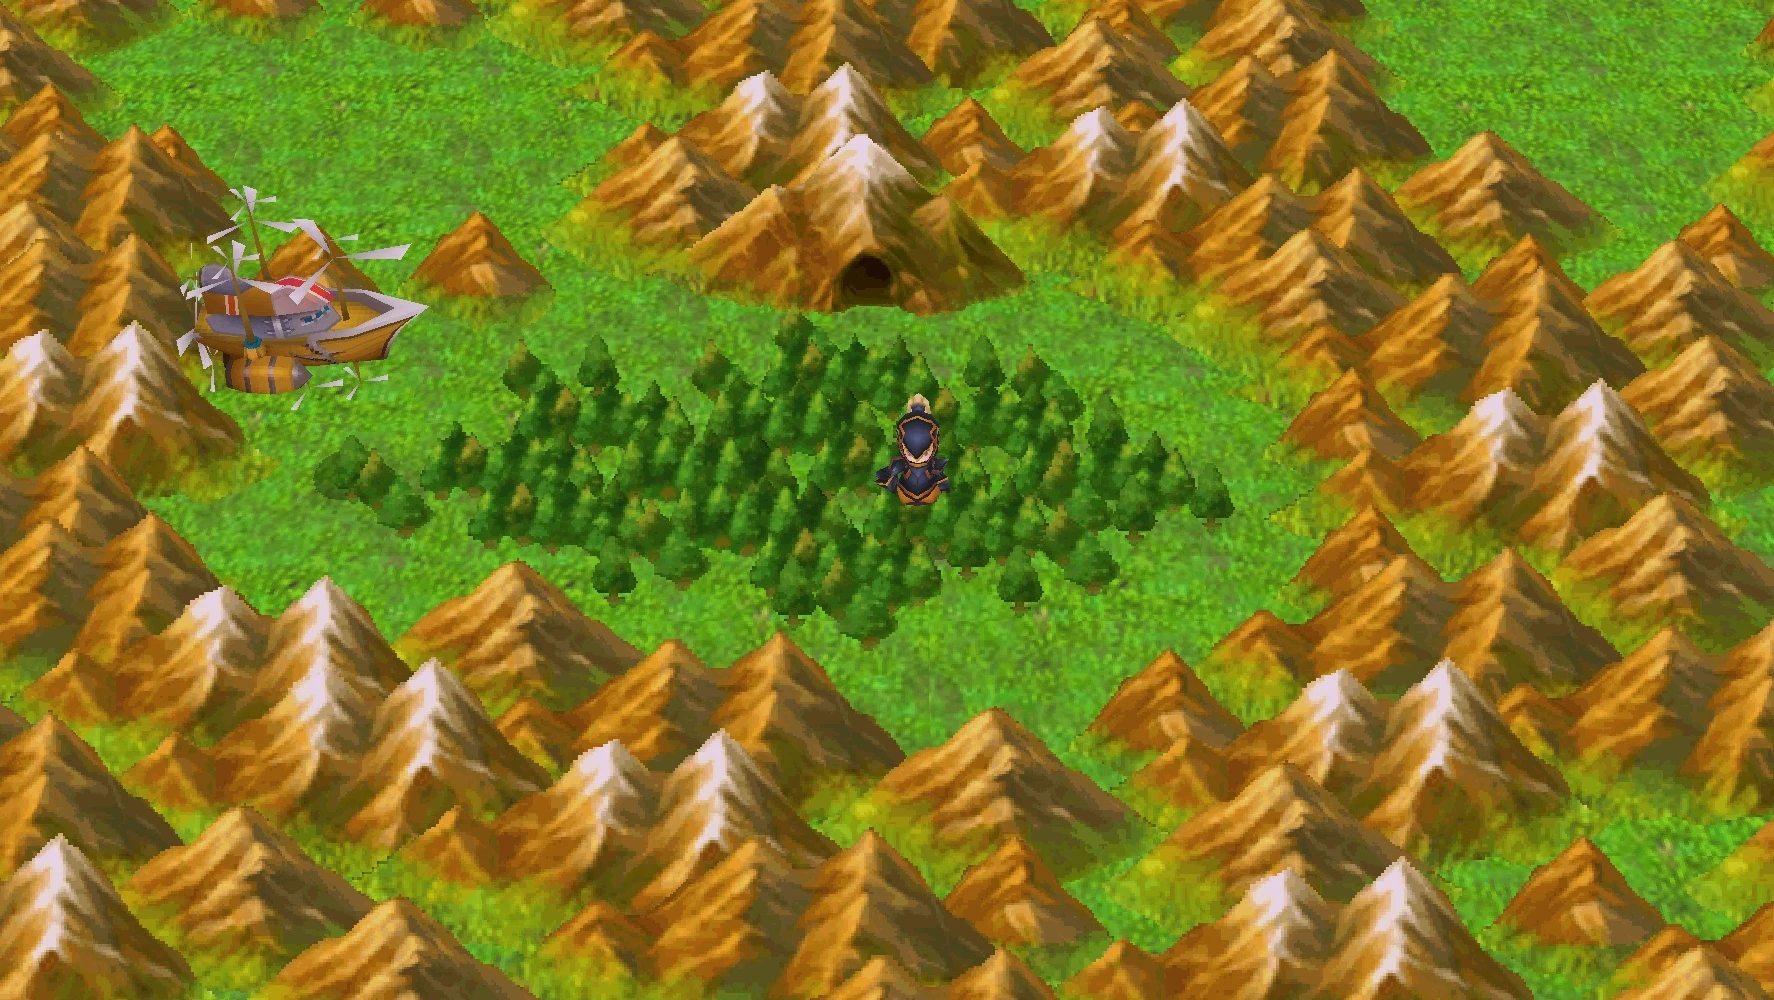
We are going to stop in Falgabard which is in the middle of the Western Continent over some mountains. Like everything over there, it is a pain to find. If you find a small mountain barrier you can clear it with your new ship and you'll know you're at your next destination.
Falgabard[]

Falgabard is the town of Dark Knights, much in the same vein as other Job-centric towns. Why they all congregate together is an interesting question, the segregation of Jobs is somewhat bizarre. Now is a good time to grab at least one Dark Knight though feel free to bring in a second. Just make sure you've still got a White Mage (Bard if you're adventurous) and the last pick is you're choice. Thief and Dragoon are both useful around this stage.
Each of the shops here sell Weapons and Armour suited for Dark Knights. Before you do this though, I recommend you raid this place for free gear first. The cave in the back of the town serves as a warm-up for the upcoming dungeon so you can learn the enemy mechanics. You'll have already come across some splitting enemies in a few Monster-In-A-Box battles in the Sunken Cave and the Dark Knight's weapons prevent them from doing so. Even then it isn't a massive issue from my experience. In the entrance is a Blessed hammer then take the secret passage on the right and when you are back in the light, follow the winding path north. When you hit the Demon Mail in the treasure chest, head through the secret passage on the right that will take you up. The last two chests have an Ashura and Kotetsu and you may leave this cave.
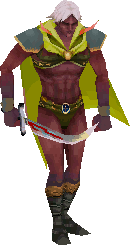
One other secret little area is if you walk into the waterfall at the north-east of town. In here, you can approach the sitting NPC who turns out to be a Shinobi (Final Fantasy III). This battle can be treated as a bit of an easier boss encounter in which you're reward is a Kiku-Ichimonji (that was a pain to write). Now head down into the water and outside where you can run around to a little island. Just tap that A or X button all over here to find some Demon Mail and Shield, Blessed Hammer and a High Potion.
The Magic shop here only sells level 3 spells you should already have. Just make sure you have Cura and Teleport. Now we can head to the Cave of Shadows which is found on the Eastern Continent (about halfway up). To get there, you have to navigate an annoying maze of mountains that you can use your ship to rise over.
Cave of Shadows[]
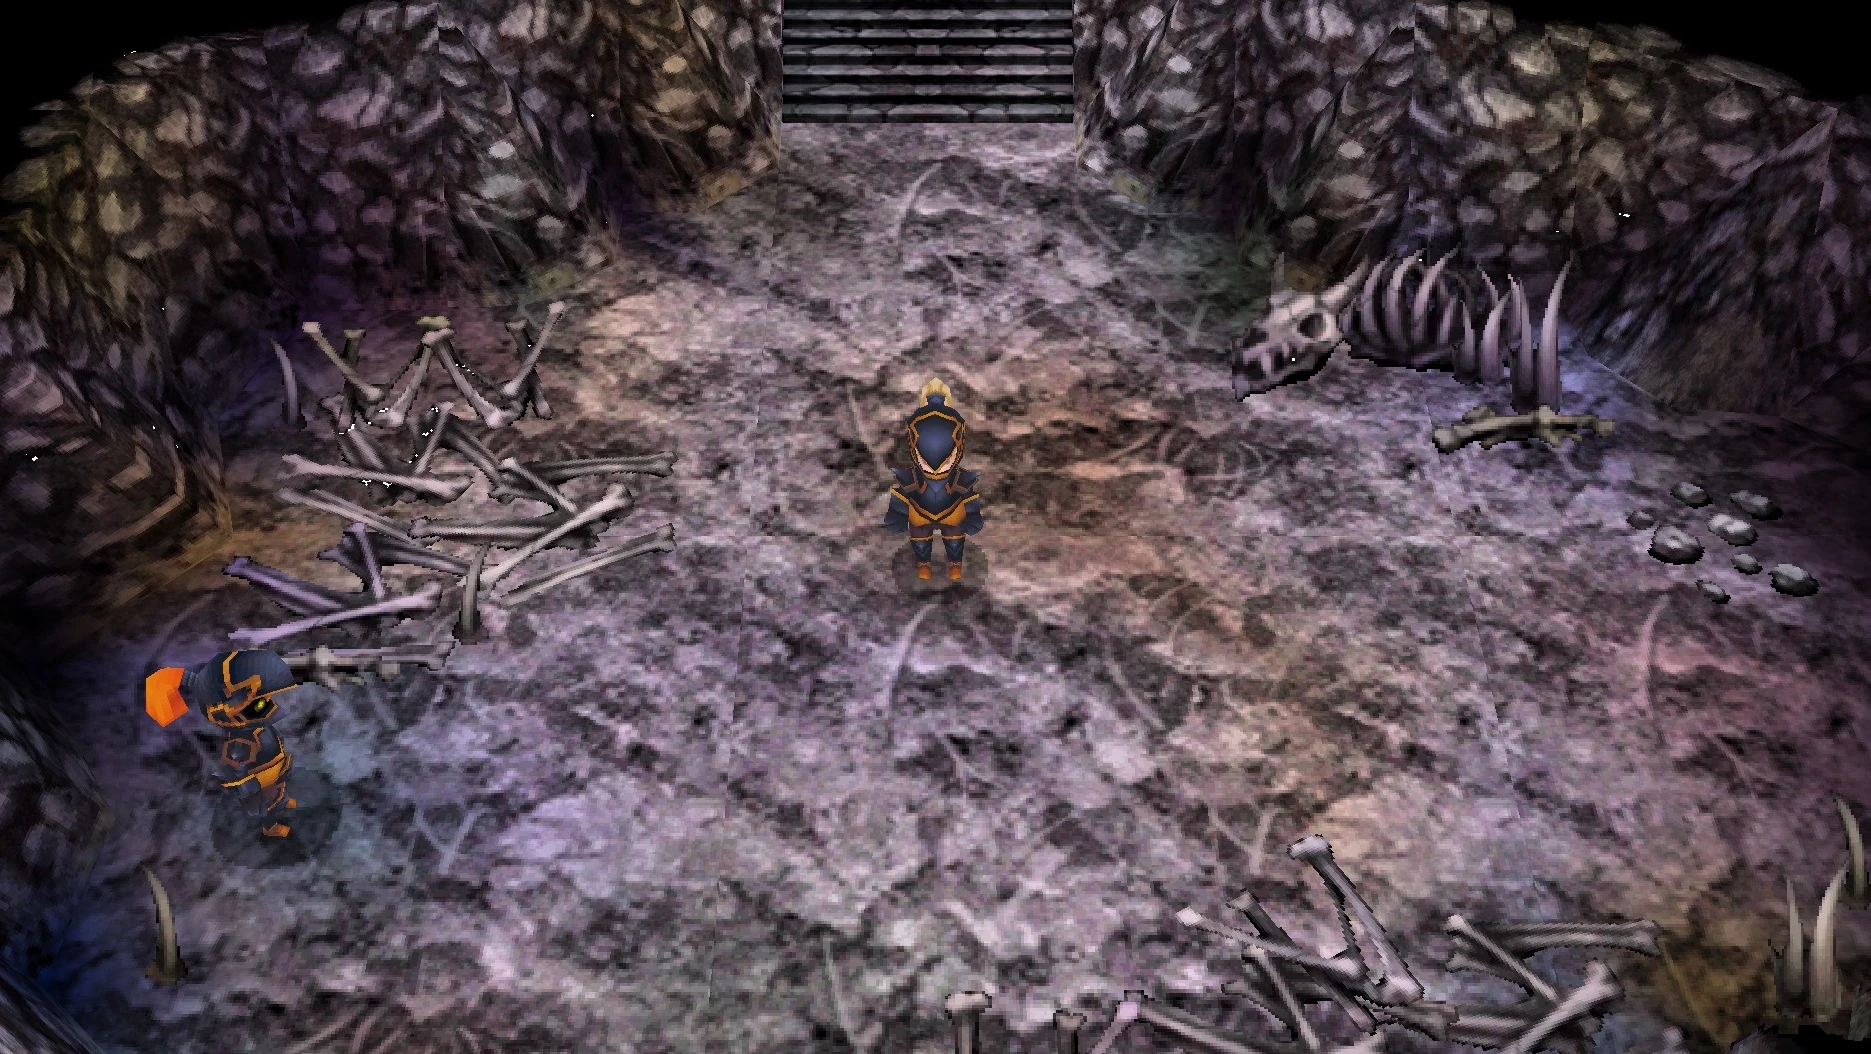
This place is a hassle to walkthrough sorry, I'll do my best though! It involves a lot of dark areas that you mostly have to feel your way through. It can be a bit of a long trek compared to what you are used to. As mentioned above, a lot of enemies here can split and are weak to your Dark Knight's weapons. There's a Boss in this place too so be careful with that MP. See you on the other side!
First Floor
At the entrance there is a secret passage to the right where you will find Black Musk. Head back and ignore the Dark Knight who has nothing of interest to say. Along the road down south you will find some Dark Claws and near the stairs there is a Dark Knight who is not long for this world. He will give you a Kotetsu before he leaves in case you didn't pick up weapons earlier. He has contributed to our cause at least.
Second Floor
Walk to the north along this path, taking a secret passage going west with a Tranquilizer. Continue back along the main path which should lead west through a secret passage into a small room with a Lilith's Kiss. Now head down through a dark passage (Not the Spyro Stage) and you will be back in an empty room. Now head through the other dark passage and you can head down the stairs.
Third Floor
Walk straight south from the entrance and ignore the passage secret passage going left, it doesn't go anywhere. Now just run west and then north before you find some stairs at the other side yet another dark and difficult to navigate passage.
Fourth Floor
This room is a little tricky. If you go straight south you will go into the black and just wind up going around in a circle. So instead, go east all the way and then south at the first secret passage you see. If you got the right one then you will end up at some Genji gloves and the stairs.
Fifth Floor
Head down into the wall then head north-west along a secret path. Now head down into another secret path which should take you diagonally south-east. Head down and another secret path going west just above the exit. Finally head down to find the stairs.
Sixth Floor
This is getting very tiring, There isn't too much further to go though. Head east through a secret path. Then when you are back in the light, head south until you reach the end and head west through the dark. At the end you will find a Kiku-ichimonji and some stairs.
Seventh Floor
Straight away you will find a Genji shield. Now head east through a secret path/passage/trail (pick your favourite!) and south to the bottom and then west through another secret passage. Once you reach the end you will find the stairs. I have a really big suspicion that this is exactly the same layout as the last floor.
Eigth Floor
This place never ends does it? There is a massive bone spine set conveniently as a bridge for you to cross. Whoever hid the fang here must of put it there I guess (maybe it was Noah?). All we know is that we need to cross it east to get to the stairs and another piece of Genji equipment in the form of a helmet. Onto the next floor!
Ninth Floor
This is the final floor. Before you run forwards you will want to head into the secret passage going East and grab the Genji Armour. Now we can run across another massive spine and right up to the fang of Earth. However a dark shadow will attack you similar to back when we battled the Land Turtle. We sure have come a long way.....
| Medium | Boss Battle: Hecatoncheir |
 | |
|
Hp: 30,000 Drop: Shining Curtin, Shell Breaker, Black Musk, Lillith's Kiss Weakness: None Aww Heck, this boss fight comes at the end of a pretty long and tiring dungeon so I'll put it at the Medium level. It's all about how good your defence is though. All that the Hec has is his physical attack where he swings that sword at you. He likes to do it twice though and if you're only going to do one thing, you may as well do it well since these can hurt a bit. Hopefully he doesn't start swinging wildly at your White Mage. The only other move you might see here is Quake which he sometimes turns to when he is low on health and can hit your whole party. Just make sure you keep on healing. There isn't much to say on the offensive front. Your Dark Knights shouldn't need to use any self-harming methods and stick to regular attacks. That can always be a bit risky if you start taking off your own HP. Get them Dragoons Jumping if you want though be mindful that this leaves a higher chance of your weaker defensive classes being left to take the brunt of his attacks. This is a pretty basic battle though I'd just make sure that you stay on the defensive side, you don't want to do this dungeon again! | |
With Hecky out of the way we are free to take the final of the Four Fangs. Don't get your hopes up, nothing exciting will happen yet. All this means is that we are free to progress to the next part of the game. Teleport out and heal in the Invincible, then fly your Invincible over to the next page.