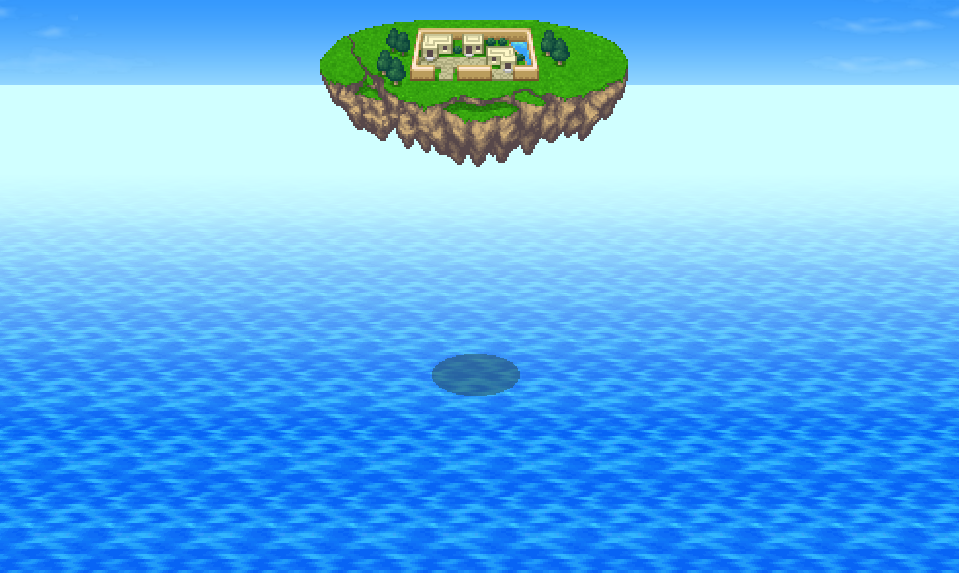
Now that we have been imbued with the holy power of the crystal, Mysidia starts to fall. Everyone marches out, and the screen gives us a small glimpse of a cave entrance to the crystal's side that we couldn't access.
Alexander the Great[]
Walk outside when prompted to find that Mysidia is finally returning to the ground from whence it came. We wind up outside, with the intention of entering the large cave to the north. Not me, however, we still have one last eidolon to get as the Warriors of Light. Go back into Mysidia (shop around as you like it - prioritise curaga) and re-enter Mysidia Cavern. Return to the bottom (where the crystal was), saving before you do so and walk into either of the entrances behind the now listless crystal of Mysidia. Climb down the ladder, climb down three more ladders, and enter the double doors to reach the Castle of the Protector. Save and heal at the given point, and start building a good team to take on the boss. Bring a white mage (not just Sophia) and a black mage (to use comet), and also consider bringing a Paladin, but only one that's not equipped with a holy sword. If they are level 7, all the better, since they'll no come to the battle with the mighty guard ability at the ready. A bard would actually be nice, since their Brave Ballad and Magic Madrigal abilities would amp up the damage caused by their teammates. Whatever you settle with, go north through the ruined castle and examine the prismatic orb at the end.
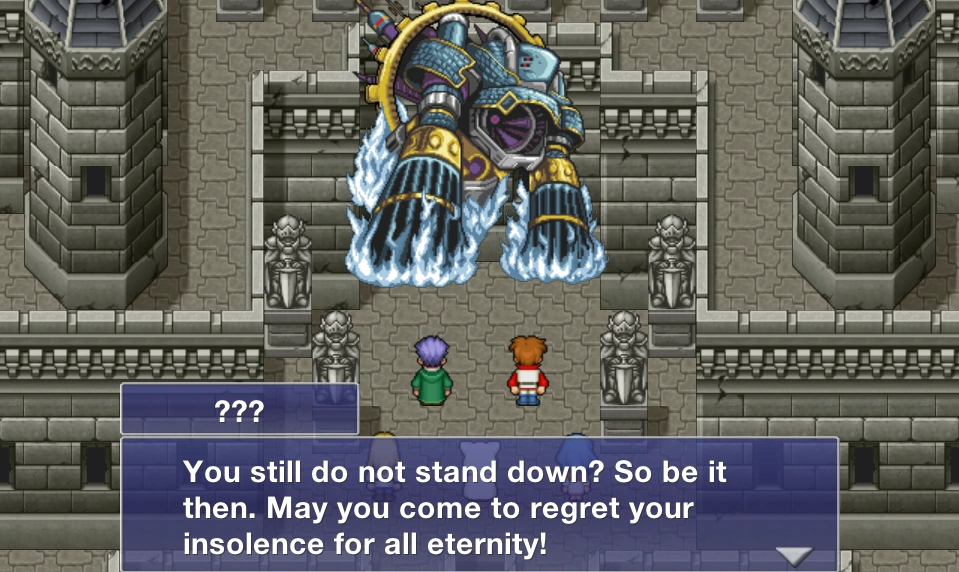
| Boss Fight: Alexander |
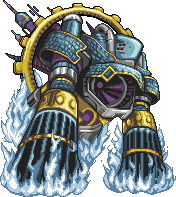
Alex here is supposed to be the opposite to Diabolos back at Lufenia. He's the holy summon, he's weak to dark, and he's the summon that the Warrior's of Light must face to acquire him. Unlike Demon boy, Alexander is a damn hard summon to take down at this point. You could have saved it until later, but you know me: I like a challenge. Despite beind a huge, seemingly immobile castle, Alexander hits fast and hard. He attacks twice every turn he gets, and with near-indisposing moves, like a physical attack worth 1500, Body slam (1500 and confusion), and his favourite, Divine shot, which does 900-1100 damage to the entire party. Thanks to his desire to hit twice, you may even see two divine shots for an even 2000 damage to everyone. Yaaaaay. Protect, shell, but not haste your team up (Ok, maybe just Sophia and the other healer). You'll be applying these moves frequently throughout the fight, since Alexander has the Dispelga spell, which completely removes ALL of it. Problem is, he may dispel your team and follow up with his ultimate move (see below), which can be devastating. The Paladin's mighty guard can be used in these situations to right the situation again, but don't rely to heavily on him/her, because he doesn't have as much MP as the mages. Alex can also protect and shell himself to consolidate his defence (counters physical with shell, magical with protect, may reverse), but that isn't a problem, seeing as Sophia has access to a little dispel magic of her own. Alexander's worst single attack is holy, which will do 2500+ to one person. His worst attack overall is Divine Wrath, which will hit everyone for 1800-2300 damage or greater without the necessary barriers. Curaga that immediately, and try to get everyone to full HP to prevent demolition from the eidolon's next attack. As I mentioned, Alexander will often follow up dispelga with divine wrath, and more often than you think, making the notion of survival extremely hard indeed. Since no one on this team has access to dark weaponry or spells, you're going to have to settle for non-elemental magic and equipment. Moves like strike and bash are good, as are jump and boost jump. The most effective damage you can attain from your current party is with the Black Mage's comet, which will hit for 2800-3000 damage without shell on the target. All in all, this battle is hard because of Alex's high defence, coupled with that high HP. You're in for a looong battle my friends. If you think you aren't strong enough to beat him, you can always come back later. This behemoth isn't going anywhere in a real hurry. |
Alexander is a cool summon to have. His Divine Wrath attack is the only holy attack in the game that hits all opponents, and it hits for a lot of damage. Return to the start of the castle and stand on the teleportation device to be spirited away to the start of the cavern. Heal yourself at the inn, then exit the village and head to the cavern north of your position.
Massive Cavern[]
A massive cavern? Greeeaaat. Though the trek may be long, you'll still be getting showered with gil after every battle, and there's plenty of new and powerful items to be found. The enemies found here are nothing that special, but I warn you of the Behemoth enemy, which will set your party back a bit if you don't prepare well. Their physicals and heave can do around 2000 to a front row individual, and they cast comet on the person who kills them. Furies are pretty bad too, they have access to all the major black magic spells in the game minus flare. The ahriman's only attack of note is doom, which starts a countdown timer from 10 that ends in death. You can't do anything about this except try to end the battle immediately and raise the individual if and when he falls. Shouldn't be too bad, since you do have Sophia to help out when things seem taxing.
A scene will play, with Sol and company expressing their confusion at the appearance of the level. Weren't we just here? Massive Cavern happens to be the brother cavern of Mysidia Cavern or something, I'm not sure because I skipped through the dialogue too fast. It matters not, however! No cavern shall ever remain an unexplored mystery to us! Follow the path down the ladder, heading west at the first split for a phoenix down. Resume going south until you get to a chest with a remedy, then double back a bit and go left. As you go, a behemoth will attack you. Keep your cool, remember what I told you, and you should win with more ease than difficulty. Comet and holy work well (over 3000 damage), and so does strike. After you kill the thing, walk to the west wall, then up to find a judgment staff (nice for Sophia). Walk down, right a bit and up to enter another cavern. Follow the path to some stairs that lead further down. Next area is a massive circle that will take you all the way around to a ladder right next to the starting point. Go left for a Gae Bolg (it's a spear) before climbing down. Save if you want, then go right and down for Dragon Mail. Go back to the ladder, then west this time, ignoring the other ladder going down to first get a Chouchou in the southwest corner. Doing this will result in a behemoth fight, but you can handle one by now, right? Climb down the ladder in the middle of the area.
Head west, past the ladder and down to a Dragon Helm. Take the ladder down to a lower level, then take the one that goes up to some Tiger Fangs. Go south from here all the way to a Ruffian's Knife in the corner, then go back and west and take the final ladder down into the abyss. Take the ladder to be lead down a trial that culminates in an acquiring of a cottage, then go back up. Head south first (not the ladder) to find a stoneblade in the chest. Now you may go down the ladder, then walk east to another cave entrance. Walk, ladder, cave. Walk, ladder, cave. When will it end? Walk west and south to a save point. Strip Sophia of her items, then commence walking into the next area.
Another crystal awaits us here, when it should be awaiting our Warriors of Darkness in the Mirror Room of the Lufenian Ruins. Sophia performs a ritual to pass on her powers of Seer-dom onto the heroes, and we acquire the Seer Job (and 6JP). Shango appears again because obviously he has nothing better to do than try and fail to kill us all time damn time. Those inept mages back in Mysidia failed to protect the city, again, even with their powerful magic spells. Maybe they themselves couldn't afford the insane 10,000 gil for the spells that were on sale? The dimensionsal shift starts to take place, now that all ten crystals have been drained of power and conferred to the Warriors of Light and Darkness. Boom, boom. Shake the room.
Over at the Mirror Chamber[]
Back in the Mirror Chamber, where the Mask just ordered us to raise his blades. He isn't set on fighting us though, and uses his flare magic to reveal the cloaked Cocytus, who has been hiding from sight. She exults in the fact that she killed Jinnai, and now she's going to kill us too. All in a days work, for a Divine General.
| Boss Fight: Cocytus of the Ice |
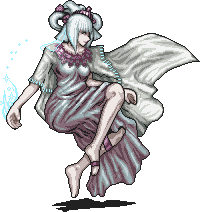
Cocytus has a wicked battle sprite, which is nice, since it balances out the distasteful fact that this woman has 'Coc' in her name. How can I take her seriously when she has that stupid name? Incidentally, Both Styx and Cocytus (the only women in the empire) are named after rivers of the underworld. What's next? Phlegethon? Cause that isn't a western woman's name, SE. Oh, the battle? Yeah, can't be won. She uses Blizzaga and physical attacks for large damage. Benumb does over 7000 damage to one person, which actually made me laugh it was so absurd. After about two rounds or so, she'll just end it with a Glacial Dance, sending everyone to the floor. |

Now I don't know how the fuck this happens, but the Warriors of Darkness get some kind of crystal power from the mirror, which begins sparkling with that familiar sheen. As it happens, the 'reflections' of the WoD are the things that gives us the blessing. According to Mask, "the unbreakable bonds you share and the valour you possess is the crystal". You fucker, I warned you against these stupid plot devices! If they had the fucking crystal this entire time, why did it wait until now to tangibly give us its power? Lazy lazy lazy writing. I could do ten times better in one minute:
The Mirror of the ruins is actually a great portal that is intrinsically connected to the crystal in the Massive Cavern. Even when the world is split into two halves, the chamber of the crystal will always be linked to the Mirror. By gazing into reflective surface, the warriors see themselves by the splendour of the fifth and final crystal, and its energy was bestowed upon them.
How hard was that? How difficult is it not to revert to Deus Ex Machina every five minutes? I sincerely hope that Square Enix wasn't trying to make me feel something with this bullshit because right now I feel dead inside. I fucking hate it, and I want who ever came up with it to get his ass fired immediately. Here's some more bullshit: instead of actually stopping the heroes like she was ordered to, Cocytus stands their with drool running down her lips and staring with unfocused eyes, and doesn't even try to stop us. Once the damage is done, she finally wakes up and attacks us again. I hate to make this remark again, but as far as a SE game is concerned, 'if you want something done right, call a man'.
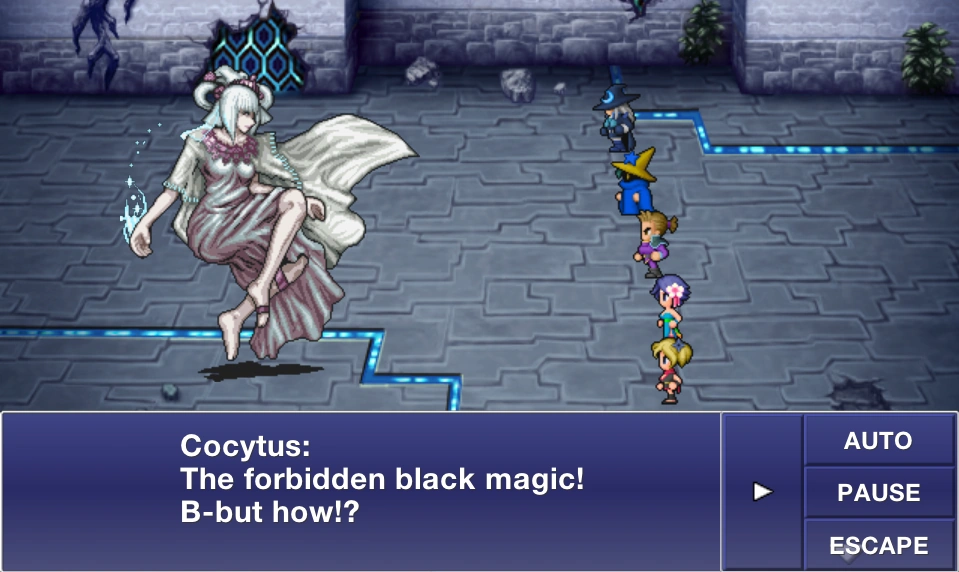
We learn the black magic meteoR, and the party uses it in unison to cast Cocytus back down to her namesake in hell. But, instead of dying, she uses Arctic Reverb to annihilate the Mask, whose eponymous mask is destroyed. The Divine General shits herself, then runs. The dark side of Elgo dies, and we're given the Magus job and 6JP. The earth shakes along with that one back in the Massive cavern, which we switch to now.
Ground is still shaking, and both teams of heroes are blinded by a bright light. The world finally merges again, and is made whole once more.