
Good Morn, fellow travellers! Wither Dost thou travel this fine day? Alack, I wandereth to the ill-chanced grotto of Hierro, a spot of great squalor and melancholia. Let's get cracking, shall we?
Hierro Cave
Walk east from the town of Mathel to eventually reach a cave etched in the mountain. This is Hierro Cave, where the monsters are somewhat powerful and the treasure is quite useful. I don't think I'll be telling you anything about the monsters here, they're all pretty benign as long as you heal often. If there was one thig I'd warn you of, it's the Alveolata, since they have that annoying natural healing ability that green keeper had. They're not hard so long as you don't give them a reason to be. Head east across a span to find a treasure chest straight away: it contains a Hi-Potion. Now walk up and across the second span, then head west to the right most point of the screen. The chest holds some Eye Drops, and the stairs you passed take you to B1F. Walk along, and as you descend the first ladder, you will see a chest across the gap. Go down and left, hugging the wall south of you until you reach a ladder that will take you to that chest, which has a phoenix down for you, which is always useful. Head down the stairs to your left, and continue south until you see more stairs on your right. These lead to a Red Scorpio, a powerful whip for you summoner. Head south and west from the whip to find the stairs.
At B2F now, walk right along the path until you find a box with 2000 Gil to your left and a save point to the bottom. Save and heal (No bosses here, fear not), then move down the left passage to find an isolated Hi-Potion in a chest.Back to the save point, then head southeast until you reach the next floor. Up at B1F again, where there are no chests or stray items. Just walk up to the next floor. Last floor, here we go. Go left, grab the antidote from the chest, then go south. The trail here is quite straightforward, and leads us straight to the exit, which leads down. The east path here leads to a dead-end cave which contains the Air Knife, which is hidden in the southmost box on the right side of the room. Git Outta Hia!
As you head to Fabrica in the far east, be mindful that Great Tortoises roam the area. I don't mention this because they're tough (even though they are a little annoying to kill), but because they may drop the awesome Gold Shield. I don't know the success rate of this, but I got one on my first go, hence why I'm writing this down. If you can't get one after 5 battles or so, then don't bother. It's not worth it.
Fabrica
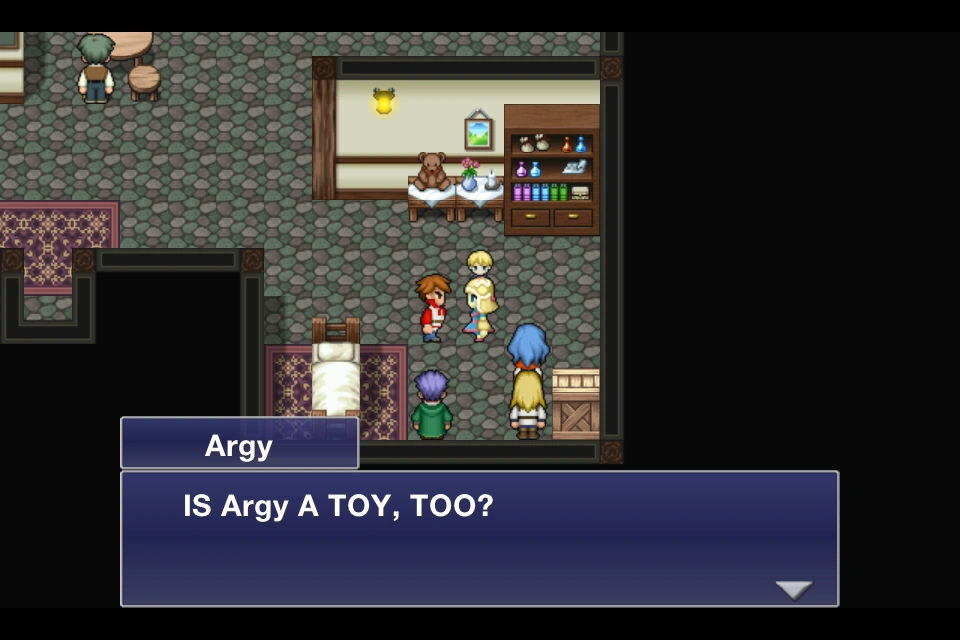
Here we are in noble Fabrica, the industrial town. It's certainly the largest settlement we've come across in the game, and there are errant items and loose change everywhere! There's a barrel next to the item shop, it has a remedy in it. East of the inn is a simple building with a moogle standing next to it. Enter it and check the barrel for a Hi-Potion. Go north from here into the first building you can see/the large one that stands in the centre of town. The southeast pot has a mallet for you, but there's nothing else of value in here unless you enjoy rubbing elbows with blue-collar NPC nobodies. Head west from there to find a box among three other flat...brown... things, and you'll find a Dry Ether. Enter the nearest house and examine the doll in the east of the residence. We get an excerpt from 'A Final Fantasy Afterschool Special' where Argy finds out what it means to be truly alive rather than just a toy built for a purpose. Yuch.
Head all the way east until you see a flower in a patch of green grass (just below armoury). Examine it for some more sentimental bafflegab with Argy, who learns the meaning of memory, hope, and heart. I do like Argy to an extent, but I just can't stomach this touchy-feely claptrap, it's making me retch. Do not enter the shop here just yet, since I always prioritise magic spells over equipment. Head north and enter the house that lies to the immediate right of the magic shop. The barrel has a golden needle and nothing else. Enter the magic shop now to be presented with a plethora of new spells to purchase. I warn you though, the prices here are steep. I suggest you buy all three new white magic spells (maybe not blink if you lack the moolah) and *maybe* buy the osmose spell from the black magic department. The problem with the other two is that.....well.....They're just shit.

Now you may return to the armoury/weapon emporium, where 3000 Gil has just been dumped in the nearby urn. Now if you thought shit was expensive in the magic shop, then you're in for a shock. These people sell items as though they were Birkin Bags encrusted with jewels. The most expensive item is the Red Scorpio (which we thankfully acquired earlier) which sells for a ridiculously exorbitant 9300 Gil. The things you probably want to buy with the remaining gil you have are the Ogrenix, Wind Spear, and whatever gold equipment you can get your hands on. Me, I'm a crazed hoarder of a person who must have everything, so I went out and killed every monster I could until I could afford every last item in that shop. It took me about an hour, but I wouldn't suggest that you guys do that to yourselves. Another thing to do, is sleep at the inn.This starts another dumb scene about how Argy grasps the concept of comfort. It's really stupid, you don't need to participate. Now that Fabrica has been cleaned out, we have another eidolon to enlist, so let's head on over to the chocobo forest south east of here to get our bearings.
Anima Grove
On your chocobo, fly south of Fabrica onto the nearby shoals. When you get to land again, take the river southeast and land him in that forest. Now just head north to find the eidolon's lair.

The Phoenix Phelon Strikes Again.
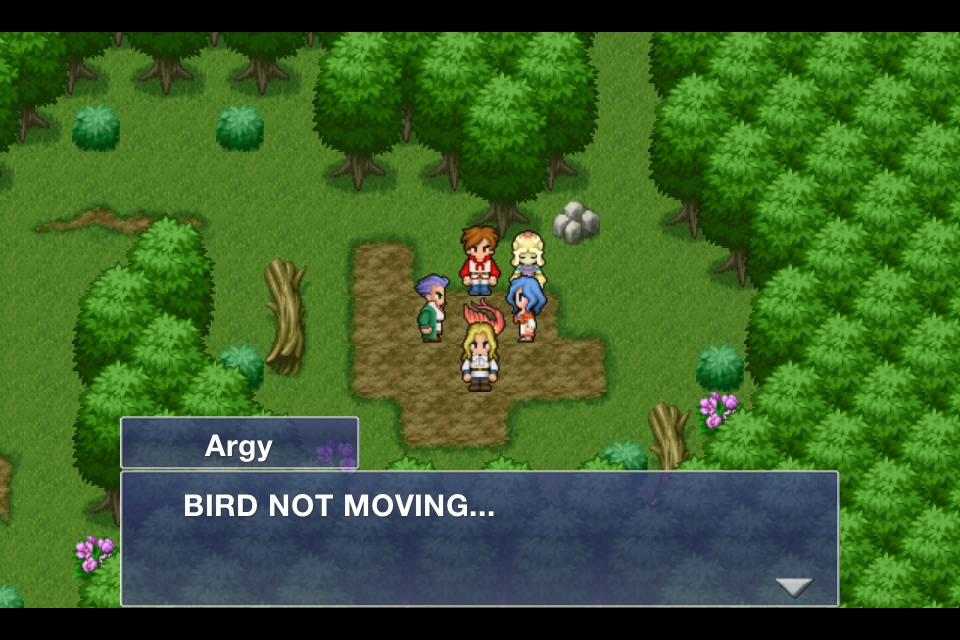
Firstly, head east, then north, and follow the trail that winds through the trees until you get to a larger space. You could head north when you enter, but that just leads to a bare area with the Grand Avian, who drops the yellow tail. Head northwest to find a phoenix down, then run east to find a horrific sight: Some Cloaca of a creature kicks a poor phoenix to death before escaping further into the grove. You find yourself at another intersection in the next area. If you go east first, you'll ome across a phoenix that has very inconveniently died in the middle of the path, which keeps us from opening that chest. Damnit! Not to sound rude, but couldn't he have died somewhere else? Go left instead, and keep heading north until you reach an X-Potion, then go southeast and follow the track up, avoiding the littering of dead birds all over the place. Here, you should move alongside the waterfront and claim the phoenix down on the peninsula. Now go east and walk around the big circle of trees to access the next part of the forest, which is east from you still. Head east all the way for Faerie Robe. Go back to the entrance of this area and go south, followed by east to reach a save point. Restore your party, then move out into the final area. Go all the way right, then all the way up to catch that yellow-robed prick in the act of bird killing once more, and confront him for his crimes against bird-dom. It may look like he's ready to negotiate with us, but instead he just leaps to the offence. Sigh...
| Boss Fight: Conqueror |

Do not be fooled by his appearance (which is that of an average lion enemy that we've encountered dozens of times before), this thing is one violent creature. The Conqueror (named after no apparent thing or person) is a very difficult foe indeed because of the cheapness of his attacks, and the speed with which he utilises them. Strangely enough, he only has five of them! His normal attack will do 300 damage, but he can use it several times in a turn, Thwack does 150-300 damage to everyone in the front row and 100-200 to everyone in the back row, and can bite one person for 300-700 damage (I found it very random depending on who was struck) and a possible infliction of confuse and/or poison. Roar is a special attack that may stun everyone in the party, and Pox is his absolute WORST move. It's the single reason for having Conqueror at hard difficulty and not medium. Pox deals 550-650 damage to everyone and may cause defence down on a few members of the party. Can you imagine getting hit with another pox with a debuff like that afflicting your party? Think 1000 damage or so if they're in the front row. Attack Conqueror with all you got, especially fire spells, which he is weak against for some reason. There's nothing else to mention about attacking, as usual, BUT I must say that you should heal more often than you have been doing in an other boss fight to date. Conqueror starts to use pox more and more as his HP dwindles, and you do not to be stuck reviving lost men and women while on the receiving end of three poxes in a row. Use protect and your newly found shell to construct a suitable defence, and prepare to do a lot of healing/attacking. That HP is tremendous in size, and it will take a good while to remove all of it. That being said, make sure that you don't use up all your MP before you deliver the felling stroke, or you may find yourself in a bad situation. Kill the scoundrel quickly, or he will almost certainly beat you to it. |
Sarah attempts to revive the poor little bird, but to no avail. The phoenix rises from the ashes (y'know, being a phoenix and all) and thanks the humans for avenging the winged beasts by murdering that lion arsehole. Bennu, as the dead bird is called, grants us the power of the phoenix, which we can use as a summon. Well, we could use it as a summon if it didn't cost 99 fucking MP! What the fuck, Square Enix!?
Coliseum
Get out of that forest any way you wish, but remember to visit that chest that was blocked off by a phoenix's cadaver. It has a Fey Staff for us. One last thing I want you guys to see before heading back to Fabrica. Take your black chocobo north over the grove to find some shoals on the other side. Just follow the trail of these opportunely placed rocks to arrive on an outlying island with a small Acropolis looking thing on it. Land and enter if you will to find what two people refer to as the Desert Coliseum, which has been closed following the disaster. It has no significance at the moment, but I thought you'd just like to know it was here. After certain objectives have been met, we can return here later to do some gladiatorial fighting in the Coliseum depths. Now we can return to Fabrica, and head north to that cave just above it.