mNo edit summary Tag: sourceedit |
No edit summary Tag: Source edit |
||
| (35 intermediate revisions by 13 users not shown) | |||
| Line 1: | Line 1: | ||
| − | {{sideicon|Type0}} |
+ | {{sideicon|prime=Type0}} |
| − | [[File: |
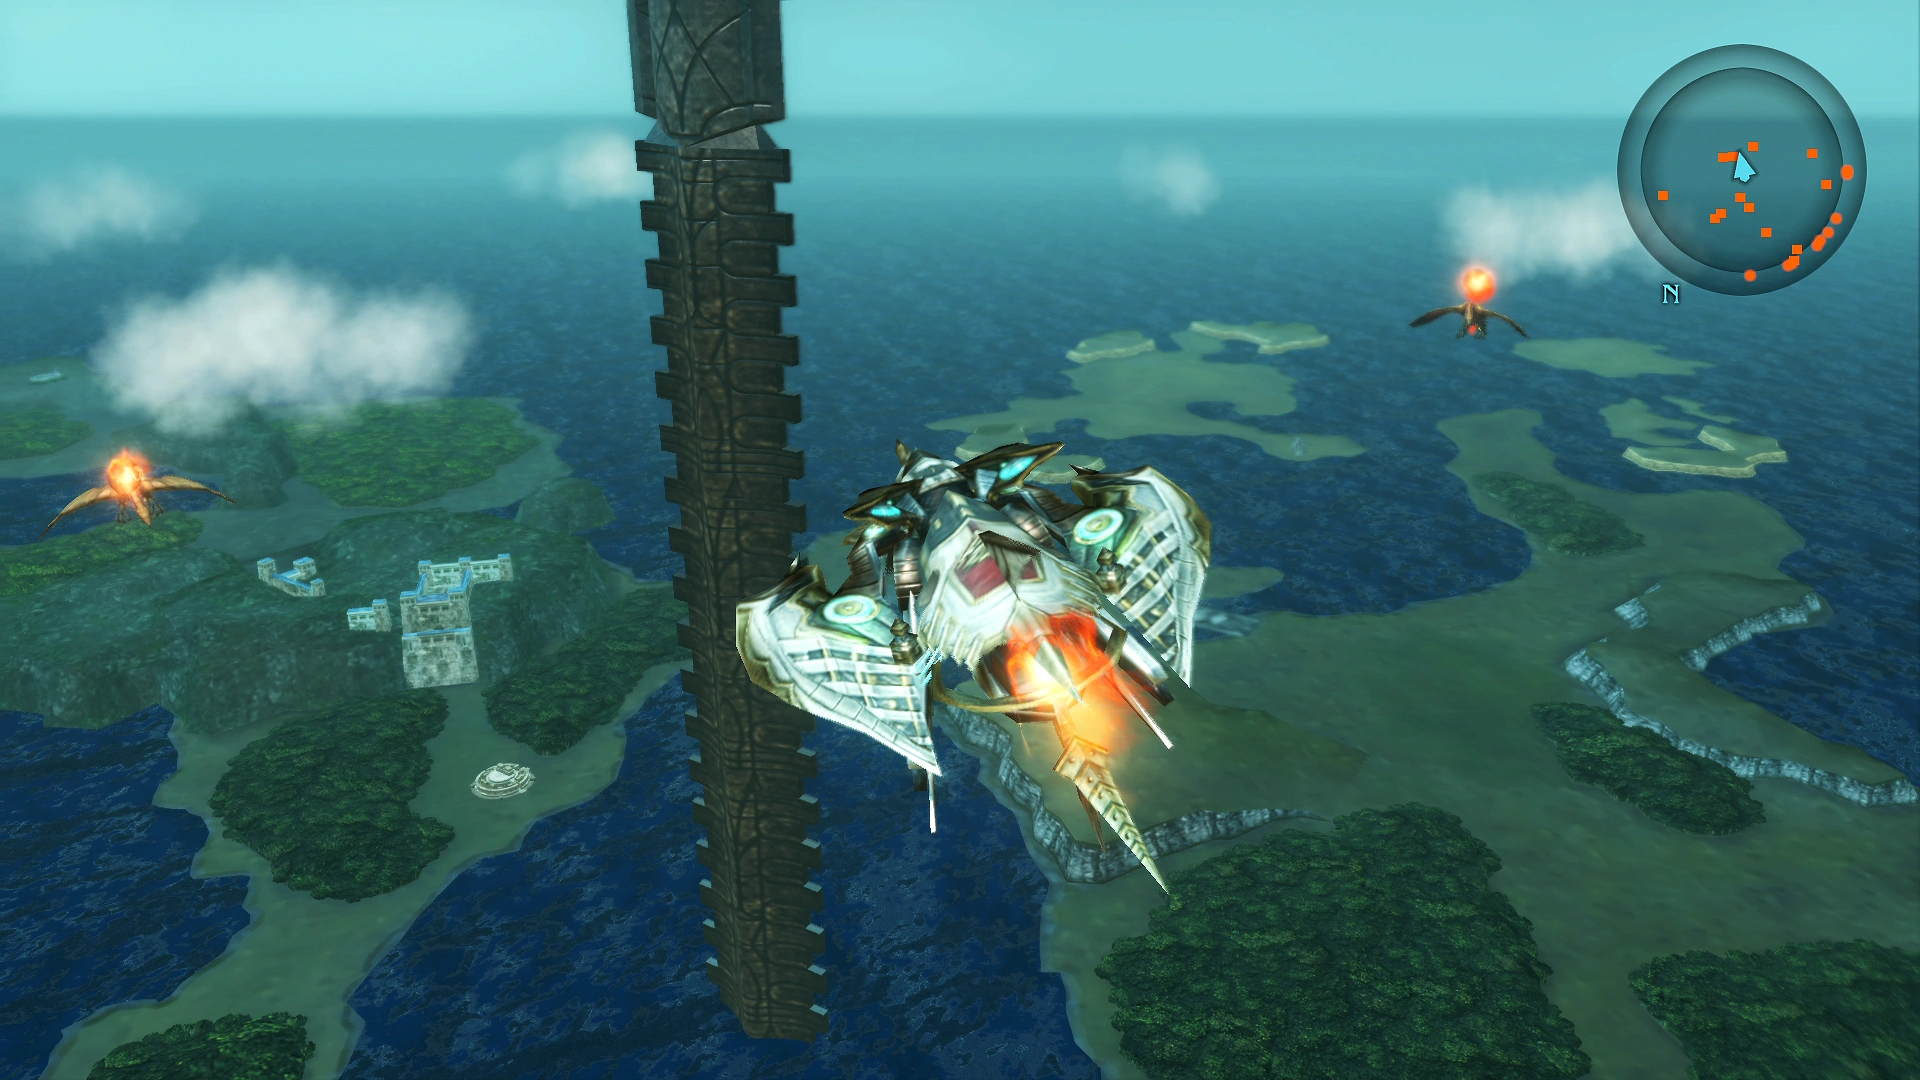
+ | [[File:FFT0 Setzer Agito Tower.png|thumb|250px|The ''[[Setzer (Type-0)|Setzer]]'' flies to the Tower of Agito.]] |
| − | [[File: |
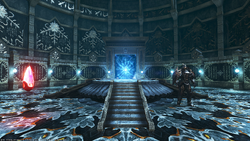
+ | [[File:FFT0 Agito Tower Entrance.png|thumb|250px|Inside the Tower of Agito.]] |
| − | {{ |
+ | {{Quote|In a remote region of Orience accessible only by airship stands a structure known to some as the Tower of Agito. Supposedly, all those who ascend the myriad staircases will become Agito...but who would believe such fantasy?|Dominion Tribune in Corsi}} |
| − | The '''Tower of Agito''' {{j|アギトの塔|Agito no Tō}}—less commonly known as the '''Tower of Judecca'''—is |
+ | The '''Tower of Agito''' {{j|アギトの塔|Agito no Tō}}—less commonly known as the '''Tower of Judecca'''—is an [[bonus dungeon|optional dungeon]] in ''[[Final Fantasy Type-0]]''. It is located in [[Eibon Region]] and can only be accessed with the ''[[Setzer (Type-0)|Setzer]]'' [[airship (term)|airship]]. |
| ⚫ | {{ |
||
| + | The Tower of Agito was also featured as a special raid for players in ''[[Final Fantasy Agito]]'' during its final month of service. As with the battle in ''Final Fantasy Type-0'', it featured a final boss battle with a gigantic Malboro.<ref>https://app-webview.ff-agito.com/webview/news/information.php?id=705</ref> |
||
| ⚫ | |||
| ⚫ | |||
| ⚫ | |||
| ⚫ | |||
| ⚫ | |||
| + | == Story == |
||
| + | {{Spoiler}} |
||
| ⚫ | |||
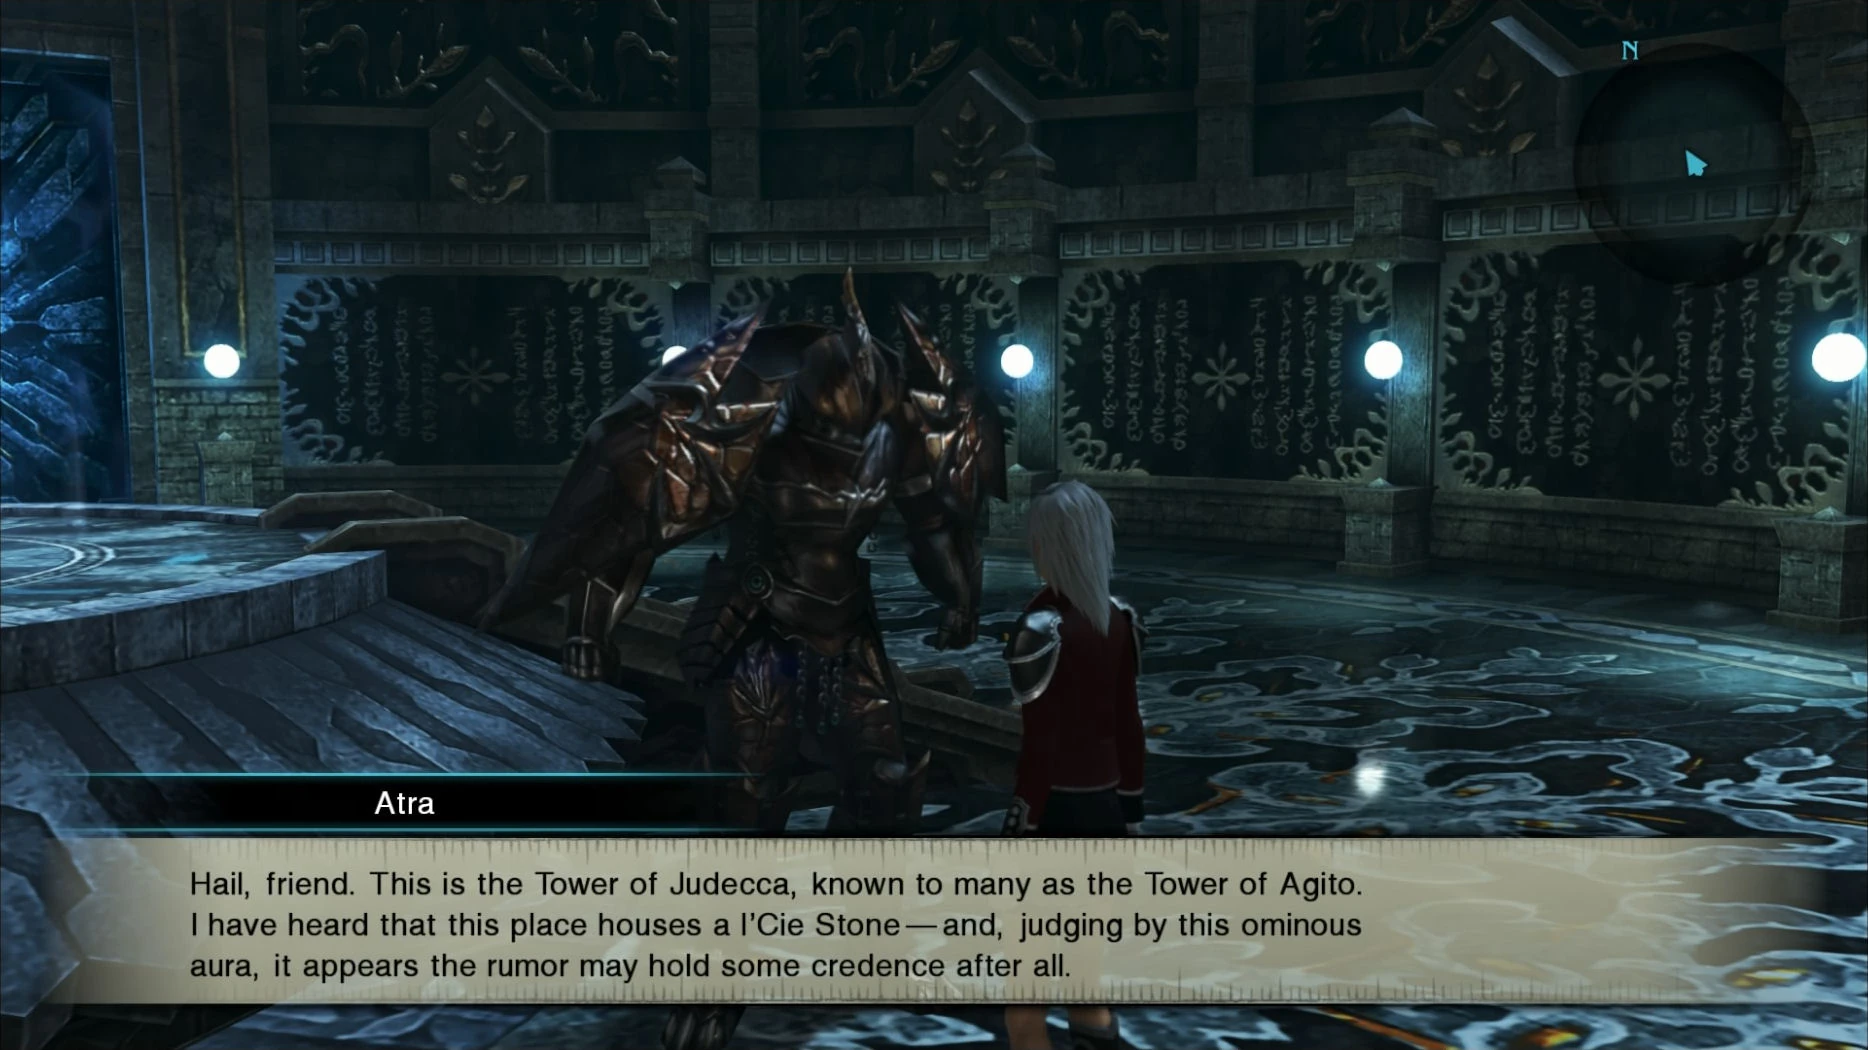
| ⚫ | {{Quote|Hail, friend. This is the Tower of Judecca, known to many as the Tower of Agito. I have heard that this place houses a l'Cie Stone—and, judging by this omnious aura, it appears the rumor may hold some credence after all. According to ancient scripture, 'the sole path leading skyward is strewn with the bodies of a hundred.' Climbing the tower is a feat insurmountable for even a Secundus l'Cie—let alone for a mere mortal. He who dares ascend those stairs is either fearless or utterly foolish. If, however, you do not shudder at the thought of walking into certain death, then you may proceed.|Atra}} |
||
| + | It is said that entrance to the tower is prohibited as per [[Orience]] law.{{cite|Type0|Class Fourth Student in Crystarium in Chapter 3 first free time period}} [[Atra]] is waiting at the dungeon entrance because of rumors that the Tower of Agito houses a [[l'Cie Stone]]. |
||
| + | {{Section}} |
||
| ⚫ | |||
| + | {{Endspoiler}} |
||
| ⚫ | |||
| ⚫ | |||
| ⚫ | |||
| ⚫ | |||
| + | The Tower of Agito contains five chambers with 100 of a certain enemy in each, all of which are [[level]] 128. Thus, even level 99 party members are vulnerable to their attacks. If AI party members aren't strong enough to survive, it can help to reconfigure the [[party]] so that there is only one active member at a time. The enemies also provide very little [[Experience Points|EXP]], despite their level, but are one of the only sources of high-level [[phantoma]], and a good source of Ivory Phantoma. |
||
| + | [[Fire BOM-II]], [[Blizzard BOM-II]], [[Thunder BOM-II]], [[Tornado (Type-0)|Tornado]], [[Meteor (Type-0)|Meteor]], and [[Ultima (Type-0)|Ultima]] are invaluable offensive spells, while [[Avoid (Type-0)|Avoid]], [[Protect (Type-0)|Protect]], and [[Invisible (Type-0)|Invisible]] are useful defensive spells. [[Cure (Type-0)|Cure]] can also be used with a character that can reliably tank attacks, which will require a high level, several thousand [[HP (stat)|HP]], high [[Defense (Type-0)|Defense]], and accessories that resist damage. Accessories that increase magic and apply positive [[Final Fantasy Type-0 statuses|status effect]]s are also useful. The [[SP Crystal]] meets all of these requirements. |
||
| ⚫ | |||
| ⚫ | |||
| + | [[Final Fantasy Type-0 abilities#Accelerate|Accelerate]], [[Final Fantasy Type-0 abilities#Quick Draw III|Quick Draw III]], [[Final Fantasy Type-0 abilities#Slipstream|Slipstream]], and [[Final Fantasy Type-0 abilities#Untouchable|Untouchable]] are important abilities. With Quick Draw, it is possible to spam BOM-II spells to rapidly deal damage even before enemies spawn. For spells like Tornado, Meteor, and Ultima, simply moving around while charging them can suffice. [[Rem Tokimiya/Gameplay|Rem]] is useful, due to her high magic stats, [[MP (stat)|MP]] pool, and easily accessible Quick Draw. |
||
| + | A [[Relic Terminal]] can be accessed after each chamber, as well as [[Treasure chest (object)|treasure chests]] containing valuable accessories. It is important to have at least one [[Teleport Stone (Type-0)|Teleport Stone]] to leave the tower in case of emergency, especially if saving within the tower. |
||
| ⚫ | |||
| − | *'''Challange:''' 100 [[Mushussu (Type-0)|Mushussu]]s |
||
| ⚫ | |||
| ⚫ | |||
| + | Tonberries spawn in groups of four. Once 50 are slain, they will spawn in groups of five. They sometimes inflict [[Stop (Type-0)|Stop]], which can be blocked with [[Ribbon (Type-0)|Ribbons]]. When defeated, they may drop an [[Anima Lantern]], which provide the [[Reraise (Type-0 status effect)|Reraise]] status to one party member. These can be farmed reliably for further use throughout the tower, as well as other areas in the game. |
||
| − | ==== |
+ | ==== Second Chamber ==== |
| − | *''' |
+ | * '''Challenge:''' 100 [[Coeurl (Type-0)|Coeurls]] |
| + | Coeurls spawn in groups of two, and then in groups of three later on. Their attacks are deadly at close range. |
||
| ⚫ | |||
| ⚫ | |||
| + | Glasya Labolas spawn individually at first, then spawn in pairs after 30 are slain, and finally in groups of three after 70 of them are defeated. |
||
| − | ==== |
+ | ==== Fourth Chamber ==== |
| − | *''' |
+ | * '''Challenge:''' 100 [[Mushussu (Type-0)|Mushussus]] |
| + | Mushussu spawn individually until 30 are defeated, two-at-a-time afterwards until 70 are defeated, and finally in groups of three. They will be sleeping initially. With enough magic casts, they can be taken out before they become enraged, where they will unleash attacks that can penetrate accessories that provide damage resistance. [[Ace (Type-0)/Gameplay|Ace]]'s melee attack can be effective against them, particularly at high levels with enough [[Attack (Type-0)|Attack]] and the [[Aura (Type-0)|Aura]] status. |
||
| ⚫ | |||
| ⚫ | |||
| + | Behemoth Kings are fought individually, and then in pairs once 50 are defeated. |
||
| ⚫ | |||
| − | {{stub}} |
||
| + | * '''Challenge:''' 1 [[Cosmic Malboro]] |
||
| + | The Cosmic Marlboro's attacks are deadly, but easily avoided. It's large stature allows it to be taken down quickly with Meteor. |
||
| + | |||
| + | {{Section}} |
||
{{endspoiler}} |
{{endspoiler}} |
||
| − | ==Quests== |
||
| ⚫ | |||
| − | == |
+ | == Quests == |
| ⚫ | |||
| ⚫ | |||
| + | |||
| − | *[[List of Final Fantasy Type-0 Accessories#Agito Insignia|Agito Insignia]] - 14th floor |
||
| ⚫ | |||
| ⚫ | |||
| + | * [[Agito Insignia]] - 14th floor |
||
Because the Agito Insignia is only obtainable once per playthrough, the following drops will replace it on consecutive dungeon clearings within a playthrough: |
Because the Agito Insignia is only obtainable once per playthrough, the following drops will replace it on consecutive dungeon clearings within a playthrough: |
||
| − | *[[ |
+ | * [[Grand Bangle]] - (25%) |
| − | *[[ |
+ | * [[Mog's Lucky Charm]] - (25%) |
| − | *[[ |
+ | * [[Soul of Thamasa (Type-0)|Soul of Thamasa]] - (25%) |
| + | * [[Juggernaut Badge]] - (18.8%) |
||
| − | *[[List of Final Fantasy Type-0 Accessories#Juggernaut_Badge|Juggernaut_Badge]] - (18,8%) |
||
| − | *[[ |
+ | * [[Ribbon (Type-0)|Ribbon]] - (6.2%) |
| + | * [[Super Ribbon (Type-0)|Super Ribbon]] - (???%) |
||
| − | ===Accessories=== |
+ | === Accessories === |
| + | These accessories are obtained from the chests on each floor. |
||
| ⚫ | |||
| ⚫ | |||
| ⚫ | |||
| − | *[[List of Final Fantasy Type-0 Accessories#Adamant_Armlet|Adamant Armlet]] |
||
| + | Chest 1 |
||
| ⚫ | |||
| + | * [[Ignis Divinum]] |
||
| − | ''Key Items can only be obtained once per playthrough!'' |
||
| + | * [[Glacies Divinum]] |
||
| ⚫ | |||
| + | * [[Fulgur Divinum]] |
||
| − | *[[List of Final Fantasy Type-0 Items#Darksoul Swarm|Darksoul Swarm]] |
||
| + | * [[Aegis Divinum]] |
||
| − | {{stub}} |
||
| + | Chest 2 |
||
| ⚫ | |||
| + | * [[Adamant Armlet (Type-0)|Adamant Armlet]] |
||
| + | * [[Regal Crown (Type-0)|Regal Crown]] |
||
| + | |||
| + | Chest 3 |
||
| + | * [[Growth Egg (Type-0)|Growth Egg]] |
||
| + | * [[Assault Targe (Type-0)|Assault Targe]] |
||
| + | |||
| + | Chest 4 |
||
| + | * [[Gold Hairpin (Type-0)|Gold Hairpin]] |
||
| + | * [[Enchanted Badge (Type-0)|Enchanted Badge]] |
||
| + | |||
| + | Chest 5 |
||
| + | * [[Blessed Armlet (Type-0)|Blessed Armlet]] |
||
| + | * [[Grand Mage's Badge]] |
||
| + | |||
| + | <!-- May be obtainable, but not confirmed or don't know what chest they are in --> |
||
| ⚫ | |||
| ⚫ | |||
| ⚫ | |||
| + | |||
| + | === Key Items === |
||
| ⚫ | |||
| + | * [[Darksoul Swarm]] - 13th floor |
||
| + | {{Section}} |
||
| + | |||
| ⚫ | |||
'''Enemy Level: 128''' |
'''Enemy Level: 128''' |
||
| − | *[[Tonberry (Type-0 |
+ | * [[Tonberry (Type-0 enemy)|Tonberry]] |
| − | *[[Coeurl (Type-0)|Coeurl]] |
+ | * [[Coeurl (Type-0)|Coeurl]] |
| − | *[[Glasya Labolas (Type-0)|Glasya Labolas]] |
+ | * [[Glasya Labolas (Type-0)|Glasya Labolas]] |
| − | *[[Mushussu (Type-0)|Mushussu]] |
+ | * [[Mushussu (Type-0)|Mushussu]] |
| − | *[[Behemoth King (Type-0)|Behemoth King]] |
+ | * [[Behemoth King (Type-0)|Behemoth King]] |
| − | *[[Cosmic Malboro]] |
+ | * [[Cosmic Malboro]] |
| + | |||
| ⚫ | |||
| + | <gallery> |
||
| ⚫ | |||
| ⚫ | |||
| + | FFType0HD-AgitoTower-Bottom.jpg|Tower of Agito close-by |
||
| + | FFT0 ToA C1.png|First Chamber, versus Tonberries. |
||
| + | FFT0 ToA C2.png|Second Chamber, versus Coeurls. |
||
| + | FFT0 ToA C3.png|Third Chamber, versus Glasya Labolas. |
||
| + | FFT0 ToA C4.png|Fourth Chamber, versus Mushussu. |
||
| + | FFT0 ToA C5.png|Fifth Chamber, versus Behemoth Kings. |
||
| + | FFT0 ToA CoR.png|Chamber of Ruin, versus Cosmic Malboro. |
||
| + | FFT0 Agito Tower Top.png|The top of Agito Tower. |
||
| + | </gallery> |
||
| + | |||
| + | == Etymology == |
||
| + | {{Etym|Agito}} In ''Final Fantasy Type-0'' the name "Tower of Agito" comes from the term [[Agito (term)|Agito]], the fabled savior of Orience who is said to appear at the end of the world. |
||
| + | |||
| + | == References == |
||
| + | {{Reflist}} |
||
| + | {{navbox setting Type0}} |
||
| ⚫ | |||
| − | {{Gallery|class=Type0a |
||
| ⚫ | |||
| ⚫ | |||
| ⚫ | |||
| − | }} |
||
| − | {{Type0}} |
||
[[Category:Towers]] |
[[Category:Towers]] |
||
| − | [[Category:Final Fantasy Type-0 |
+ | [[Category:Locations in Final Fantasy Type-0]] |
Revision as of 00:54, 3 October 2020
Template:Sideicon

The Setzer flies to the Tower of Agito.

Inside the Tower of Agito.
In a remote region of Orience accessible only by airship stands a structure known to some as the Tower of Agito. Supposedly, all those who ascend the myriad staircases will become Agito...but who would believe such fantasy?
Dominion Tribune in Corsi
The Tower of Agito (アギトの塔, Agito no Tō?)—less commonly known as the Tower of Judecca—is an optional dungeon in Final Fantasy Type-0. It is located in Eibon Region and can only be accessed with the Setzer airship.
The Tower of Agito was also featured as a special raid for players in Final Fantasy Agito during its final month of service. As with the battle in Final Fantasy Type-0, it featured a final boss battle with a gigantic Malboro.[1]
Story
Talking to Atra in the Entrance
Hail, friend. This is the Tower of Judecca, known to many as the Tower of Agito. I have heard that this place houses a l'Cie Stone—and, judging by this omnious aura, it appears the rumor may hold some credence after all. According to ancient scripture, 'the sole path leading skyward is strewn with the bodies of a hundred.' Climbing the tower is a feat insurmountable for even a Secundus l'Cie—let alone for a mere mortal. He who dares ascend those stairs is either fearless or utterly foolish. If, however, you do not shudder at the thought of walking into certain death, then you may proceed.
Atra
It is said that entrance to the tower is prohibited as per Orience law.[2] Atra is waiting at the dungeon entrance because of rumors that the Tower of Agito houses a l'Cie Stone.
Gameplay
Strategy
The Tower of Agito contains five chambers with 100 of a certain enemy in each, all of which are level 128. Thus, even level 99 party members are vulnerable to their attacks. If AI party members aren't strong enough to survive, it can help to reconfigure the party so that there is only one active member at a time. The enemies also provide very little EXP, despite their level, but are one of the only sources of high-level phantoma, and a good source of Ivory Phantoma.
Fire BOM-II, Blizzard BOM-II, Thunder BOM-II, Tornado, Meteor, and Ultima are invaluable offensive spells, while Avoid, Protect, and Invisible are useful defensive spells. Cure can also be used with a character that can reliably tank attacks, which will require a high level, several thousand HP, high Defense, and accessories that resist damage. Accessories that increase magic and apply positive status effects are also useful. The SP Crystal meets all of these requirements.
Accelerate, Quick Draw III, Slipstream, and Untouchable are important abilities. With Quick Draw, it is possible to spam BOM-II spells to rapidly deal damage even before enemies spawn. For spells like Tornado, Meteor, and Ultima, simply moving around while charging them can suffice. Rem is useful, due to her high magic stats, MP pool, and easily accessible Quick Draw.
A Relic Terminal can be accessed after each chamber, as well as treasure chests containing valuable accessories. It is important to have at least one Teleport Stone to leave the tower in case of emergency, especially if saving within the tower.
First Chamber
- Challenge: 100 Tonberries
Tonberries spawn in groups of four. Once 50 are slain, they will spawn in groups of five. They sometimes inflict Stop, which can be blocked with Ribbons. When defeated, they may drop an Anima Lantern, which provide the Reraise status to one party member. These can be farmed reliably for further use throughout the tower, as well as other areas in the game.
Second Chamber
- Challenge: 100 Coeurls
Coeurls spawn in groups of two, and then in groups of three later on. Their attacks are deadly at close range.
Third Chamber
- Challenge: 100 Glasya Labolas
Glasya Labolas spawn individually at first, then spawn in pairs after 30 are slain, and finally in groups of three after 70 of them are defeated.
Fourth Chamber
- Challenge: 100 Mushussus
Mushussu spawn individually until 30 are defeated, two-at-a-time afterwards until 70 are defeated, and finally in groups of three. They will be sleeping initially. With enough magic casts, they can be taken out before they become enraged, where they will unleash attacks that can penetrate accessories that provide damage resistance. Ace's melee attack can be effective against them, particularly at high levels with enough Attack and the Aura status.
Fifth Chamber
- Challenge: 100 Behemoth Kings
Behemoth Kings are fought individually, and then in pairs once 50 are defeated.
Chamber of Ruin
- Challenge: 1 Cosmic Malboro
The Cosmic Marlboro's attacks are deadly, but easily avoided. It's large stature allows it to be taken down quickly with Meteor.
Quests
The Armory Guildsman from Akademeia wants Class Zero to fetch a Darksoul Swarm from one of the monsters in Agito Tower for Slayer's Spoils VII.
Items
Special
- Agito Insignia - 14th floor
Because the Agito Insignia is only obtainable once per playthrough, the following drops will replace it on consecutive dungeon clearings within a playthrough:
- Grand Bangle - (25%)
- Mog's Lucky Charm - (25%)
- Soul of Thamasa - (25%)
- Juggernaut Badge - (18.8%)
- Ribbon - (6.2%)
- Super Ribbon - (???%)
Accessories
These accessories are obtained from the chests on each floor.
Chest 1
Chest 2
Chest 3
Chest 4
Chest 5
Key Items
- l'Cie Tagisu's Stone - 8th floor
- Darksoul Swarm - 13th floor
Enemies
Enemy Level: 128
Gallery
")
")
")
")
")
")
")
")
")
")
Etymology
Agito [aɡɪtoː] is a Latin verb conjugation meaning "I put in motion". It is the first principal part (first-person singular present active indicative) and citation form of the verb; its infinitive form is agitāre, "to put in motion". In Final Fantasy Type-0 the name "Tower of Agito" comes from the term Agito, the fabled savior of Orience who is said to appear at the end of the world.
References
- ↑ https://app-webview.ff-agito.com/webview/news/information.php?id=705
- ↑ Final Fantasy Type-0, Class Fourth Student in Crystarium in Chapter 3 first free time period