Template:Sideicon
Your hope ends here! And your meaningless existence with it!
Seymour
The third battle with Seymour, in his Seymour Flux form, occurs after Yuna and her guardians make their way up Mt. Gagazet.
The battle is notorious for being among the hardest non-optional bosses in the game due to Seymour's powerful attacks and his signature attack, Total Annihilation.
Stats
Battle
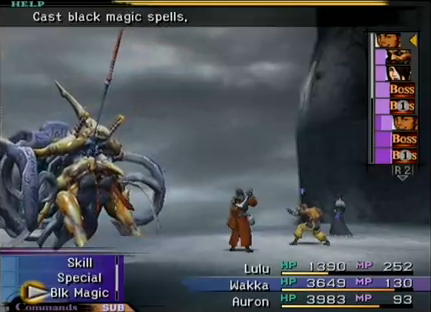
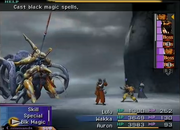
Seymour Flux in battle.
Seymour summons Mortiorchis, upon which he sits. As with previous Seymour battles, certain party members may use the Trigger Command to talk to him. For this battle, Kimahri can talk to raise his Strength, and Yuna can talk to raise her Magic Defense.
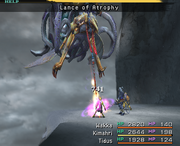
Seymour Flux put an ally into Zombie status with his Lance of Atrophy, and the Mortiorchis will combo with Full-Life, effectively KO'ing a character (unless the characters have high Agility, as well as Holy Waters, so they can heal the zombified ally before the Mortiorchis can act—this will cause Full-Life to still be cast on the party, but be ineffective). Like Seymour Natus, he can banish aeons, giving them approximately one turn to attack if summoned. Seymour Flux occasionally casts Protect and Reflect upon himself.

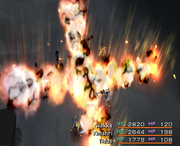
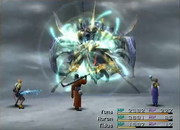
Cross Cleave.
Three turns in, Mortiorchis will start to use Cross Cleave, which deals around 2,000 damage to the whole party. Seymour will then cast Reflect on himself and rebound Flare at a party member, but a character with high Agility or in Haste may get a turn in between and can dispel Seymour, causing him to cast the spell on himself.
Total Annihilation is Seymour Flux's signature attack, as well as his deadliest, which requires three rounds of charging, and will kill anything but an extremely good party. If the player summons an aeon Mortiorchis will postpone its use of Total Annihilation until Seymour Flux banishes it.
Seymour is immune to Breaks, and has greater Magic Defense and physical Defense than the average enemy. Magic, such as the White Magic Holy, or the Black Magic Flare, should still do considerable damage due to their high base values. Characters with high Strength or Magic will still do decent damage, no matter the type of attack. Since the Piercing ability can penetrate Seymour Flux's Defense, piercing physical attacks will do relatively more damage than magical or regular physical attacks.
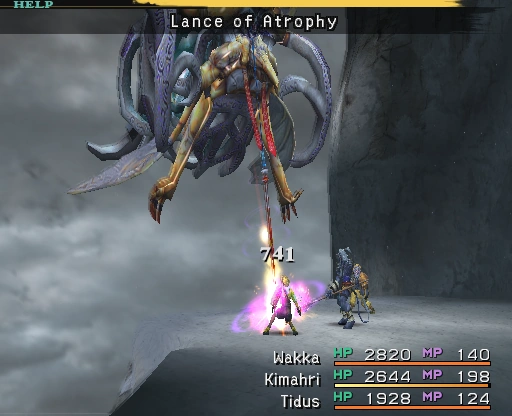
Lance of Atrophy.
Seymour Flux is vulnerable to the Poison status (the Mortiorchis is immune) and will take 1,400 damage at the end of his turn (sometimes he will get two turns in a row not long before Mortiorchis, so he'll use Lance of Atrophy on his first turn then skip the second, and thus react to damage twice just a second apart).
Biora is a dummied ability that works like Bio and additionally deals proportional damage if the target isn't immune to Demi. If the game is hacked so that enemies can be controlled, it appears on Seymour Flux's menu.
Strategy
One way to inflict damage as well as Poison is to use Rikku's Mix and combine a Fire Gem and Soul Spring.
To protect the party from Seymour's Lance of Atrophy, the player can either equip Blessed armor (can be bought from Wantz on the mountain, or customized on an armor with Holy Water), or use Holy Water on the afflicted character before Mortiorchis can cast Full-Life. Armor customized to give Auto-Med (requiring a small stock of Holy Water) is useful for this.

Reflect.
Quickly dispelling Seymour's Reflect when he casts it on himself will prevent him from bouncing Flare on his next turn.
Attempting to delay or cast Slow is unwise, as they are immune and Mortiorchis will counter with Slowga on the party. Neither part will attack twice in a row—if either part gets two turns in a row, it will do nothing on the second turn. This can be exploited by inflicting a combination of Haste and Poison on Seymour.
Seymour is vulnerable to Wakka's Silence Buster, which will prevent him from casting Flare, Reflect, Dispel, and Protect, effectively wasting his next turn each time he is silenced.
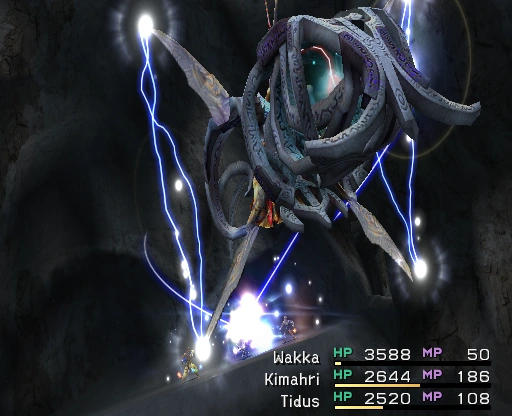
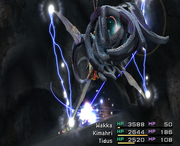
First part of Total Annihilation.
When Seymour begins charging Total Annihilation it is recommended to cast Shell (or Kimahri's Mighty Guard or one of Rikku's "Mighty" Mixes) on the party members with the highest HP and then defend before he executes this.
Hastega, and aeons prepped to have full Overdrive gauges, are a big help. The aeons will have few turns before being banished by Seymour, but Shiva's Diamond Dust does quite high damage to all targets, and Bahamut's Mega Flare can break the damage limit. A good strategy is casting Bio and then summoning. It is possible to defeat Seymour using only the aeons' Overdrives if Yuna has Yojimbo and all the Overdrive gauges at full at the beginning of the fight.
Mixing two Underdog's Secrets (x99 can be obtained from Rin in Fahrenheit if the player has learned all the Al Bhed language), can also break the damage limit. This method is unavailable at this point unless the player can get all all of the Al Bhed Primers from a compilation sphere via another save.
Alternatively, completing the Remiem Temple Chocobo Race with three chests grants 30 Wings to Discovery, which can be mixed to get Trio of 9999, which combined with Fire Gems stolen from the Grenades on Mt. Gagazet makes the fight trivial.
Other appearances
Final Fantasy Record Keeper

Final Fantasy Brave Exvius
Gallery
")
")
")
")
")
")
Names in other languages
Seymour Flux is known as "Seymour Beta" in the Spanish and Italian versions, "Seymour Sublimé" (Exalted Seymour) in the French version, and "Seymour Obscura" (Dark Seymour) in the German version.