Template:Sideicon Template:Images
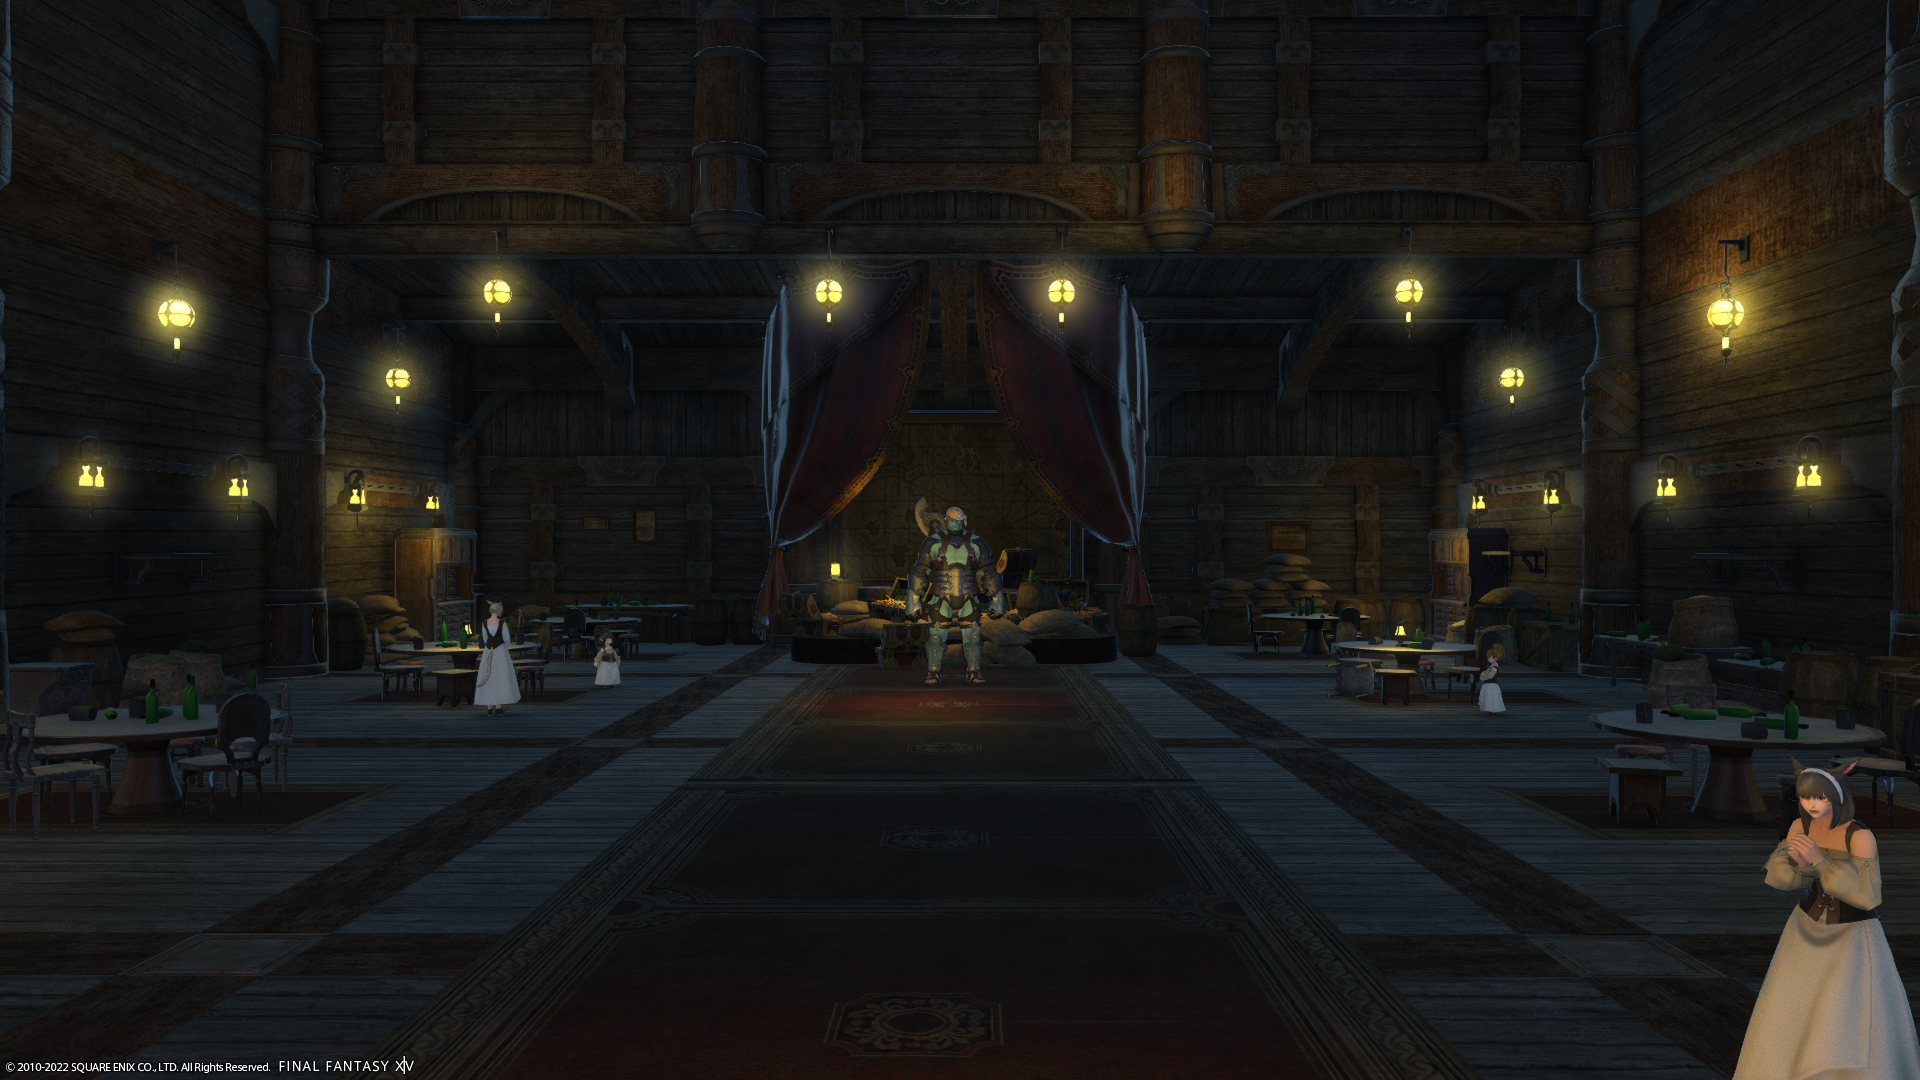
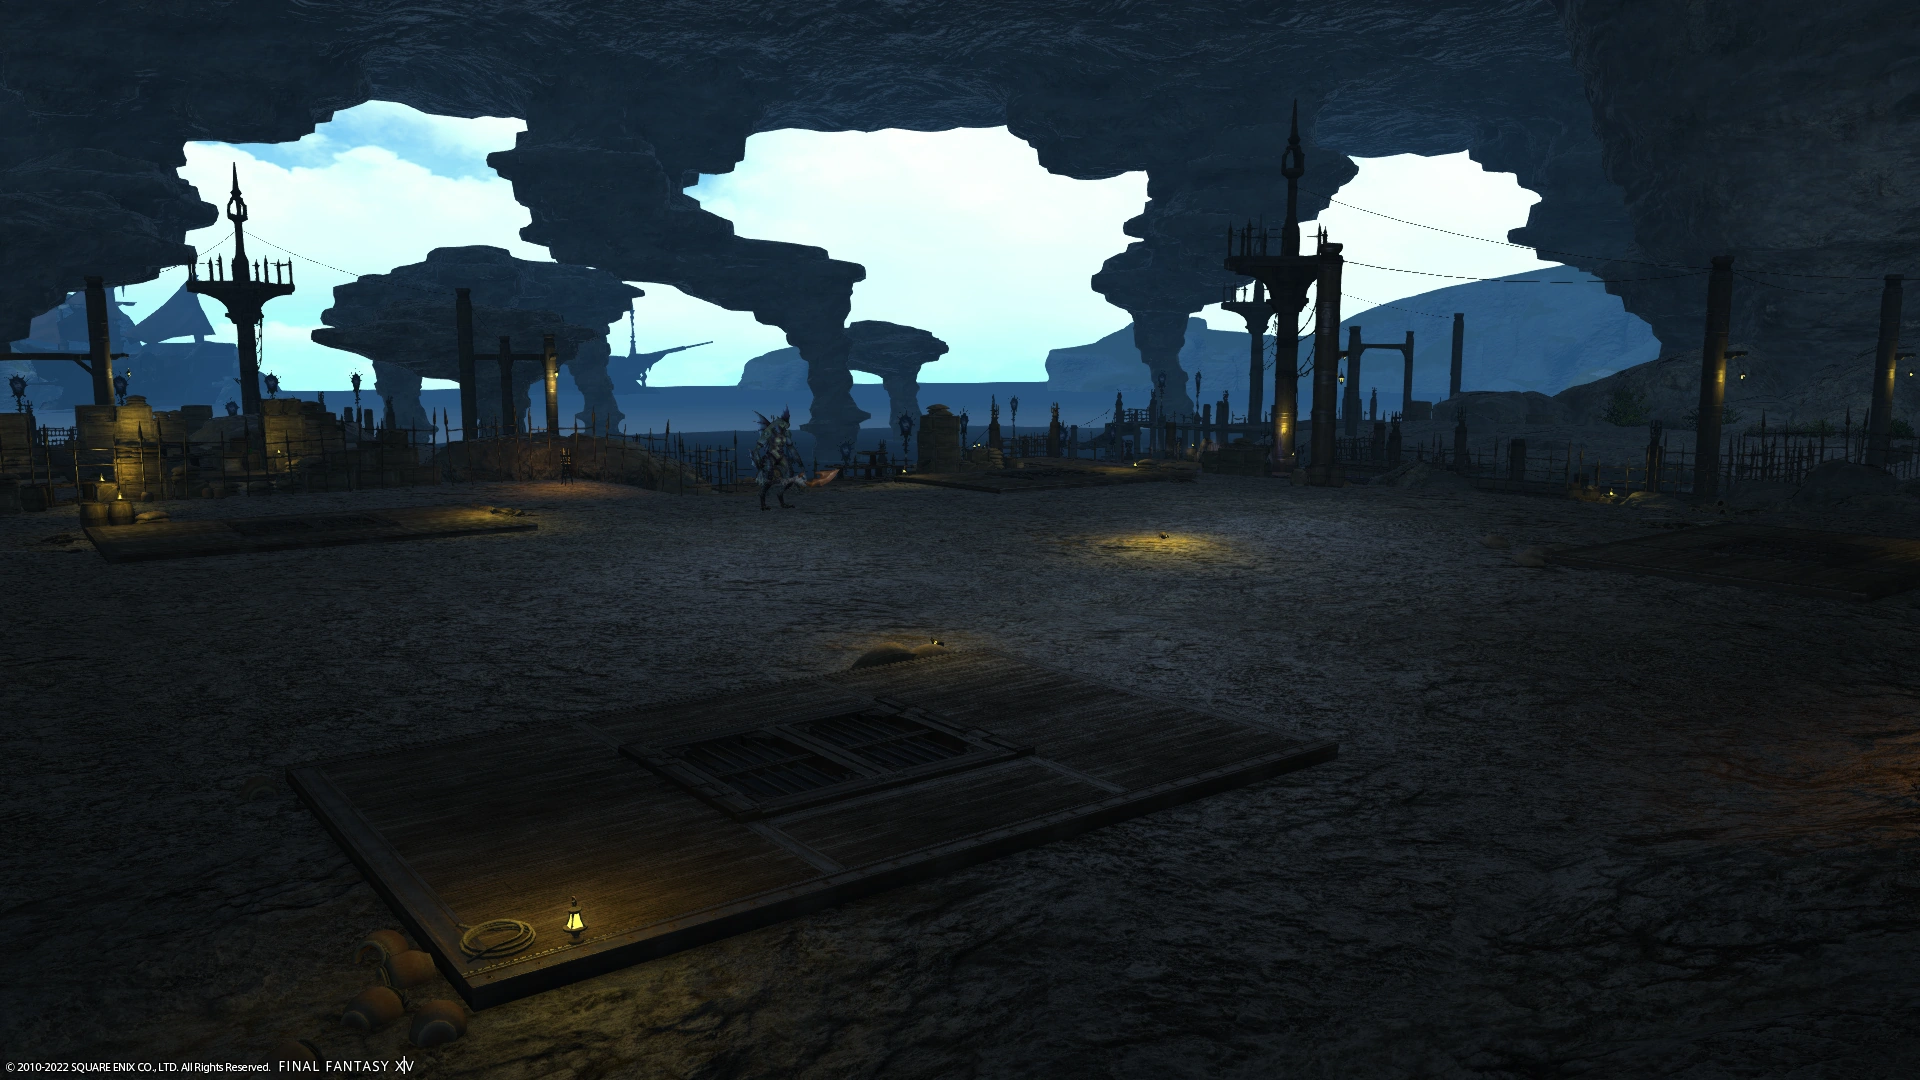
Sastasha in the opening cutscene.
The Sastasha Seagrot (shortened to "Sastasha") is a dungeon in Final Fantasy XIV, and is the first dungeon introduced to players. This grotto is a den for the Serpent Reavers, pirates aligned with the Sahagin and led by Captain Madison. It requires a minimum level of 15 to enter, with higher players level synced to 18. Being the first dungeon, it is not particularly difficult, serving as a tutorial of sorts for new players.
As of Patch 2.4, there is also a hard version of Sastasha requiring experienced adventurers who have saved Eorzea to return and purge the caverns of enemies again. This version requires adventurers to have a level of 50 and an average item level of 80.
Story
After a period of relative silence following the Calamity, the Serpent Reavers have once again taken to terrorizing the inland hamlets of La Noscea─killing the men, kidnapping the women and children, plundering the storehouses, and burning what little they leave behind. For years, it was not known how the pirates were able to raid areas so far from the coast, until a local shepherd sighted a band of painted ruffians entering the Sastasha Seagrot, carrying large quantities of sacks and crates. Could it be that there is more to this cave than meets the eye?
Duty description
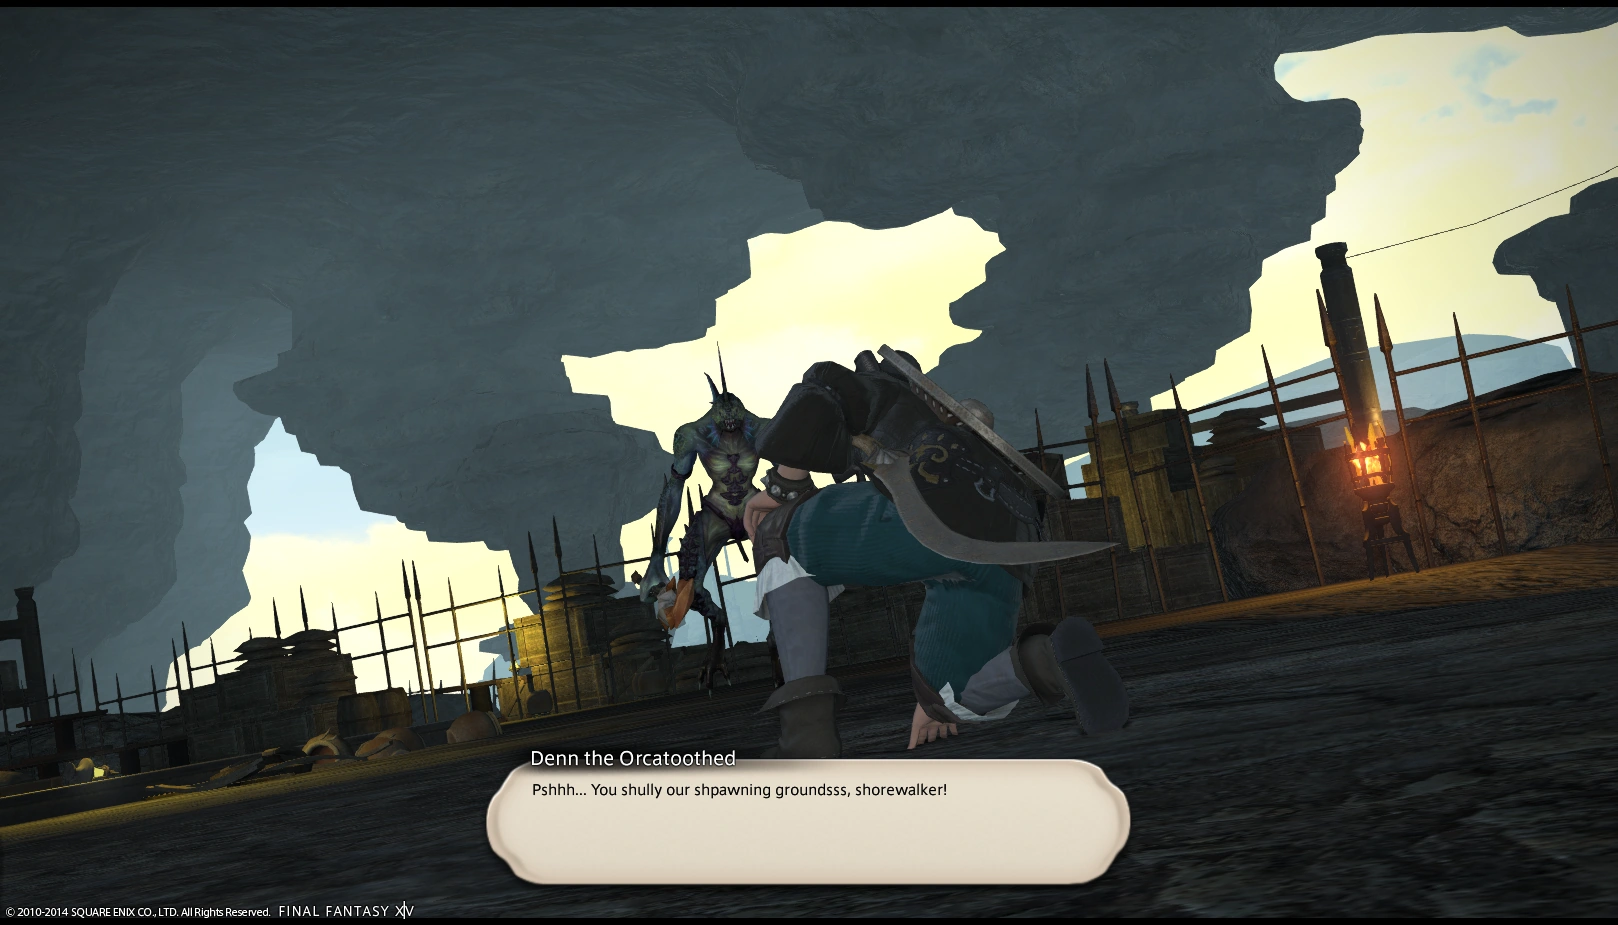
Denn finishes off the unsuspecting Captain Madison.
Tasked by Commodore Reyner of Limsa Lominsa to investigate Sastasha and see if the claims of pirates have any merit, the Adventurer gathers stalwart companions and enters the dungeon. Inside, the group initially finds only wildlife—however, after opening a secret passageway, the adventurers stumble upon the den of a group of Serpent Reavers.
Not long after doing so, they encounter the Captain, Madison, and send him fleeing past his crew's main quarters. Upon finding the man and beating him again, he once more flees, this time to the spawning grounds of his Sahagin masters. Their leader, Denn the Orcatoothed, is displeased with this, and executes the captain for his troubles, then turning his blade on the adventurers. After defeating him, the party returns to the surface and reports to a grateful Reyner that the caverns are once more cleared.
Sastasha (Hard)
The abominations within the Seagrot.
Tucked deep inside the dank caverns of the Sastasha Seagrot, there is a secret port said to have been built by the pirate Mistbeard. In the years following the Calamity, the notorious Serpent Reavers claimed it as their lair, until the cutthroats were vanquished by a band of dauntless adventurers. The place subsequently came under the control of Lominsan authorities, who maintained a security presence within.
Alas, that control did not last, for an unknown faction has arisen─seemingly from the briny depths─and overwhelmed the occupying Yellowjackets. Opinion is divided over the identity of these foes. Some say that they are pirates, while others swear that they are fiends. Yet it does not take a scholar to see that these two things need not be mutually exclusive.Duty description
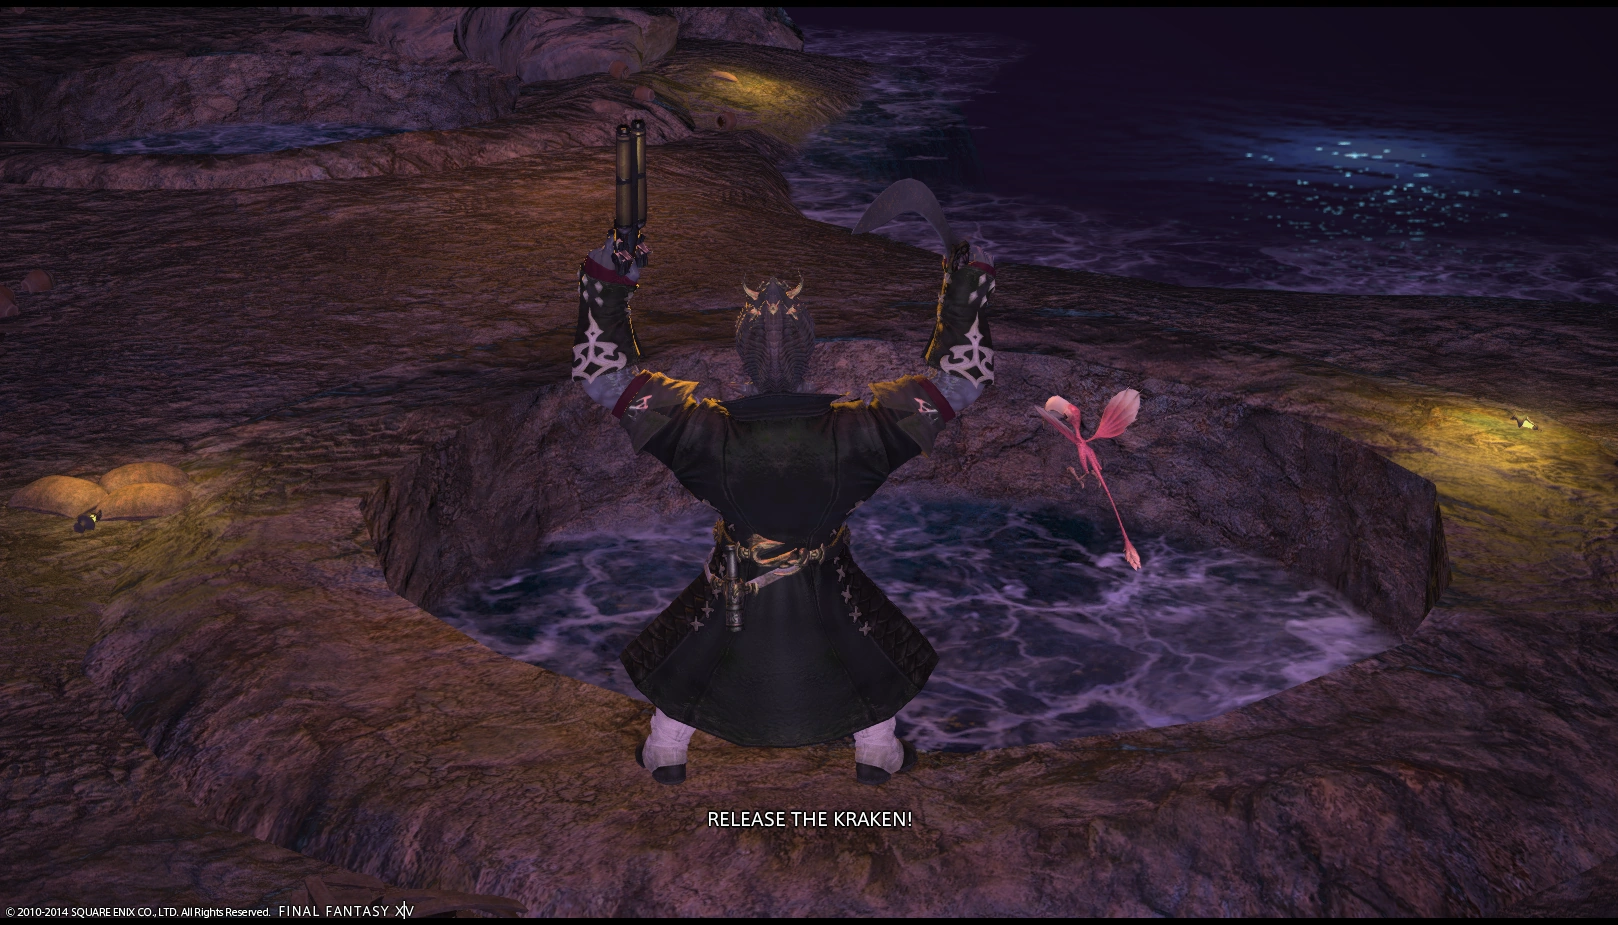
Captain Madison releases the kraken.
During the course of their adventures, the Warrior of Light chances upon a man at the Seventh Heaven who directs them to Commander Reyner once more. Reyner informs them that someone—or something—has taken up residence in the seagrot once more, and that the group of adventurers he sent after them came scurrying out the hole but a few minutes after entering. Entrusting his faith to the Warrior, he bids they explore Sastasha again and slay whatever lies within.
Exploring the depths, they dispatch increasingly aggressive wildlife to chance upon grotesque monstrosities—pirates with the heads of jellyfish attacking them. After further exploration, they encounter none other than the grotesque abomination that is Captain Madison, resurrected by his Sahagin overlords in his new form to protect the grotto once more. After a long, grueling fight, Madison retreats yet again, leaving the adventurers to pursue him. After they catch up, Madison releases his pet Kraken upon them, though it promptly sends Madison and his Colibri hurtling away before turning on the adventurers.
After defeating the creature, the party meets with Reyner at Aleport to deliver the truth of the encounter they bore witness to. To help verify the claims, Yellowjackets appear bearing Madison's corpse, which is promptly examined by one of Lamberteint's assistants, Ceana. She postulates that if the corruption of a man's mind through tempering can occur with the use of a little of a Primal's aether, then the corruption of his body might occur with a greater application.
Locations
Wauling Pond

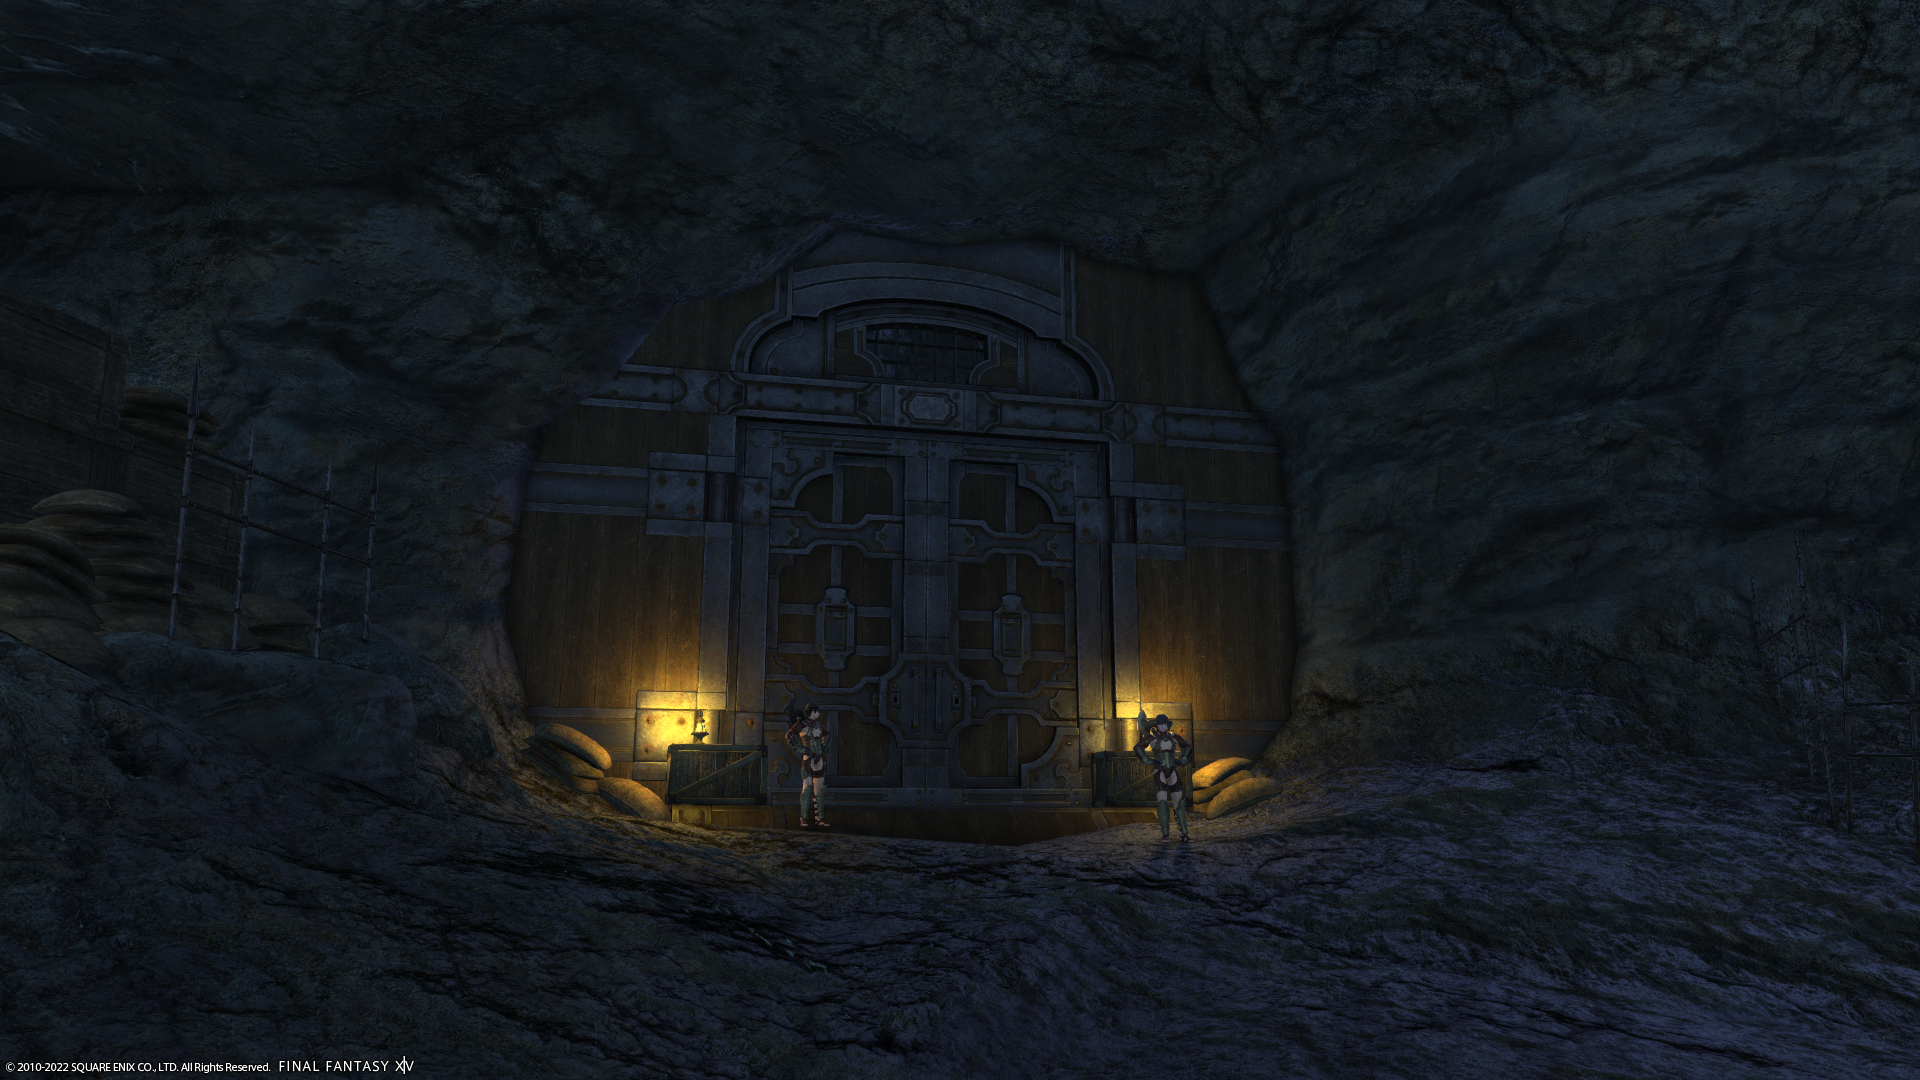
The Wauling Pond in Sastasha normal.
This area serves as the entrance to the Sastasha Seagrot. In both normal and Hard Sastasha, it is a linear path that curves above the waters below, leading to the Sastasha Seagrot proper. In Sastasha normal, there is a branch in the path that leads to the Empty Room.
Empty Room

The Empty Room.
This small room, found only in normal Sastasha, contains a bloody memo that should be examined by a member of the adventuring party before proceeding. This note contains a piece of information regarding the coral formations found in The Cattery, informing the party of which they should touch so as to avoid triggering the trap. The note will state that "The Capten lykes" an object and its color, indicating the correct color coral formation to pick. The options are "his sees Bloo," "his wyne Redd", and "his kebbage Greene."
Template:Gallery
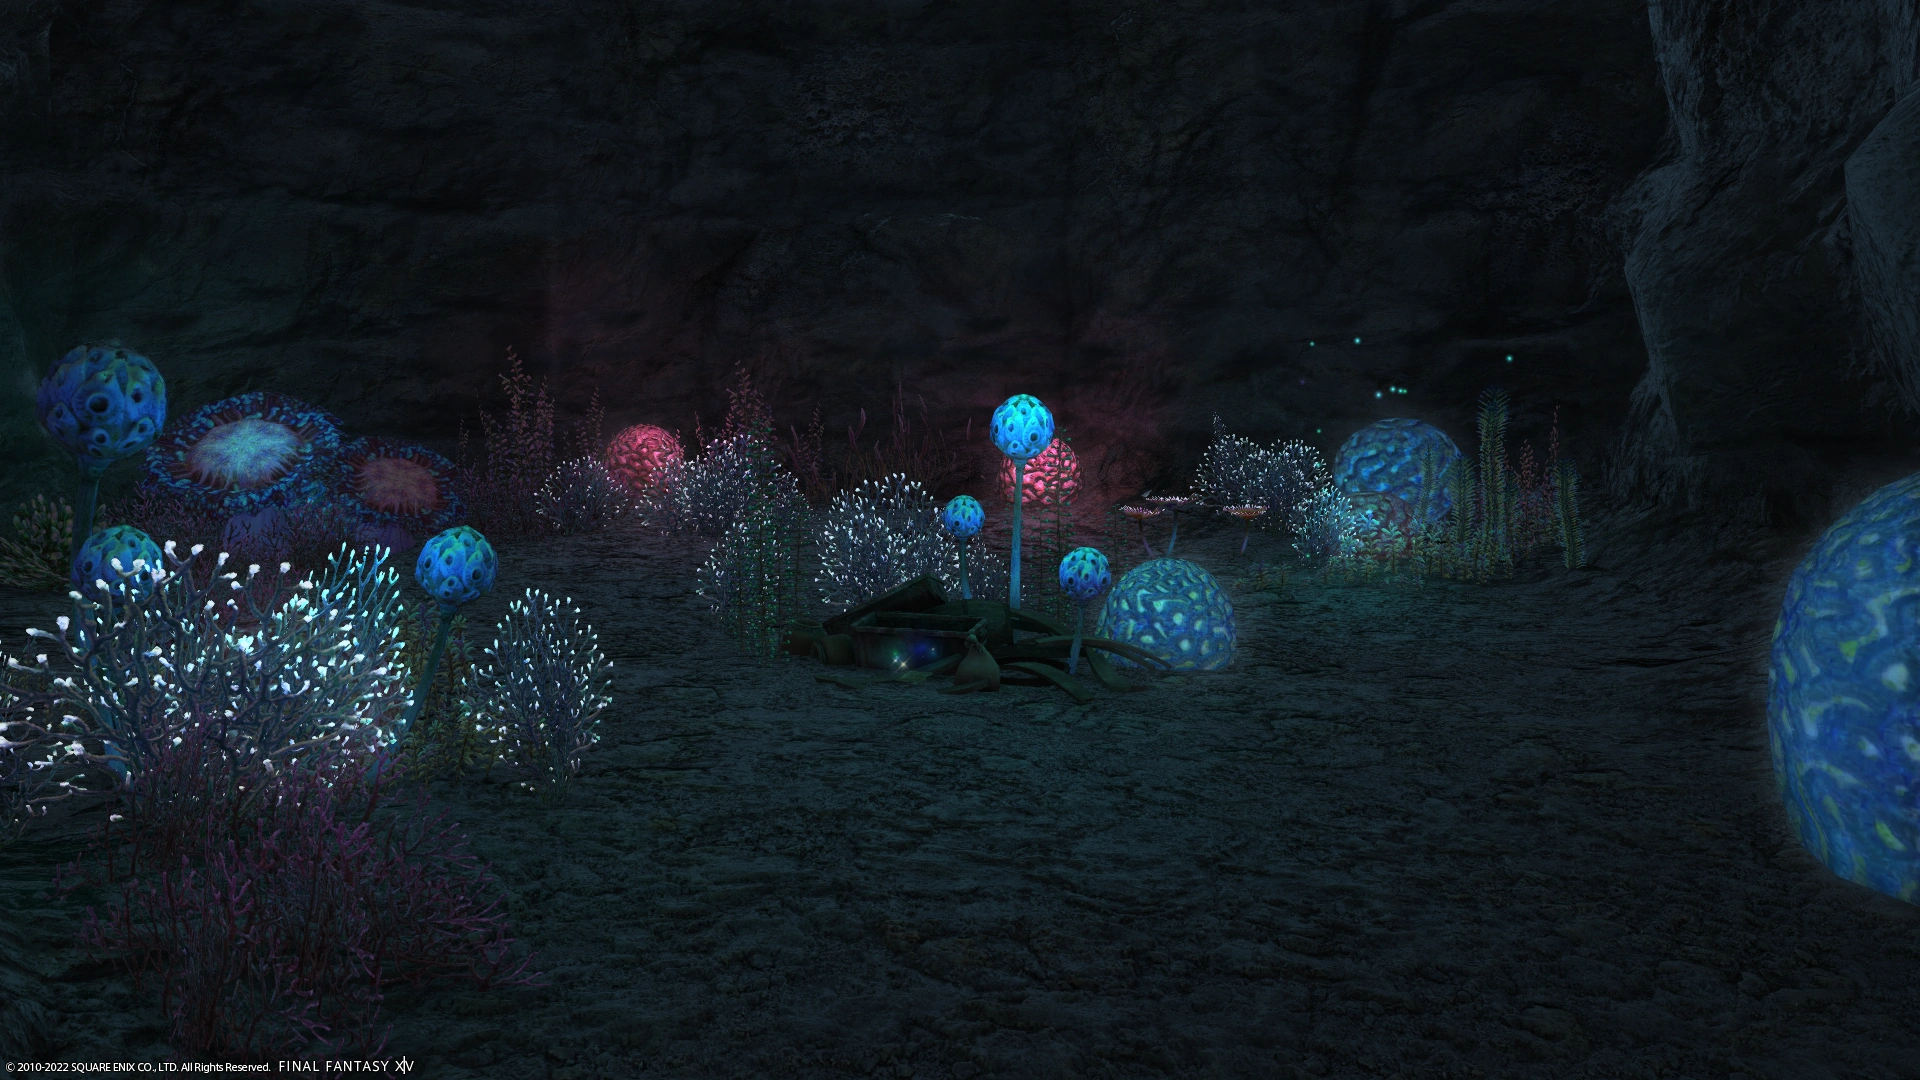
Sastasha Seagrot

The Sastasha Seagrot in normal mode.
This large, open area is filled with water, which must often be crossed to reach one's destination. In normal Sastasha, a number of Giant Clams are foud interspersed through the area, and must be destroyed before they produce more Shade Seekers. In Sastasha Hard, access to the rest of the seagrot is prevented by high water, and a drainage lever must be pulled before the party may venture further into the area. In Sastasha normal, this area leads to the Cattery. In Hard, it leads to the Greeting Pond.
The Cattery

The Cattery.
This open room serves as the first boss chamber for Sastasha. In order to find the boss, the party must first select the correct coral formation as indicated in the earlier memo. Selecting the wrong formation inflicts poison on the person interacting with it, and spawns a Cave Aurelia. Upon picking the correct formation, a suspicious switch appears on the far side of the Cattery; touching this switch will summon the first boss, Chopper. This area leads into the beginning section of Dead Man's Drink, The Rambade.
Template:Gallery
Greeting Pond
This section of Sastasha Hard may only be accessed after the water level is brought down, and is a small circular area containing the dungeon's first boss, Karlabos. Once he is defeated, the way forward to The Pull is unsealed.
The Pull
This watery area, found only in Sastasha Hard, separates the Sastasha Seagrot and the Dead Man's Drink. It is a straightforward, linear passage marked by a number of circular rooms containing enemies.
The Rambade

The Rambade.
This small room, found only in normal Sastasha, contains the second boss, Captain Madison, as well as his two pirate cohorts. Before properly defeating him, Captain Madison will run away, unsealing passage beyond the Rambade and into Dead Man's Drink in the process.
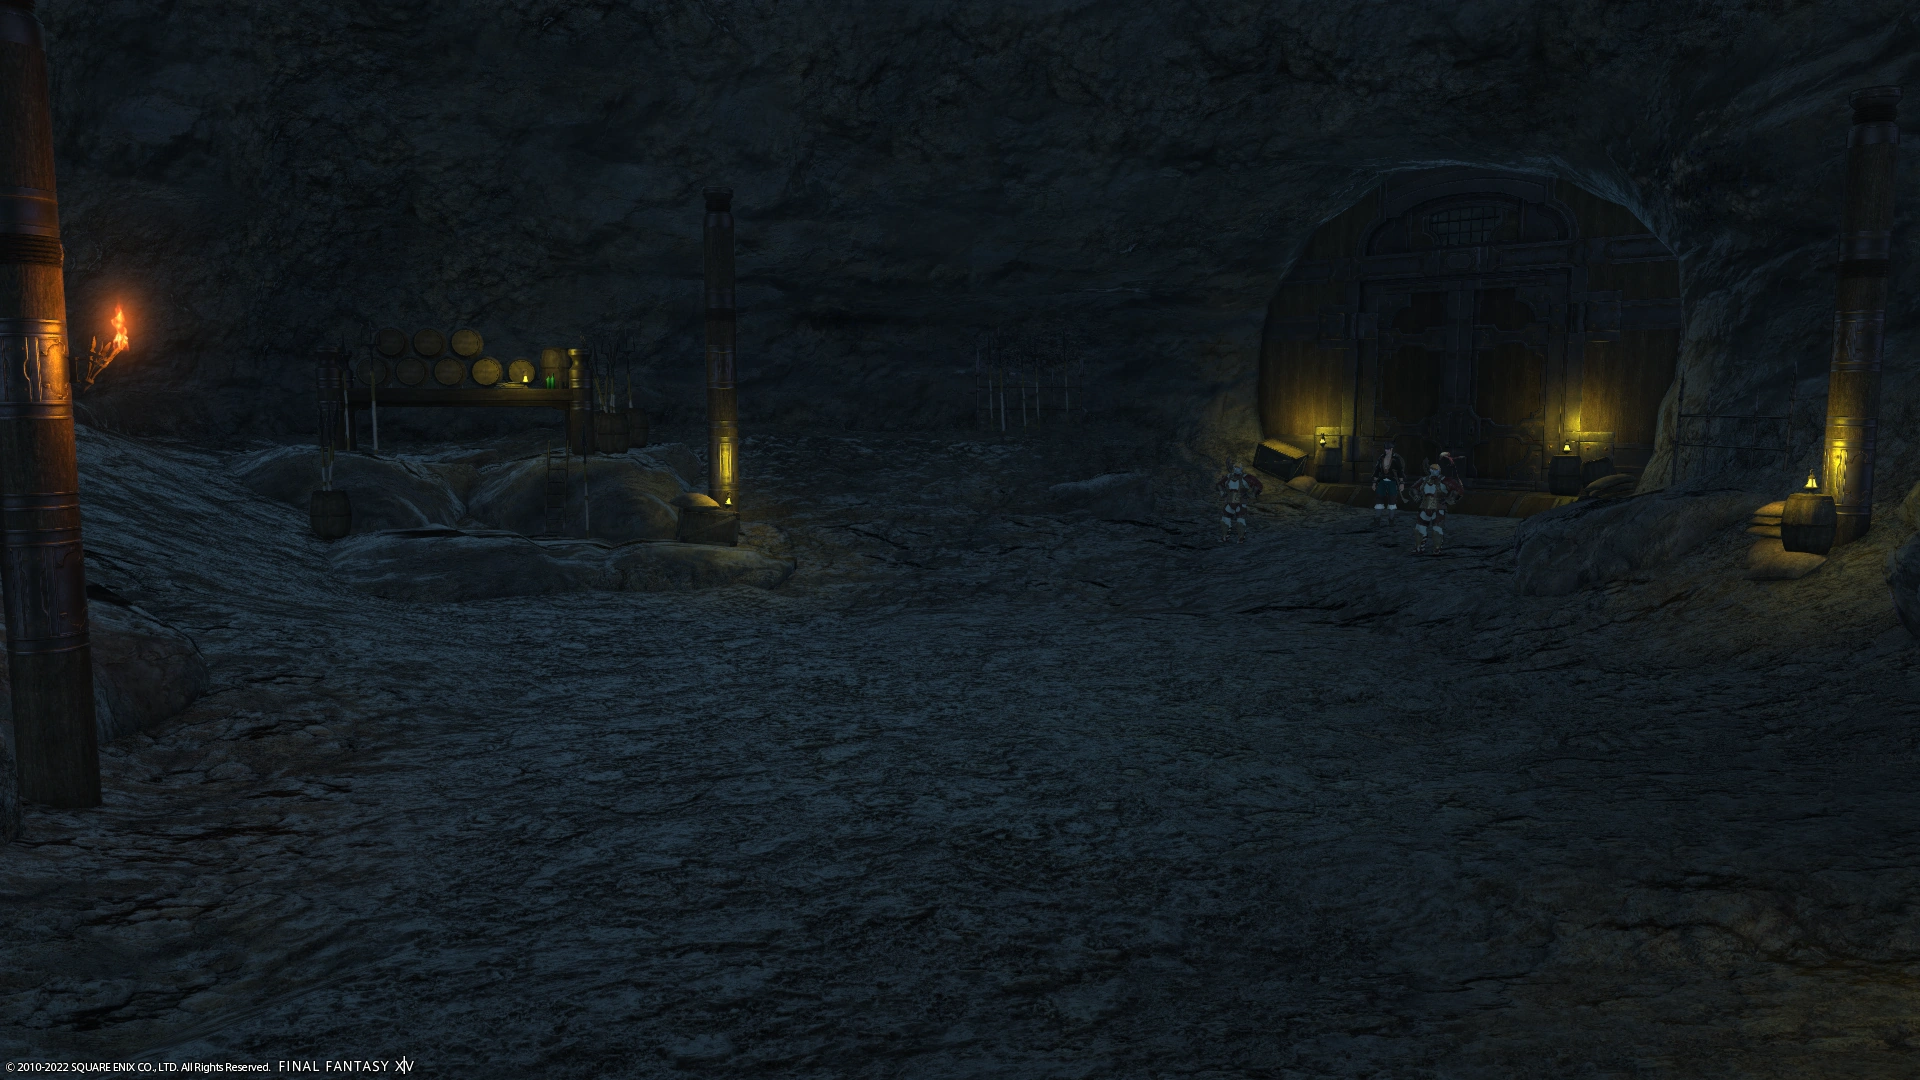
Dead Man's Drink
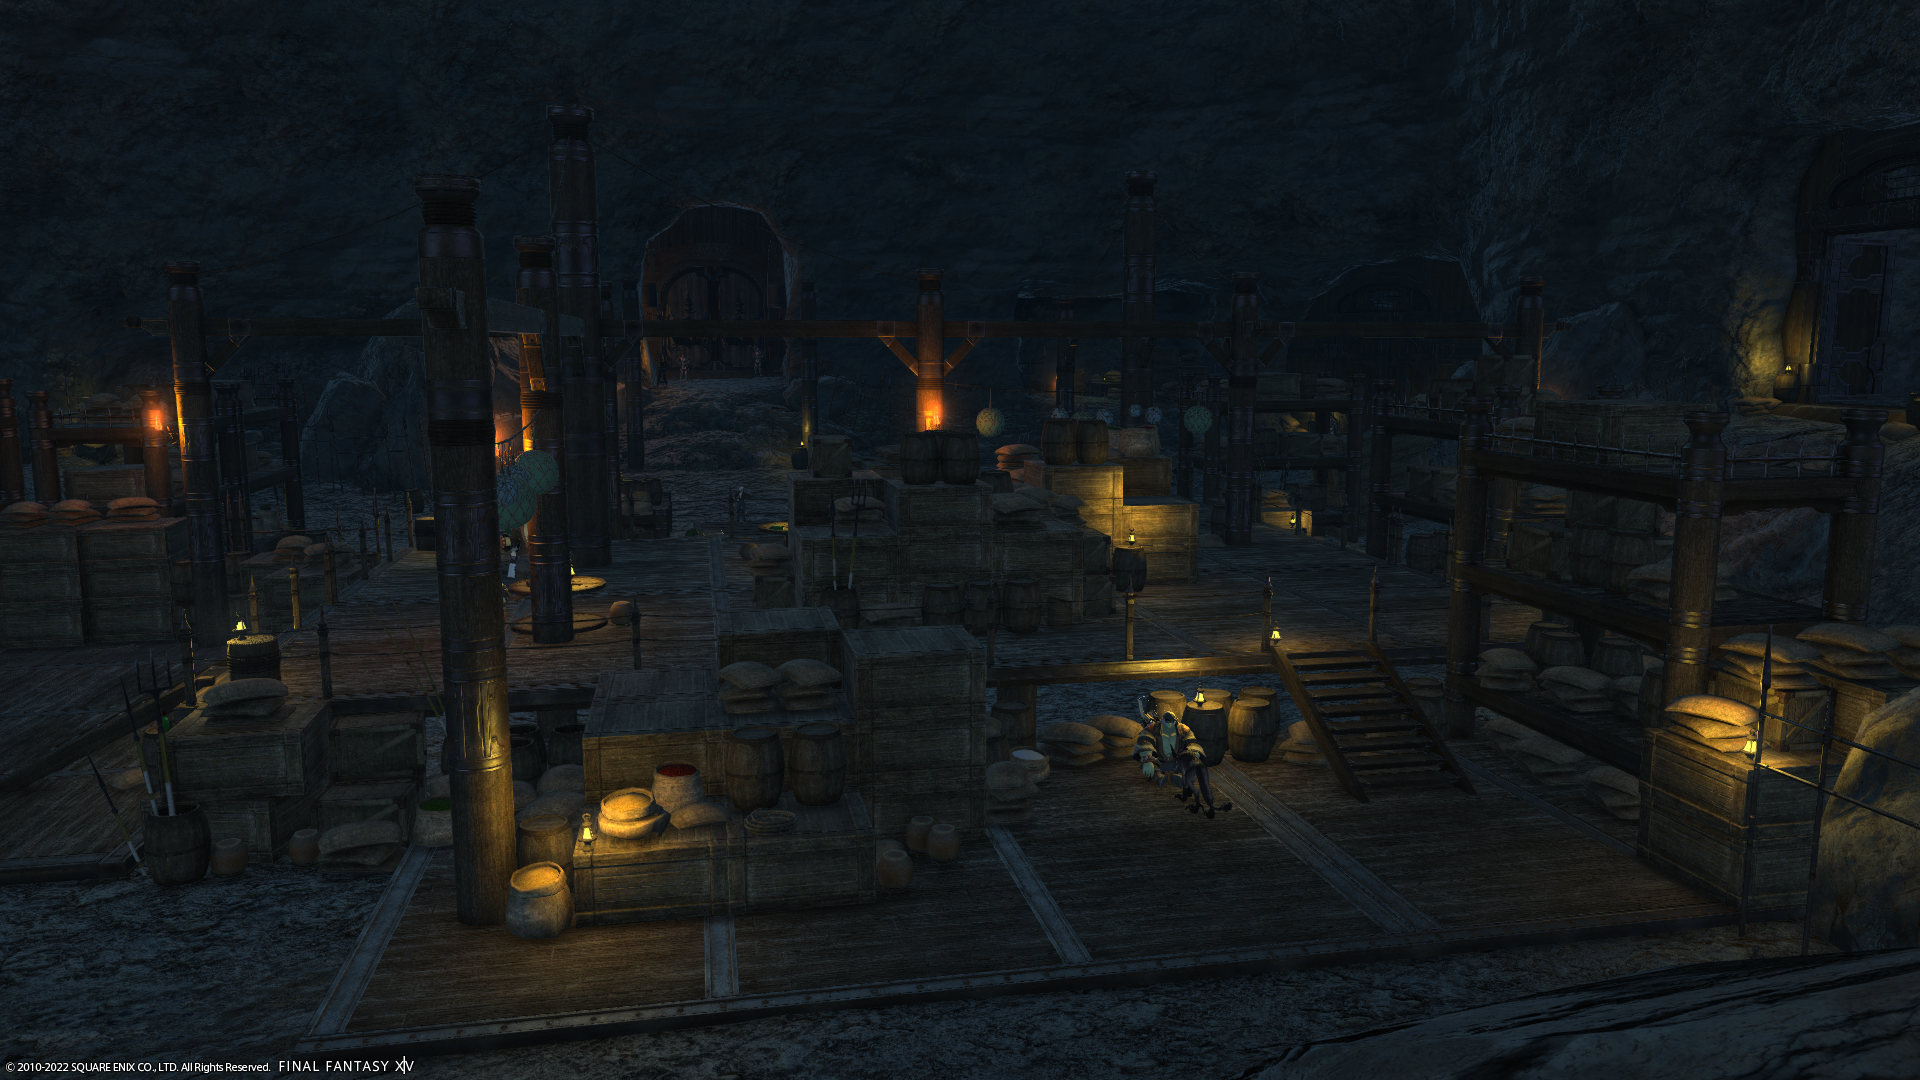

Dead Man's Drink in Sastasha normal.
This large, wood-covered area contains the living quarters of the Serpent Reavers, and shoots off into a number of side passages in Sastasha normal. In Hard, this area has been downsized, and only contains the Rowers' Quarters, the Waverider Gate, and the second Rambade. It is also the name of the small, rectangular area in which the party faces off against the second boss, Captain Madison. This small area leads to the Waverider Gate.
Rowers' Quarters


The Rowers' Quarters in Sastasha normal.
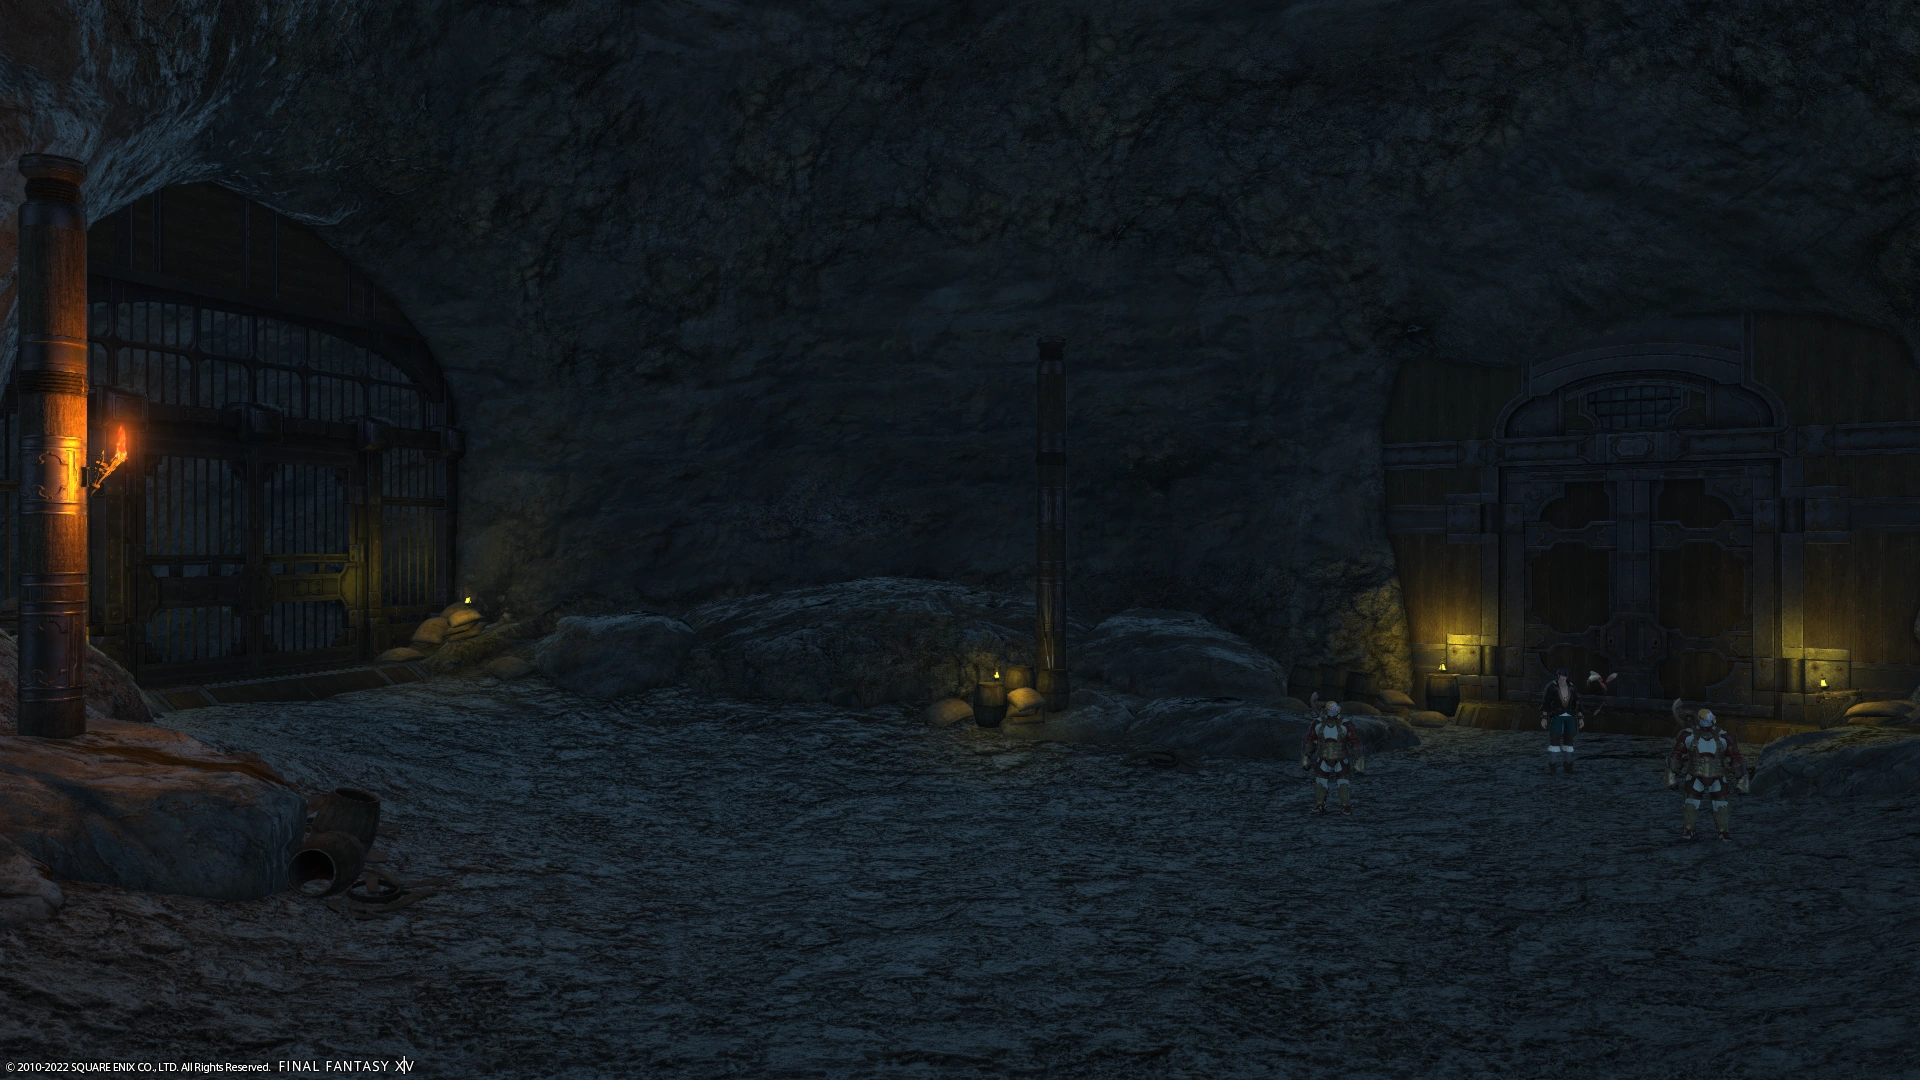
The Rowers' Quarters is a small room containing a few of the Serpent Reavers. In Sastasha normal, this area is a side room that is completely optional, and is usually avoided, as it is one of the only side rooms that does not possess any treasure. In Sastasha Hard, the area has been remodeled, and one must pass through the Rowers' Quarters in order to reach Dead Man's Drink proper.
The Hole
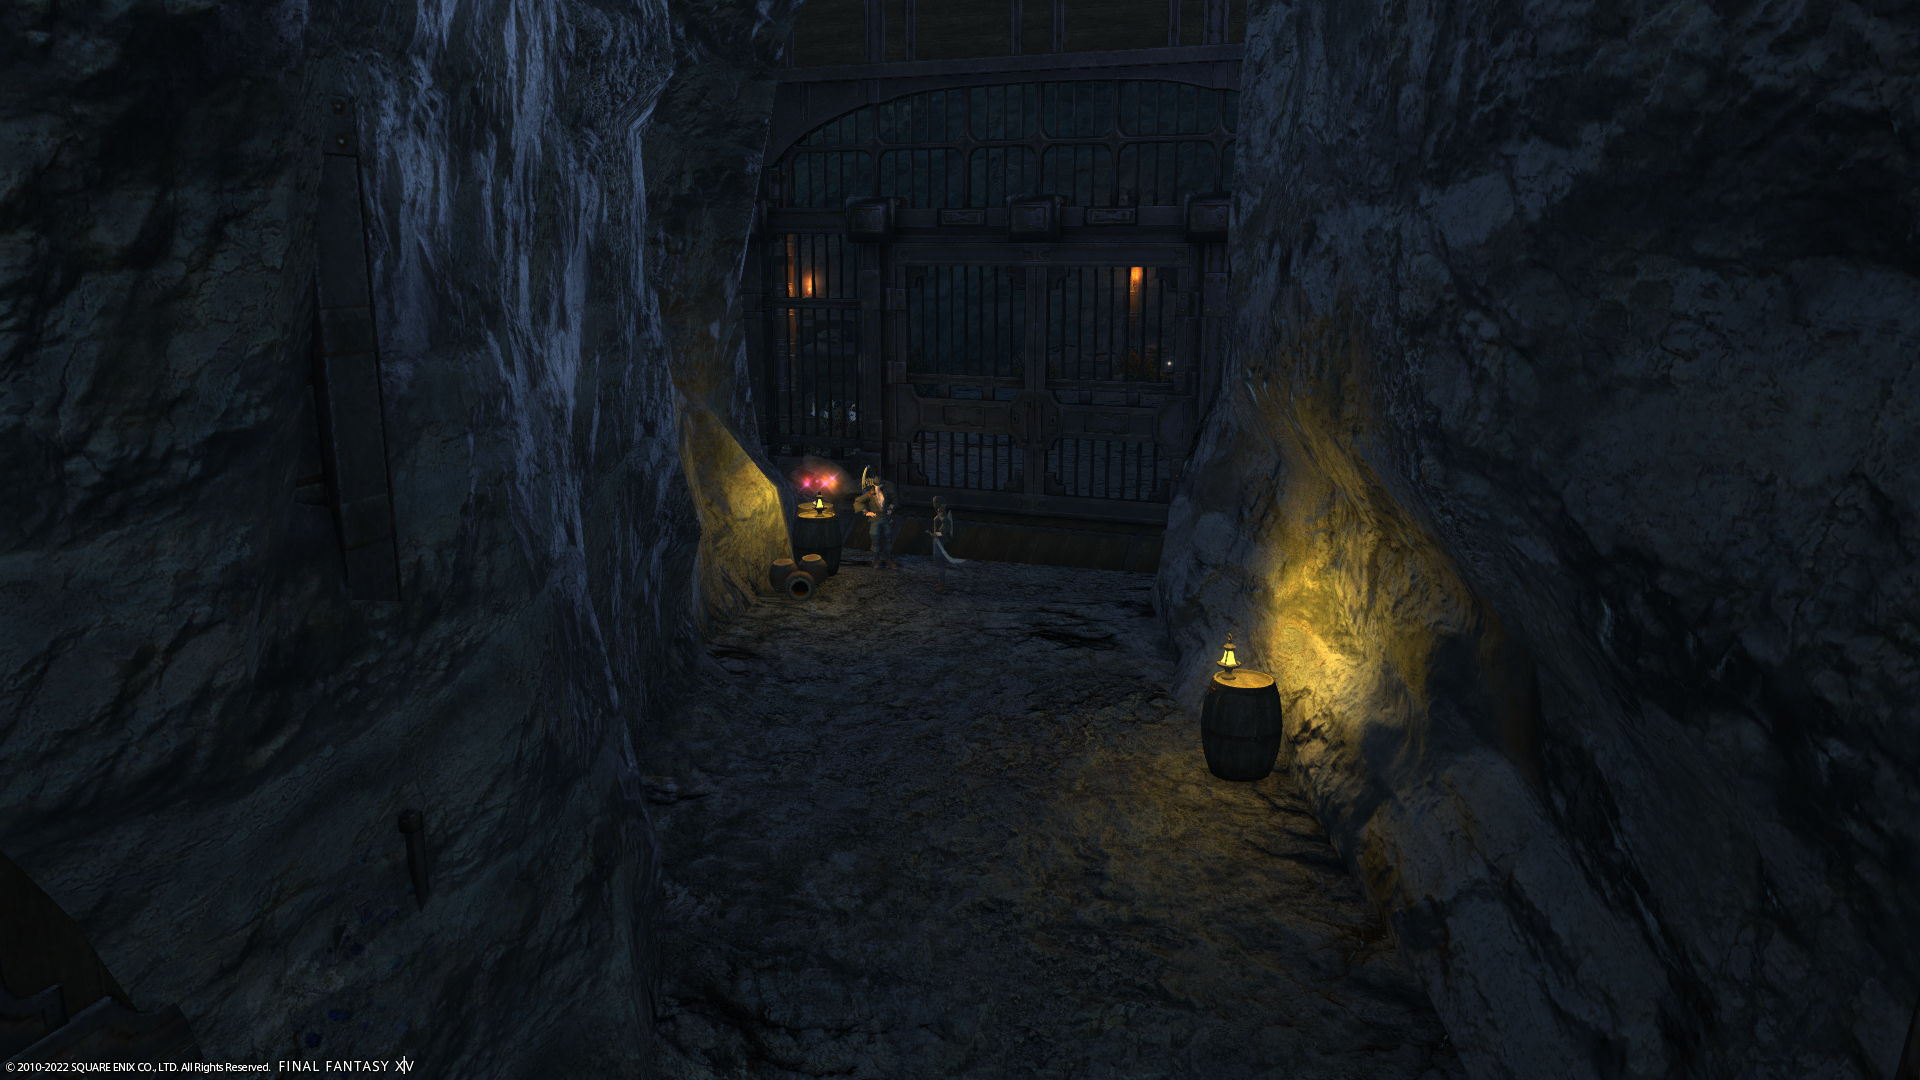

The Hole.
The Hole is the area in which the Serpent Reavers keep their captives before giving them to their Sahagin masters. The area is sealed off from the rest via a gate, with a key found next to the door by a few Reaver guards. Inside of The Hole are several captives and a treasure coffer.
Template:Gallery
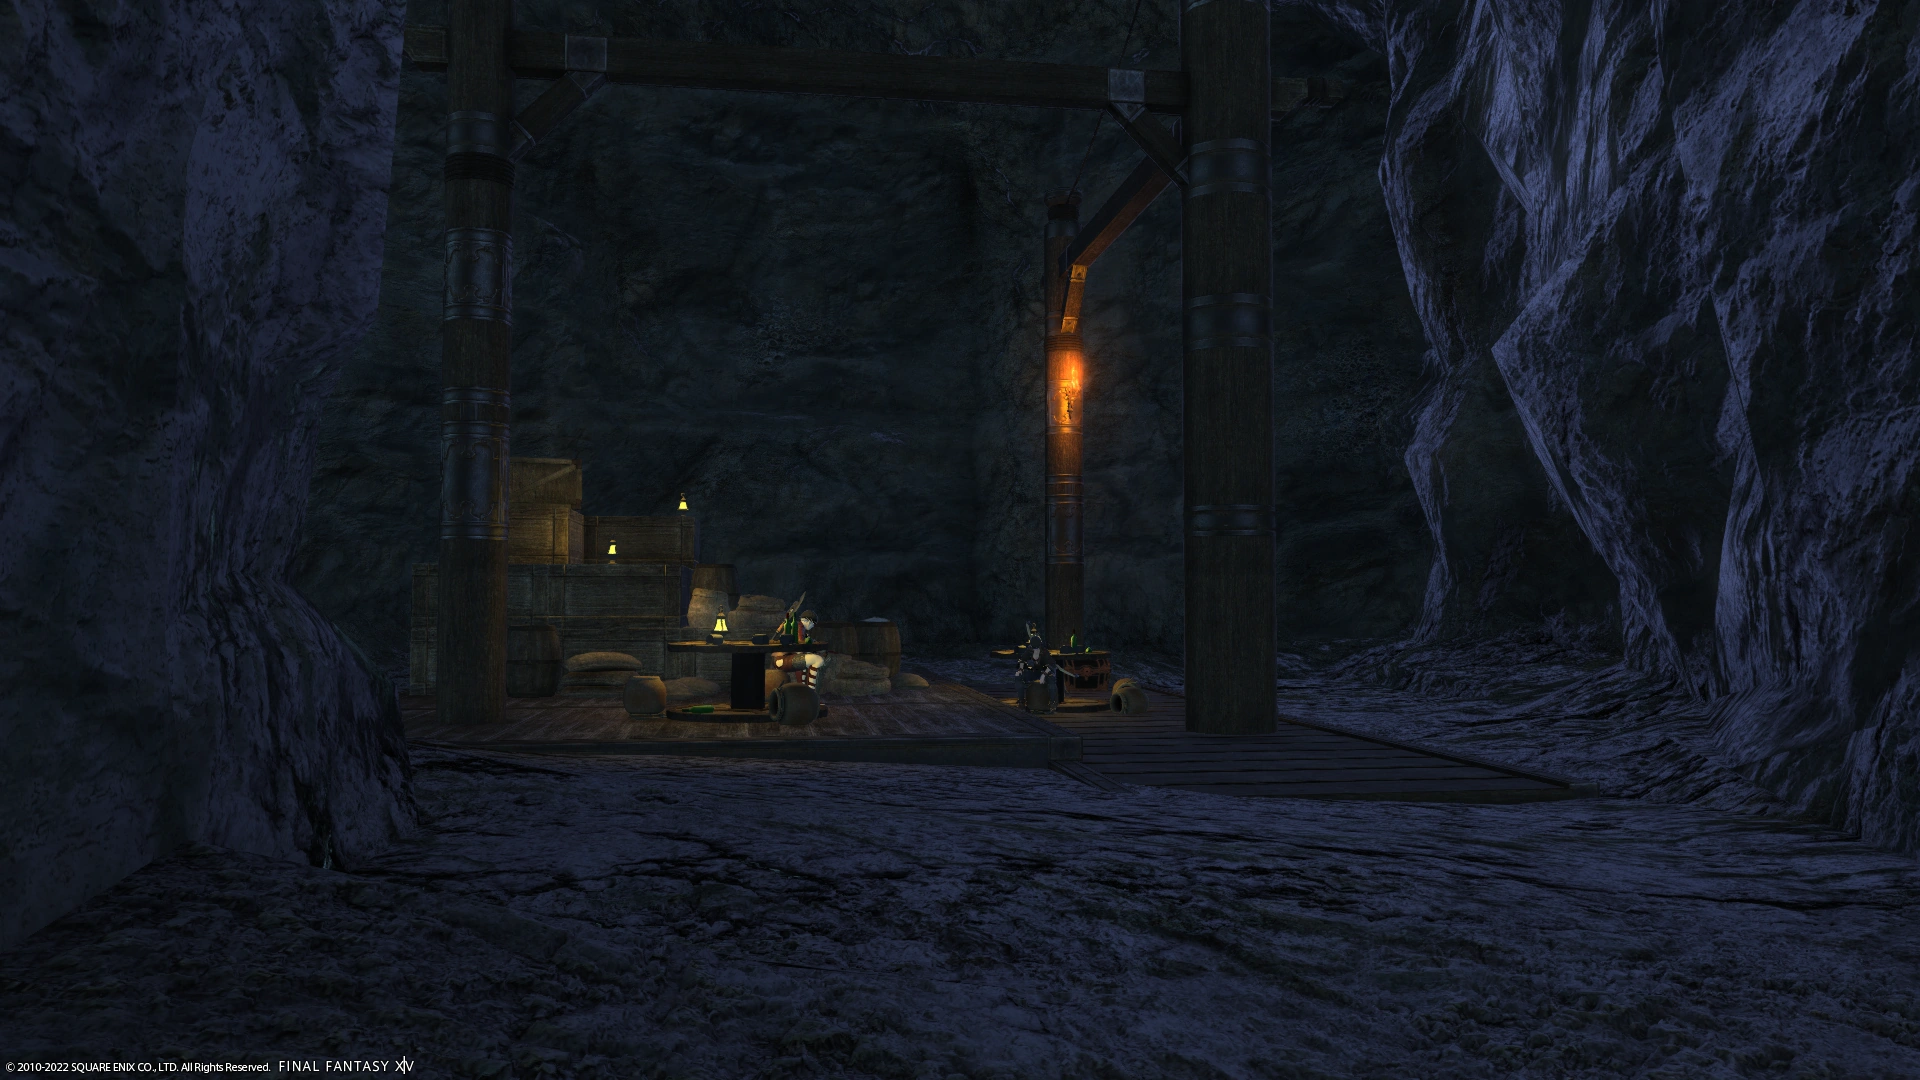
Deckhands' Quarters

The Deckhands' Quarters.
The Deckhands' Quarters is a side passage in Dead Man's Drink containing an alarmingly high quantity of Serpent Reavers. Thankfully, when the party enters the room, the group begins fighting amongst themselves, allowing the adventurers to loot the coffer in the area without drawing attention.

The Navigator's Quarters.
This area is a small room off to the side of Dead Man's Drink, containing only a couple of Serpent Reavers and a treasure coffer.
Captain's Quarters

The Captain's Quarters.
Unlocked by a key dropped by a Serpent Reaver not far outside the door, this area does not, as one might expect, contain the Captain, but instead possesses one of the Captain's loyal minions, who upon death drops the key to the Waverider Gate.
Waverider Gate

The Waverider Gate in Sastasha normal.
This gate leads from the Dead Man's Drink out to the second Rambade, and in normal mode may only be unlocked by a key dropped by the Serpent Reaver in the Captain's Quarters.
The Rambade

The second Rambade in Sastasha normal.
The second of its kind in Sastasha normal, this Rambade is where the second boss fight against Captain Madison is fought. In this fight, Captain Madison will halfway through signal for the release of the scurvy dogs, previously gated to the side of the room. Upon his defeat, Captain Madison again runs away, unlocking the path to Mistbeard Cove in the process. In Sastasha Hard, this room does not contain bosses or scurvy dogs; however, it still leads forward into Mistbeard Cove.
Template:Gallery
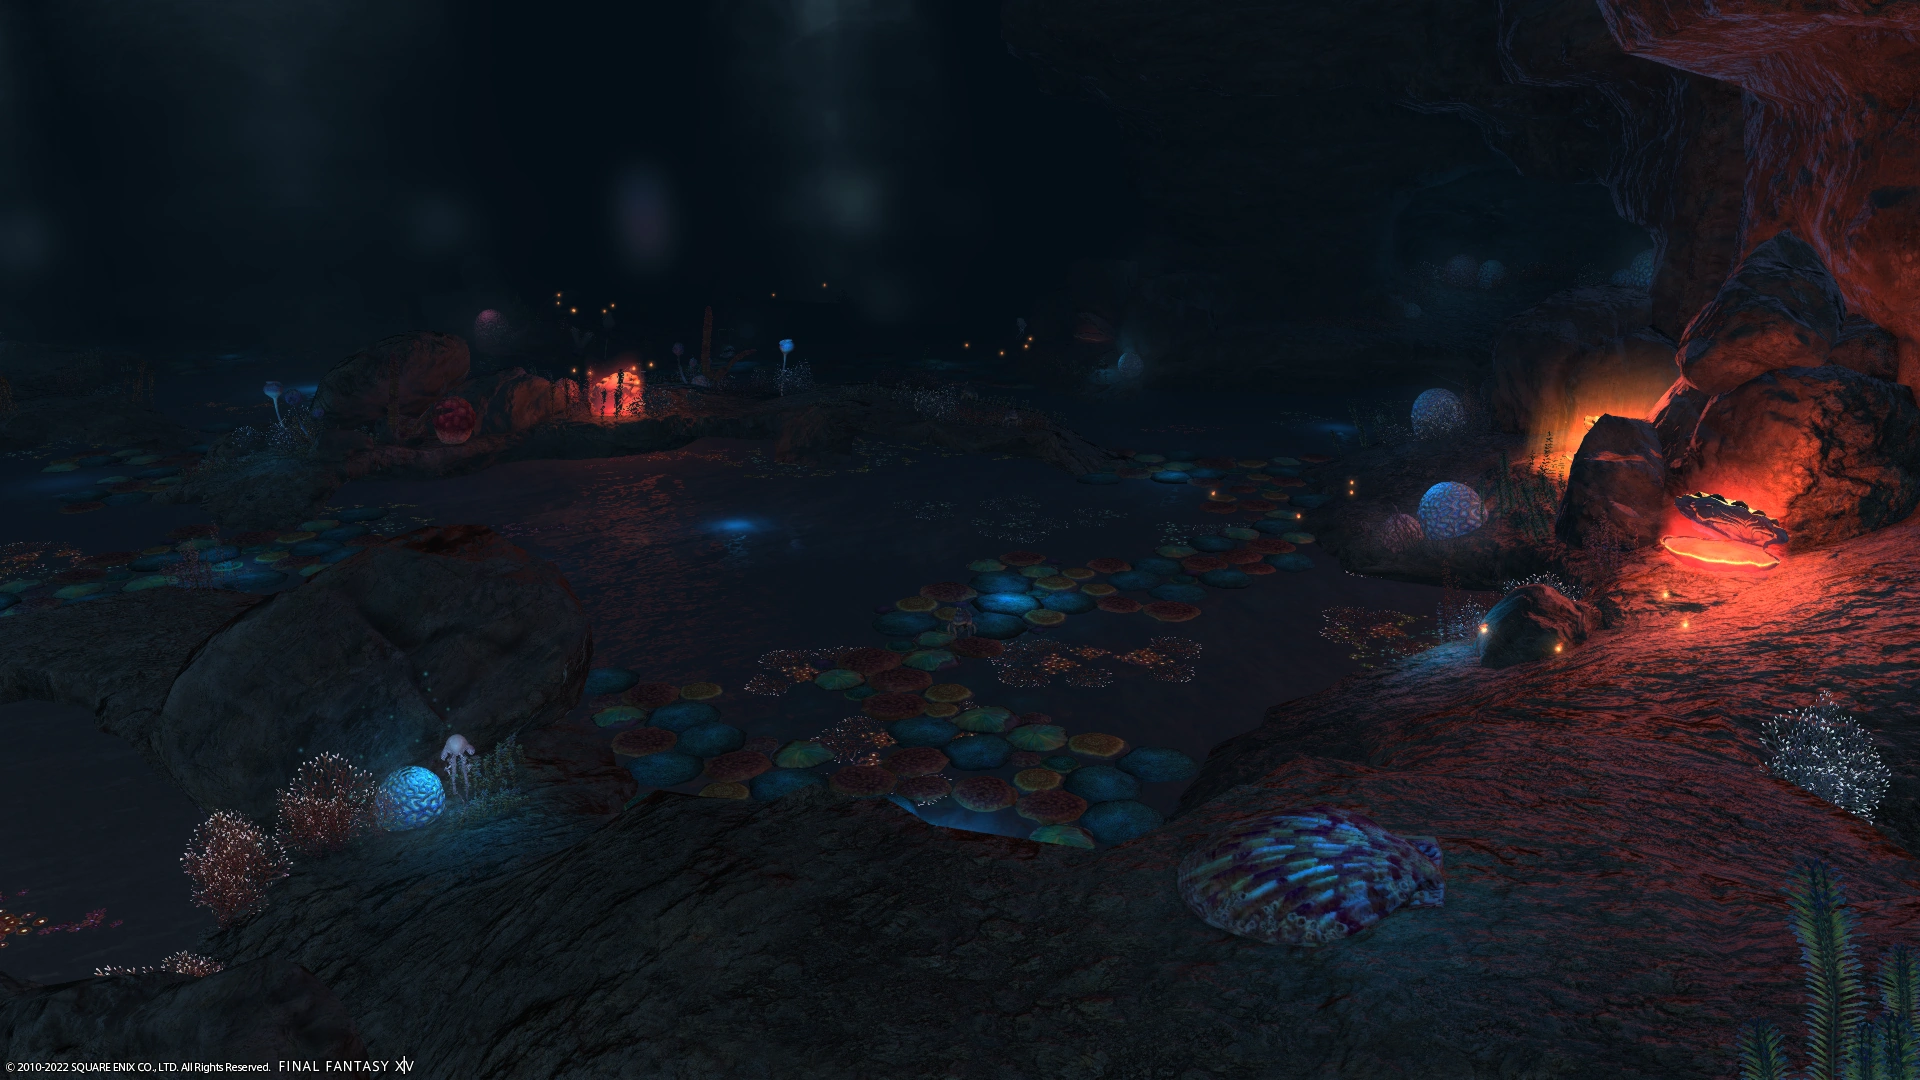
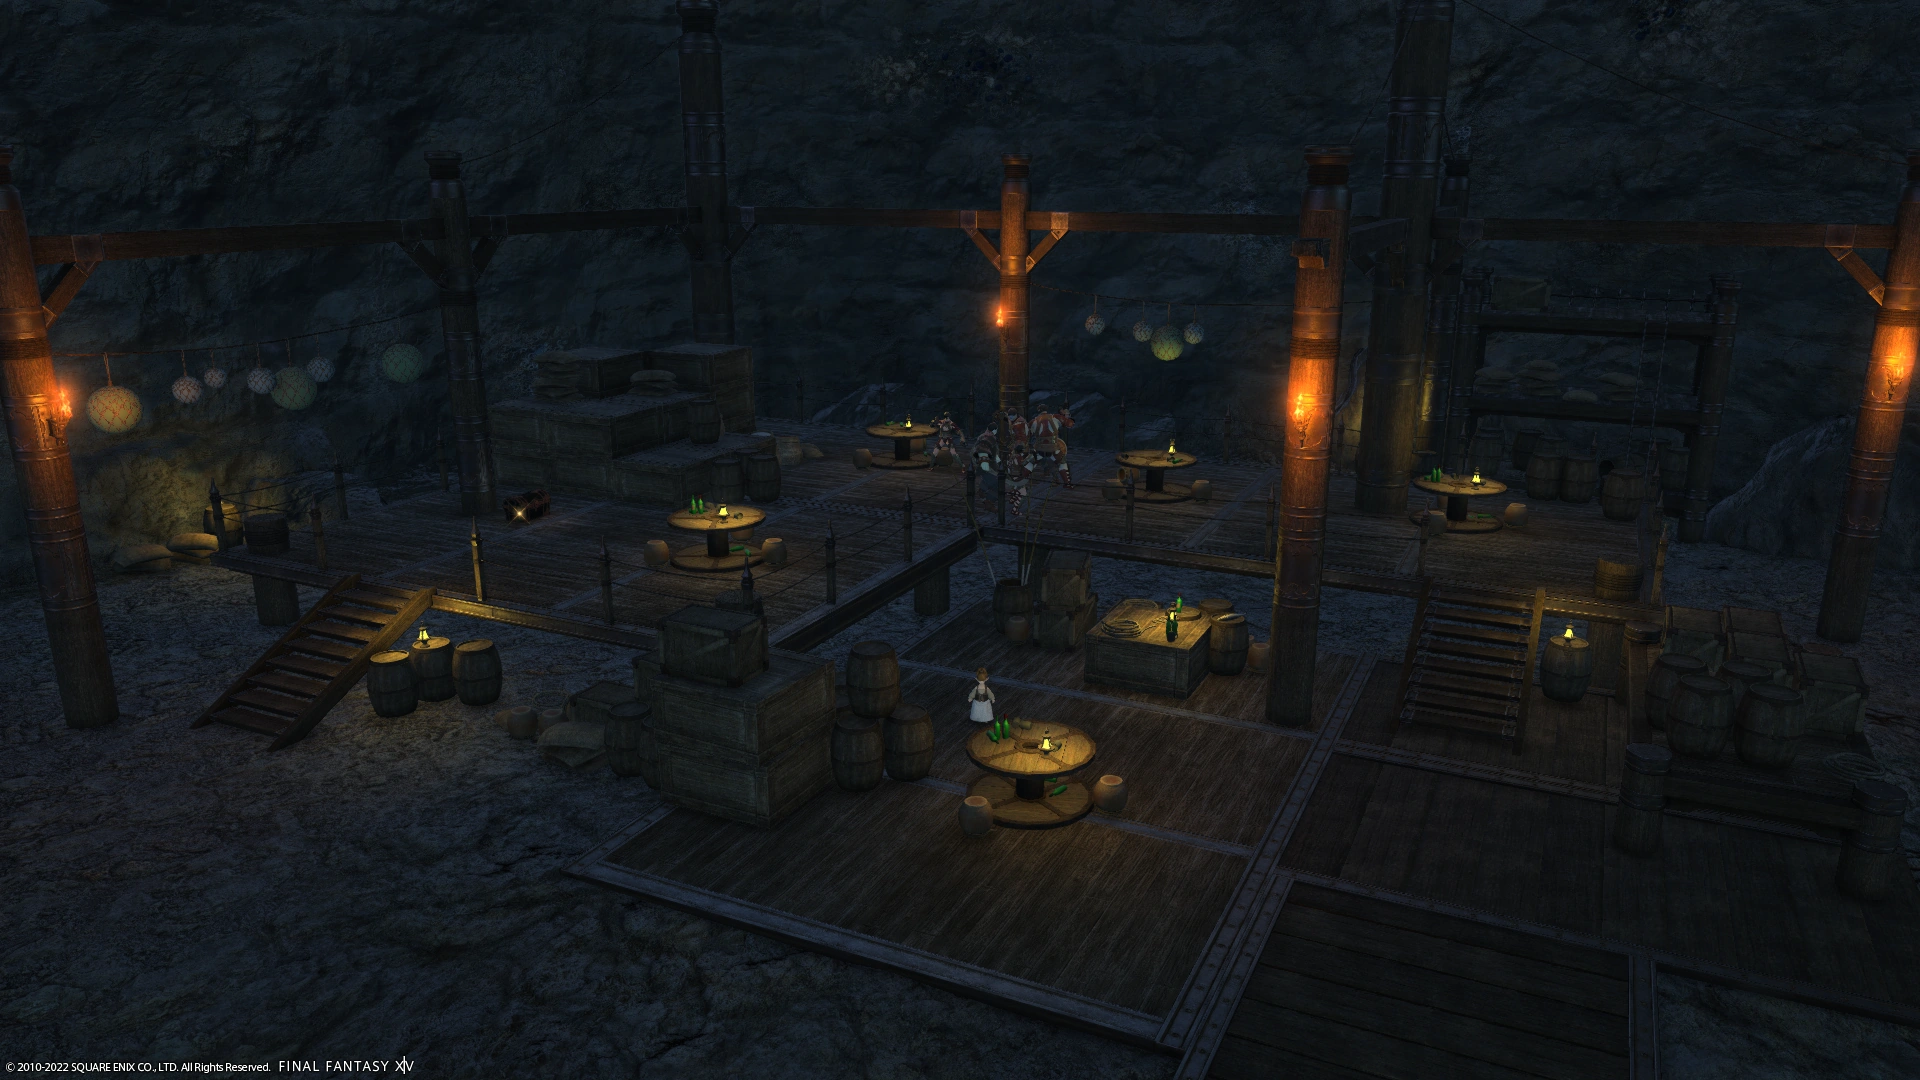
Mistbeard Cove

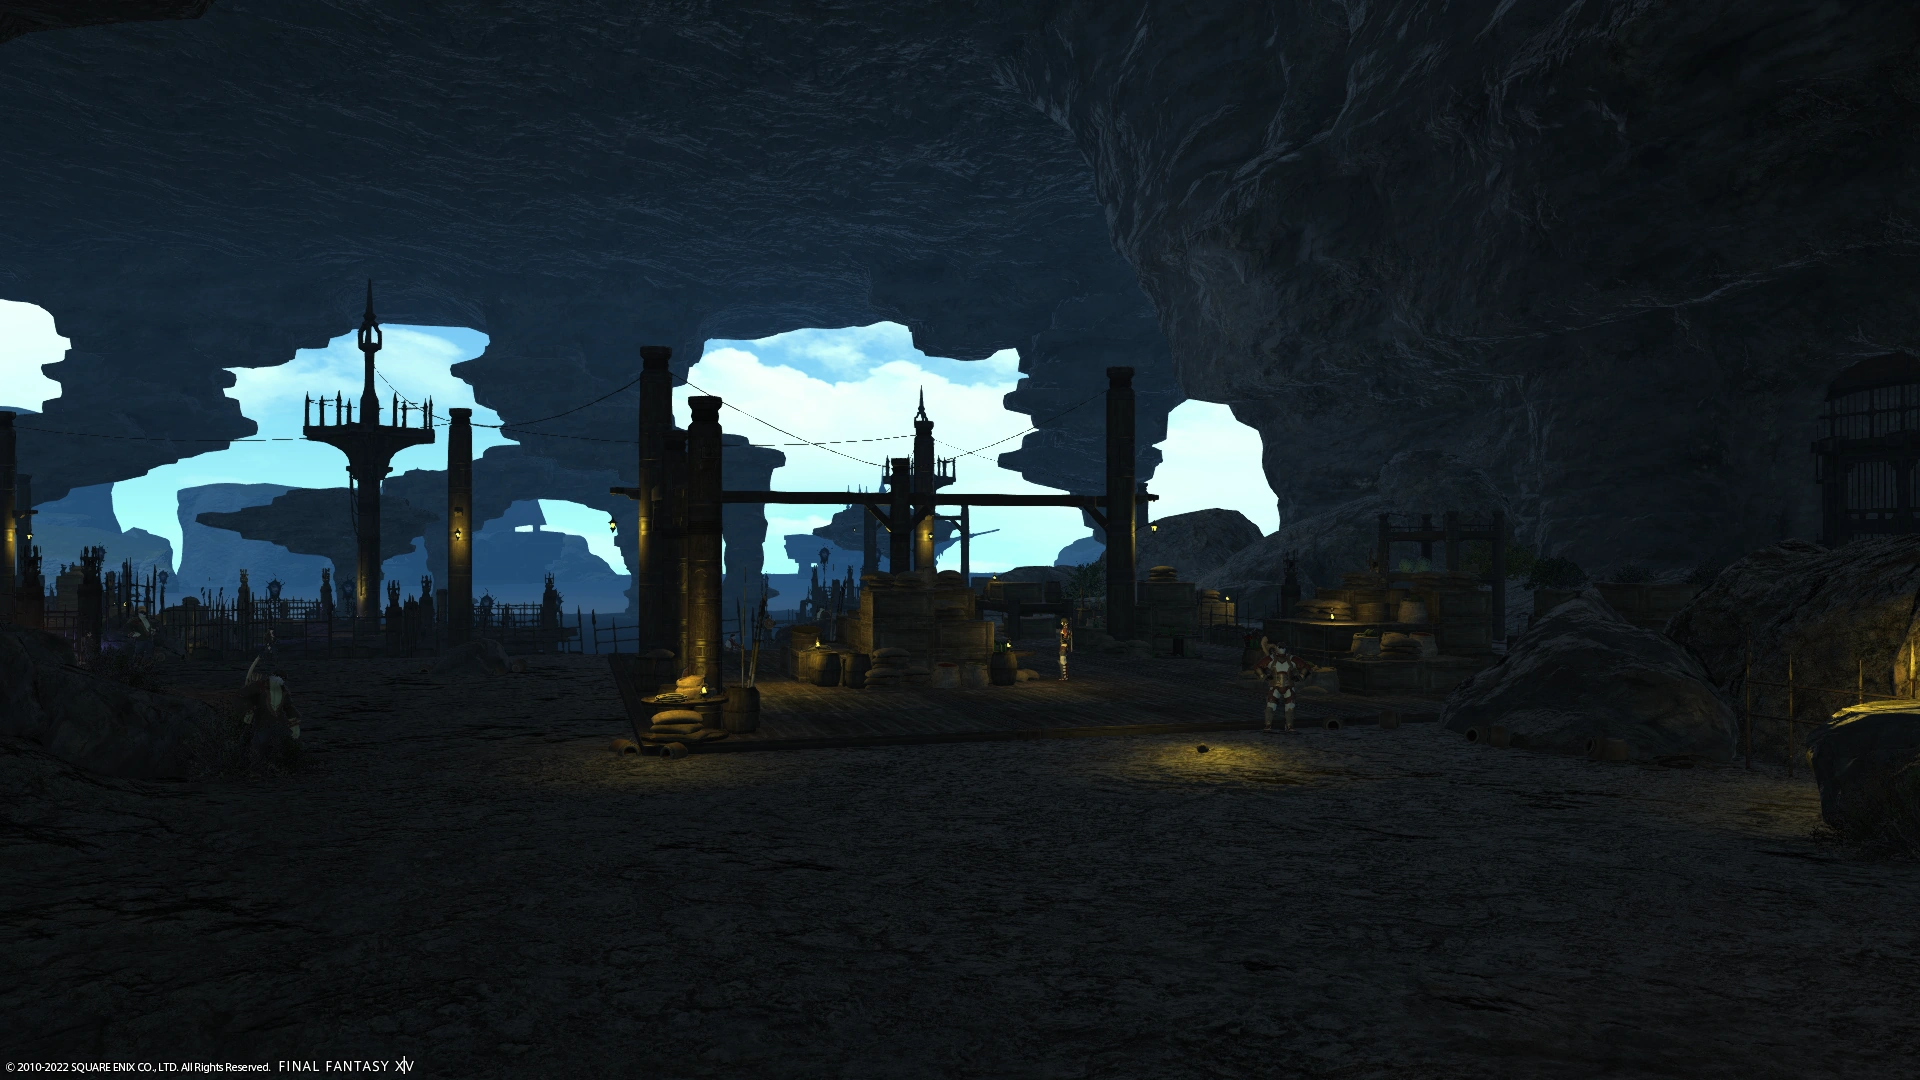
Mistbeard Cove in Sastasha normal.
This secret cove appears at the end of Sastasha in both normal and Hard, and leads directly to the Sultana's Lap, the chamber with the last boss of the area. The area appears similar in nature to a port, with a wooden pavilion containing a number of boxes and other goods. In Sastasha Hard, the First Mate Haerstymm emerges from the Sultana's Lap to engage the party, summoning large quantities of Drowned Powder Monkeys to assist him.
The Sultana's Lap

The Sultana's Lap in Sastasha normal.
The Sultana's Lap is the area where the final boss of the dungeon is fought in both versions of Sastasha. In normal Sastasha, this area is the spawning grounds watched over by Denn the Orcatoothed, and it contains a number of grates covering holes leading to water. These grates must be periodically interacted with during the fight, when ripples appear through the grate, to prevent Denn's Baleen Guard from entering the fight. In Sastasha Hard, these holes are uncovered, and serve as the method in which the Kraken's arms surface and attack the party.
Template:Gallery
Maps
Template:Map Template:Map
Quests
- It's Probably Pirates: After coming to Baderon, the proprietor of the Drowning Wench, the adventurer is tasked by Commodore Reyner with venturing into the Seagrot and slaying whatever lurks within. Upon so doing, they return to Baderon and are rewarded for their efforts.
- It's Definitely Pirates: Long after first clearing Sastasha, the adventurer is found by Bloenzong at the Seventh Heaven, who asks they speak to Commodore Reyner at the Coral Tower regarding Sastasha. Reyner tasks them with clearing out Sastasha once more and slaying whomever - or whatever - is lurking inside. Afterwards, the adventurer completes the quest by speaking to Reyner in Aleport.
Items
Sastasha
- Treasure Coffer 1 (15, 8): Potion or Ether
- Treasure Coffer 2 (13, 9): Potion or Seagrot Water
- Treasure Coffer 3 (11, 14): Aetherial Rope Belt, Aetherial Bronze Plate Belt, Aetherial Brass Gorget, Plundered Ear Cuffs, Plundered Earrings, Aetherial Brass Wristlets, Potion, or Ether
- Treasure Coffer 4 (10, 13): Aetherial Hard Leather Ringabands, Aetherial Bronze Gauntlets, Aetherial Padded Hempen Trousers, Aetherial Cotton Tights, Aetherial Bronze Sabatons, Aetherial Hard Leather Boots, Potion, or Ether
- Treasure Coffer 5 (7, 13): Aetherial Ash Mask, Aetherial Hunting Hat, Aetherial Bronze Celata, Aetherial Cotton Tabard, Aetherial Cotton Cowl, Aetherial Bronze Cuirass, Potion, or Ether
- Boss Coffer 1: Plundered Goggles, Plundered Celata, Plundered Cuirass, Plundered Haubergeon, Plundered Jacket, Plundered Bliaud, Plundered Gauntlets, Plundered Trousers, Plundered Sabatons, Plundered Duckbills, or Plundered Moccasins
- Boss Coffer 2: Aetherial Brass Bastard Sword, Aetherial Brass Knuckles, Aetherial Iron War Axe, Aetherial Iron Spear, Aetherial Ash Shortbow, Aetherial Brass Knives, Aetherial Ash Wand, Aetherial Brass Cudgel, or Aetherial Hard Leather Grimoire
- Boss Coffer 3: Warded Round Shield, Nightprowler's Targe, Plundered Cavalier's Hat, Pirate's Bandana, Plundered Plate Belt, Plundered Rope Belt, or Plundered Leather Belt
- Final Boss Coffer: Foestriker's Tabard, Acolyte's Robe, Foestriker's Mitts, Acolyte's Halfgloves, Foestriker's Skirt, Acolyte's Skirt, Foestriker's Boots, or Acolyte's Thighboots
Sastasha (Hard)
- Treasure Coffers 1-4 (12, 9), (12, 9), (9, 12), (7, 16): X-Potion, X-Ether, or Hi-Elixir
- Boss Coffer 1: Hero's Ring of Fending, Hero's Ring of Slaying, Hero's Ring of Aiming, Hero's Ring of Casting, Hero's Ring of Healing, Canard Breast, Dalamud Popoto, Royal Kukuru Bean, Star Anise, Scheelite, Emery, Petrified Log, Cashmere Fleece, Saurian Skin, Raziqsand, Tawny Latex, Antique Sollerets, or Antique Tassets
- Boss Coffer 2: Hero's Bracelet of Fending, Hero's Bracelet of Slaying, Hero's Bracelet of Aiming, Hero's Bracelet of Casting, Hero's Bracelet of Healing, Canard Breast, Dalamud Popoto, Royal Kukuru Bean, Star Anise, Scheelite, Emery, Petrified Log, Cashmere Fleece, Saurian Skin, Raziqsand, Tawny Latex, or Antique Gauntlets
- Boss Coffer 3: Hero's Earrings of Fending, Hero's Earrings of Slaying, Hero's Earrings of Aiming, Hero's Earrings of Casting, Hero's Earrings of Healing, Canard Breast, Dalamud Popoto, Royal Kukuru Bean, Star Anise, Scheelite, Emery, Petrified Log, Cashmere Fleece, Saurian Skin, Raziqsand, Tawny Latex, or Antique Helm
- Final Boss Coffer: Hero's Necklace of Fending, Hero's Necklace of Slaying, Hero's Necklace of Aiming, Hero's Necklace of Casting, Hero's Necklace of Healing, Canard Breast, Dalamud Popoto, Royal Kukuru Bean, Star Anise, Scheelite, Emery, Petrified Log, Cashmere Fleece, Saurian Skin, Raziqsand, Tawny Latex, Tight-beaked Parrot, Antique Mail, or Antique Breeches
Enemies
Sastasha
Wauling Pond
- Black Bat
- Cave Aurelia
Sastasha Seagrot
- Cave Aurelia
- Fossilshell
- Giant Clam
- Shade Seeker
- Sastasha Orobon
- Chopper (Boss)
Dead Man's Drink
- Scurvy Dog
- Shallowclaw Reaver
- Shallowtail Reaver
- Captain Madison (Boss)
- Shallowscale Reaver
- Shalloweye Reaver
- Captain Madison (Boss)
Mistbeard Cove
- Scurvy Dog
- Shallowclaw Reaver
- Shallowtail Reaver
- Shallowscale Reaver
- Shalloweye Reaver
- Denn the Orcatoothed (Boss)
- Baleen Guard (Boss)
Sastasha (Hard)
Wauling Pond
- Dripping Sallet
- Spelaean Slug
- Drowned Deckhand
- Drowned Steersman
- Drowned Powder Monkey
Sastasha Seagrot
- Drowned Lodesman
- Drowned Boatswain
- Spelaean Slug
- Sastasha Pugil
- Karlabos (Boss)
The Pull
- Grotto Piranu
- Beryl Crab
- Cave Crab
- Drowned Wench
- Drowned Courtesan
- Brine
Dead Man's Drink
- Captain Madison (Boss)
- Captain's Boy (Boss)
- Captain's Leech (Boss)
- Captain's Guard (Boss)
- Captain's Slave (Boss)
- Drowned Deckhand
- Drowned Topman
Mistbeard Cove
- Drowned Lodesman
- Drowned Boatswain
- Drowned Topman
- First Mate Haerstymm
- Drowned Powder Monkey
- Kraken (Boss)
- Kraken's Arm (Boss)
- Tentacle (Boss)
Musical Themes
"From the Depths" is the theme that plays in the background of Sastasha. Like many low-level dungeons, the theme that plays when fighting regular battles in Sastasha is "The Promise of Plunder", the theme for boss battles is "A Fine Death", and the final boss's battle theme is "Nemesis".
Gallery
Template:Gallery
Template:FFXIV