Twilight Man (talk | contribs) |
Twilight Man (talk | contribs) mNo edit summary |
||
| (11 intermediate revisions by 3 users not shown) | |||
| Line 1: | Line 1: | ||
{{sideicon|WoFF}} |
{{sideicon|WoFF}} |
||
| + | [[File:WoFF The Nether Nebula Puzzle Switch.png|thumb|300px|right|Puzzle Switch in the Nether Nebula.]] |
||
| − | {{Images|WoFF}} |
||
| − | '''Puzzle Switches''' are a puzzle element in ''[[World of Final Fantasy]]'', found in dungeons or other places in [[Grymoire]]. They are used to open paths and require certain [[Weight (stat)|weight]] and elemental resistances to use them. |
+ | '''Puzzle Switches''' are a puzzle element in ''[[World of Final Fantasy]]'', found in dungeons or other places in [[Grymoire]]. They are used to open paths and require certain [[Weight (stat)|weight]] and [[World of Final Fantasy stats#Elemental Resistances|elemental resistances]] to use them. |
| − | The player is required to bring [[Mirage (World of Final Fantasy)|Mirages]] to create a stack atop a Puzzle Switch, using the combined weight and elemental resistance stats of a certain element to activate them. For most dungeons, the player can imprism and use the Mirages encountered to easily meet these requirements. The player can also use [[Ability Seed]]s to raise a Mirage's elemental resistance. |
+ | The player is required to bring [[Mirage (World of Final Fantasy)|Mirages]] to create a stack atop a Puzzle Switch, using the combined weight and elemental resistance stats of a certain element to activate them. For most dungeons, the player can [[imprism]] and use the Mirages encountered to easily meet these requirements. The player can also use [[Ability Seed]]s to raise a Mirage's elemental resistance. |
| − | In the post-game in the ''Maxima'' version, there are six Puzzle Switches that can only be reached by flying to certain locations in the map with the [[Airship (term)|airship]], and |
+ | In the post-game in the ''Maxima'' version, there are six Puzzle Switches that can only be reached by flying to certain locations in the map with the [[Airship (term)|airship]], and have tighter requirements than the ones found elsewhere. Activating all six is required for facing the [[superboss]], [[The Immortal Dark Dragon]]. |
==List of Puzzle Switches== |
==List of Puzzle Switches== |
||
| Line 15: | Line 15: | ||
!data-sort-type="number"|Resistance requirement |
!data-sort-type="number"|Resistance requirement |
||
|- |
|- |
||
| − | |[[The Nether Nebula]] - Cavern 3 |
+ | |[[Nether Nebula|The Nether Nebula]] - Cavern 3 |
|5 or greater |
|5 or greater |
||
|Earth |
|Earth |
||
|50 or greater |
|50 or greater |
||
|- |
|- |
||
| + | |[[Nether Nebula|The Nether Nebula]] - Cavern 3 |
||
| ⚫ | |||
| + | |5 or greater |
||
| + | |Earth |
||
| + | |75 or greater |
||
| + | |- |
||
| ⚫ | |||
|11 or greater |
|11 or greater |
||
|Earth |
|Earth |
||
|100 or greater |
|100 or greater |
||
|- |
|- |
||
| − | |Saronia Docks - Station 1 |
+ | |[[Saronia Docks]] - Station 1 |
|5 or greater |
|5 or greater |
||
|Water |
|Water |
||
|50 or greater |
|50 or greater |
||
|- |
|- |
||
| − | |Saronia Docks - Station |
+ | |[[Saronia Docks]] - Station 3 |
|5 or greater |
|5 or greater |
||
|Water |
|Water |
||
|50 or greater |
|50 or greater |
||
|- |
|- |
||
| − | |Valley Seven - Cauldron 1 |
+ | |[[Valley Seven]] - Cauldron 1 |
|4 or greater |
|4 or greater |
||
|Fire |
|Fire |
||
|50 or greater |
|50 or greater |
||
|- |
|- |
||
| − | |Valley Seven - Cauldron 1 |
+ | |[[Valley Seven]] - Cauldron 1 |
|5 or greater |
|5 or greater |
||
|Fire |
|Fire |
||
|50 or greater |
|50 or greater |
||
|- |
|- |
||
| − | |Valley Seven - Cauldron 3 |
+ | |[[Valley Seven]] - Cauldron 3 |
|12 or greater |
|12 or greater |
||
|Fire |
|Fire |
||
|150 or greater |
|150 or greater |
||
|- |
|- |
||
| − | |The Windswept Mire - Fen 2 |
+ | |[[Windswept Mire|The Windswept Mire]] - Fen 2 |
|14 or greater |
|14 or greater |
||
|Water |
|Water |
||
|25 or greater |
|25 or greater |
||
|- |
|- |
||
| − | |The Train Graveyard - Necropolis 5 |
+ | |[[Train Graveyard (World of Final Fantasy)|The Train Graveyard]] - Necropolis 5 |
|11 or greater |
|11 or greater |
||
|Thunder |
|Thunder |
||
|100 or greater |
|100 or greater |
||
|- |
|- |
||
| − | |The Crystal Tower - Third Floor |
+ | |[[Crystal Tower (World of Final Fantasy)|The Crystal Tower]] - Third Floor |
|9 or greater |
|9 or greater |
||
|Wind |
|Wind |
||
|75 or greater |
|75 or greater |
||
|- |
|- |
||
| − | |The Crystal Tower - Fifth Floor |
+ | |[[Crystal Tower (World of Final Fantasy)|The Crystal Tower]] - Fifth Floor |
|10 or greater |
|10 or greater |
||
|Earth |
|Earth |
||
|75 or greater |
|75 or greater |
||
|- |
|- |
||
| − | |Castle Exnine - Ordeal 8 |
+ | |[[Castle Exnine]] - Ordeal 8 |
|11 or greater |
|11 or greater |
||
|Ice |
|Ice |
||
|125 or greater |
|125 or greater |
||
|- |
|- |
||
| − | |EX Dungeon A - Saronia Docks area |
+ | |[[EX Dungeon A]] - Saronia Docks area |
|10 or greater |
|10 or greater |
||
|Water |
|Water |
||
| Line 85: | Line 90: | ||
|150 or greater |
|150 or greater |
||
|- |
|- |
||
| − | |? ? ? (near Pyreglow Forest) |
+ | |? ? ? (near [[Pyreglow Forest]]) |
|14 or greater |
|14 or greater |
||
|Earth |
|Earth |
||
|200 or greater |
|200 or greater |
||
|- |
|- |
||
| − | |? ? ? (near The Dragon Scars) |
+ | |? ? ? (near [[Dragon Scars|The Dragon Scars]]) |
|14 or greater |
|14 or greater |
||
|Thunder |
|Thunder |
||
| Line 100: | Line 105: | ||
|150 or greater |
|150 or greater |
||
|- |
|- |
||
| − | |? ? ? (near The Sunken |
+ | |? ? ? (near [[Sunken Temple|The Sunken Temple]]) |
|14 or greater |
|14 or greater |
||
|Water |
|Water |
||
Revision as of 17:47, 12 November 2019
Template:Sideicon
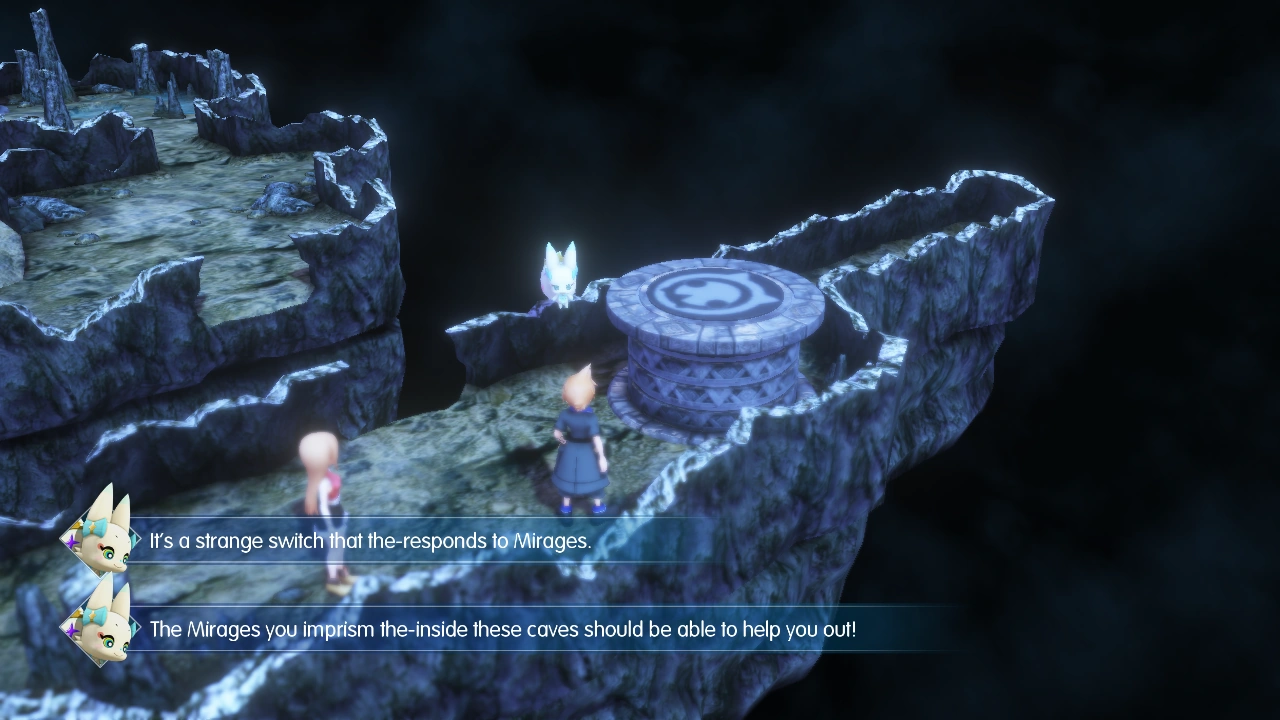
Puzzle Switch in the Nether Nebula.
Puzzle Switches are a puzzle element in World of Final Fantasy, found in dungeons or other places in Grymoire. They are used to open paths and require certain weight and elemental resistances to use them.
The player is required to bring Mirages to create a stack atop a Puzzle Switch, using the combined weight and elemental resistance stats of a certain element to activate them. For most dungeons, the player can imprism and use the Mirages encountered to easily meet these requirements. The player can also use Ability Seeds to raise a Mirage's elemental resistance.
In the post-game in the Maxima version, there are six Puzzle Switches that can only be reached by flying to certain locations in the map with the airship, and have tighter requirements than the ones found elsewhere. Activating all six is required for facing the superboss, The Immortal Dark Dragon.
List of Puzzle Switches
| Location | Weight requirement | Element | Resistance requirement |
|---|---|---|---|
| The Nether Nebula - Cavern 3 | 5 or greater | Earth | 50 or greater |
| The Nether Nebula - Cavern 3 | 5 or greater | Earth | 75 or greater |
| Icicle Ridge - Slip 3 | 11 or greater | Earth | 100 or greater |
| Saronia Docks - Station 1 | 5 or greater | Water | 50 or greater |
| Saronia Docks - Station 3 | 5 or greater | Water | 50 or greater |
| Valley Seven - Cauldron 1 | 4 or greater | Fire | 50 or greater |
| Valley Seven - Cauldron 1 | 5 or greater | Fire | 50 or greater |
| Valley Seven - Cauldron 3 | 12 or greater | Fire | 150 or greater |
| The Windswept Mire - Fen 2 | 14 or greater | Water | 25 or greater |
| The Train Graveyard - Necropolis 5 | 11 or greater | Thunder | 100 or greater |
| The Crystal Tower - Third Floor | 9 or greater | Wind | 75 or greater |
| The Crystal Tower - Fifth Floor | 10 or greater | Earth | 75 or greater |
| Castle Exnine - Ordeal 8 | 11 or greater | Ice | 125 or greater |
| EX Dungeon A - Saronia Docks area | 10 or greater | Water | 100 or greater |
| ? ? ? (near Valley Seven) | 15 or greater | Fire | 150 or greater |
| ? ? ? (near Pyreglow Forest) | 14 or greater | Earth | 200 or greater |
| ? ? ? (near The Dragon Scars) | 14 or greater | Thunder | 175 or greater |
| ? ? ? (near Icicle Ridge) | 14 or greater | Ice | 150 or greater |
| ? ? ? (near The Sunken Temple) | 14 or greater | Water | 150 or greater |
| ? ? ? (near The Windswept Mire) | 14 or greater | Wind | 175 or greater |