(→Story) |
|||
| Line 55: | Line 55: | ||
==Story== |
==Story== |
||
{{spoiler}} |
{{spoiler}} |
||
| + | {{Q|Ignorant child, Unchosen, with life so short. This tower freely may you tread. In your passing, learn of truth. In your passing, speak of truth. These words writ by Hands Undying.|Written on a pillar within the Pharos.}} |
||
The Pharos at Ridorana was built by the [[Occuria]] to house the power of all [[nethicite]], the Occuria's creation, the Sun-Cryst. The Occuria gave the [[Sword of Kings]] to King [[Raithwall]] and told him to go to the Pharos and cut shards off the Cryst. During his visit, Raithwall engraved a message to the tower's entrance, warning all the future '[[Dynast King]]s' of the three guardians the Occuria had placed to guard the tower. |
The Pharos at Ridorana was built by the [[Occuria]] to house the power of all [[nethicite]], the Occuria's creation, the Sun-Cryst. The Occuria gave the [[Sword of Kings]] to King [[Raithwall]] and told him to go to the Pharos and cut shards off the Cryst. During his visit, Raithwall engraved a message to the tower's entrance, warning all the future '[[Dynast King]]s' of the three guardians the Occuria had placed to guard the tower. |
||
Revision as of 01:52, 26 June 2014
Template:Sideicon

Oh, shut up and help me remodel the Pharos (Final Fantasy XII) page!
- Adding a Locations section, with images and brief descriptions of the areas within the location.
This request can be discussed on the associated discussion page. Remove this notice upon completion.
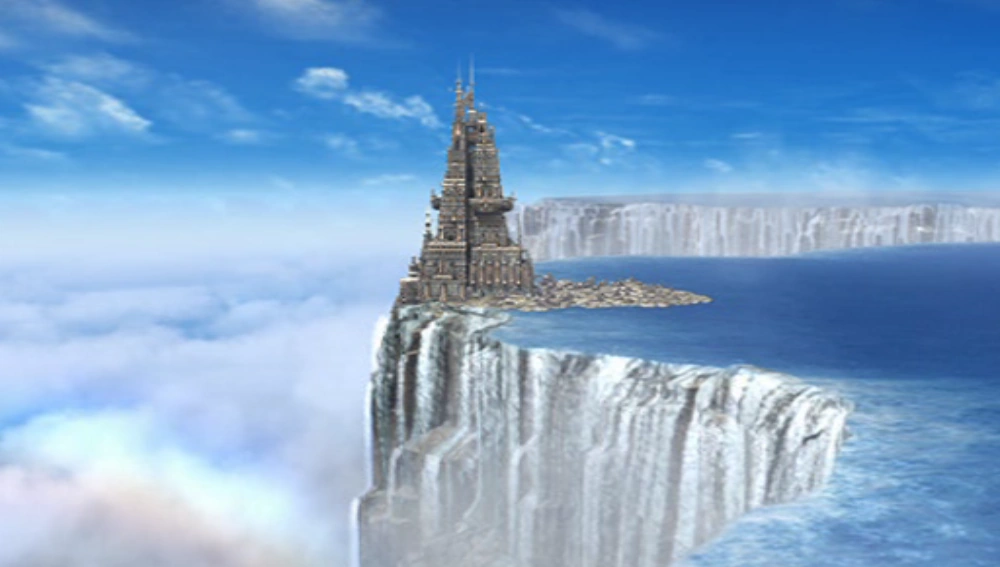
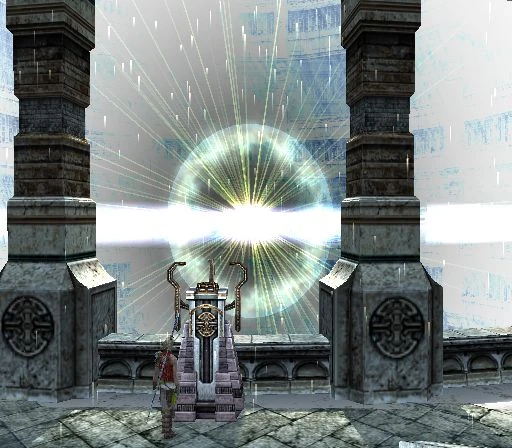
Pharos at Ridorana.
Lo, seeker in days unborn. God-blade bearer. Know you: this tower challenges the sky. Ware the watcher; the ward of the Three Waits, soul-hungry, unsated. He without power, want it not. He with power, trust it not. He with sight, heed it not. Rend illusion, cut the true path. In blood, Raithwall.
King Raithwall, engraved at the entrance to the Pharos
The Pharos at Ridorana (リドルアナ大灯台, Ridoruana Daitoudai?) is a location in the land of Ivalice in Final Fantasy XII. It is located on a island atop the Ridorana Cataract.
Location
The Pharos at Ridorana is located in the far east of Ivalice, in the Jagd Naldoa region. Since it is located in Jagd territory, it is normally impossible to reach by airship, and the tides surrounding it make it impossible for normal ships to approach. Access can only be had via the Ridorana Cataract. The Pharos at Ridorana is an area of three ascents, that are filled with creatures.
The expansive tower consists of three upper and three lower levels where various puzzles and challenges need to be completed before access to the next level is granted.
Sage Knowledge
Giant tower standing on an island near the Ridorana Cataract. Though not actually a lighthouse, a curious light emits from its upper reaches, piercing the darkest night, so earning it the name of the Pharos. Similarities can be seen between the architectural style of the tower and that of the ruins about it, but there are none who know the details of its creation.
Treasures
The map urn for the Second Ascent is in the Northwestern-most corner of the Station of Suffering zone. The map urn for the Third Ascent is in the 1st Flight zone. It is next to the door the player gets transported to after incorrectly choosing the glyphs twice.
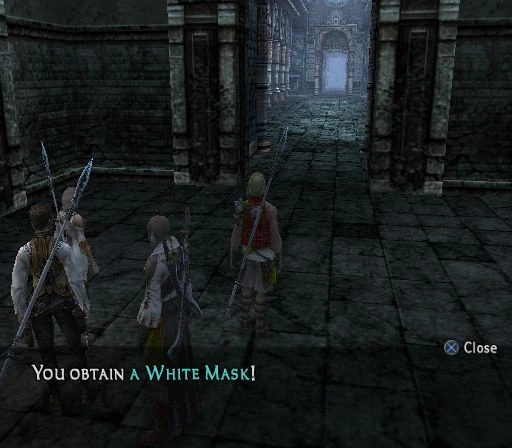
White Mask found.
The Pharos doesn't have too many treasures, but the few treasures it does have, are good. With the Diamond Armlet equipped, usually the item treasures are either Knot of Rust (common) or Elixir.
The first floor has a treasure in each western corner. The northern treasures can be a White Mask and Crystal Shield, and the southern treasures can be Gold Hairpin and Giant's Helmet.
In the areas above the player must build bridges by killing Brainpans. Afterward they can kill Deidars to build red blocks to build additional bridges to lead to treasures. Holy Rod can be found in the northwest of a map behind a red bridge. Behind the last red bridge the player may find two treasures. The other is a Dueling Mask no matter what, but the other one is Zeus Mace without the Diamond Armlet and Muramasa with Diamond Armlet equipped.
In the first map of the Third Ascent, the player can open a fool's façade in the southeast to find Rubber Suit and Dragon Whisker. In the north and middle of the first map of the Third Ascent, also behind a fool's façade, there is a treasure that is a Circlet without the Diamond Armlet, but has a 90% chance of being the Ring of Renewal with the Diamond Armlet equipped.
The treasure in the northeast of the first map, in the corner of a large off-the-map hidden area, is always an Elixir if it is an item, but contains 9,999 gil with the Diamond Armlet as opposed to only 999 gil without it.
Quests
First Ascent: Hall of First Light
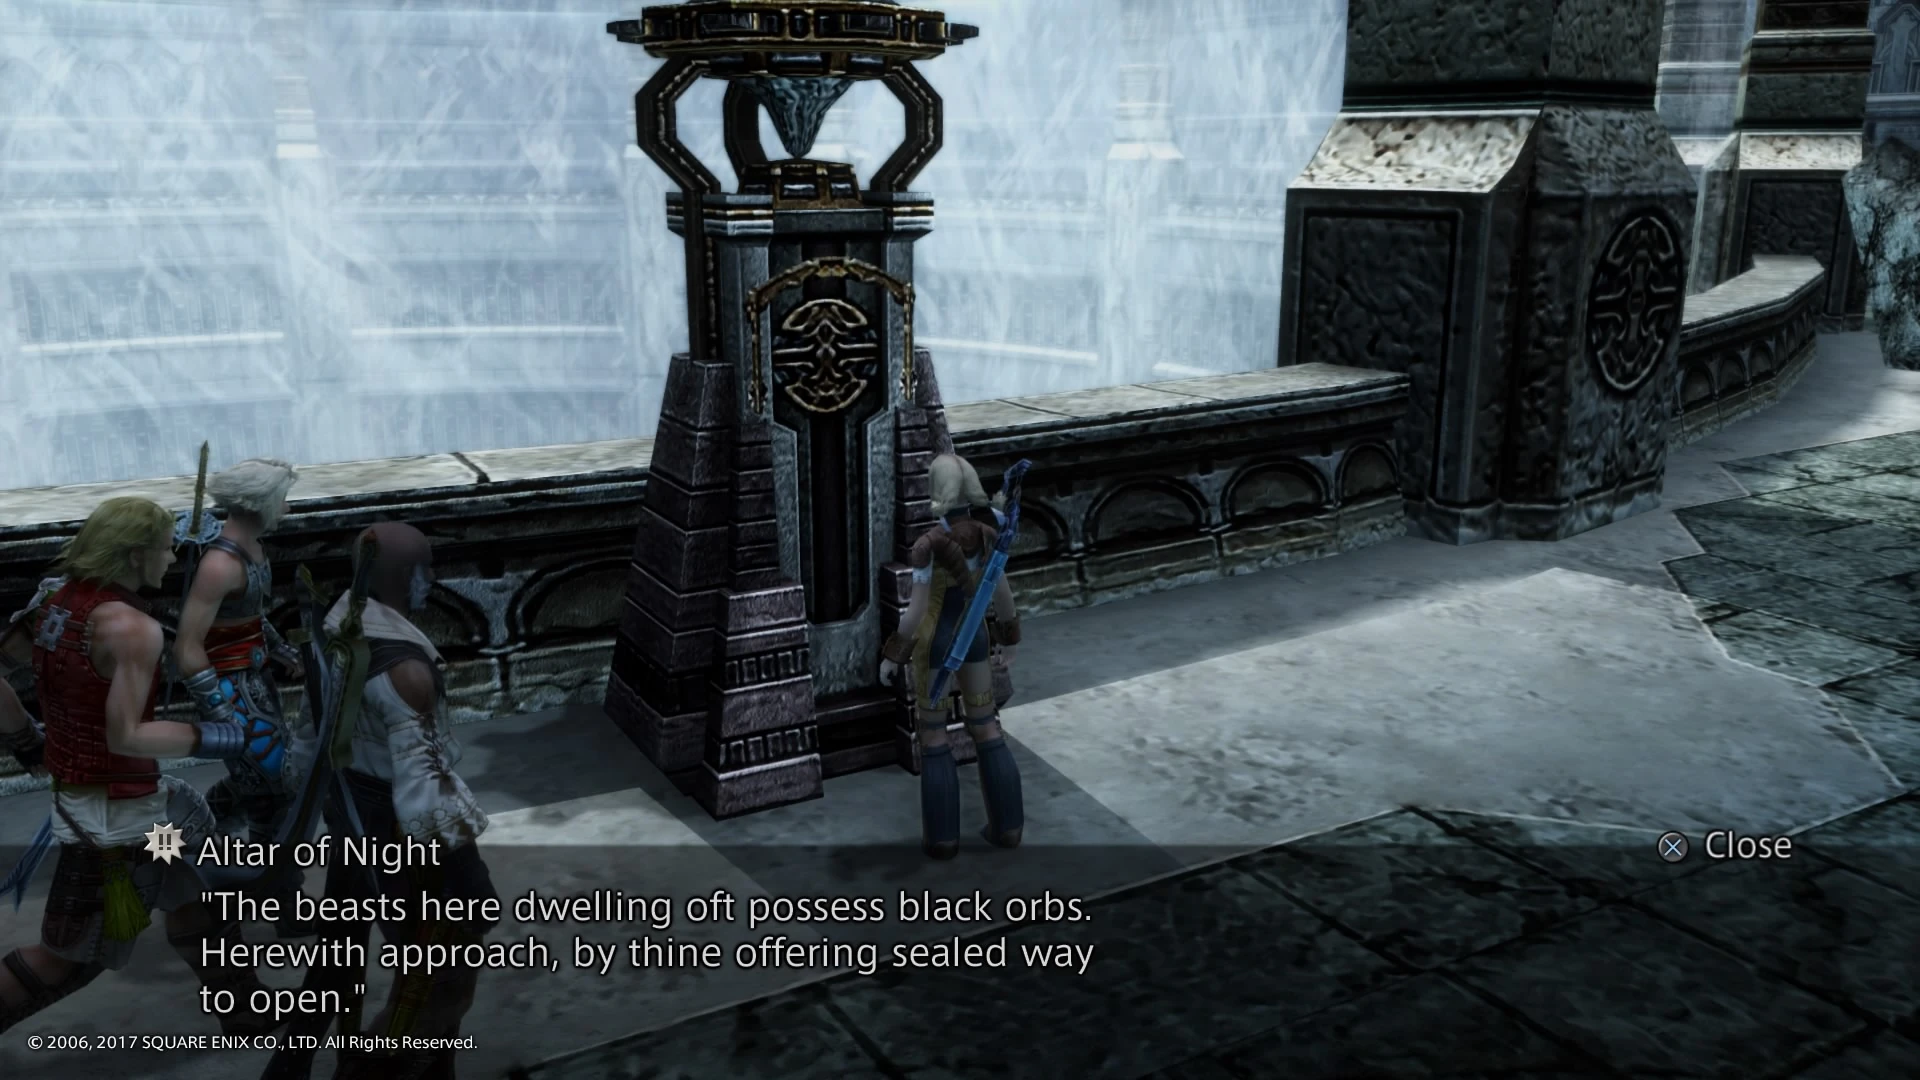
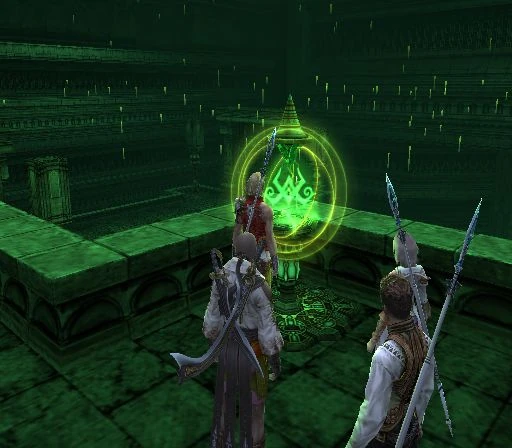
Altar of Night.
Outside the Pharos, the player simply has to face Hydro to gain access to the entrance. Inside the player enters the Wellspring on the first floor (the floor is indicated by a number below the map), which is surrounded by an area called the Wellspring Labyrinth. Inside the Labyrinth are Mistmares, which often drop Black Orbs as loot.
Claiming three of these orbs and using them on the Altars of Night, which are Way Stone-like devices in the Wellspring, will open up a door at the back of the Wellspring Labyrinth on the second floor; opening it trigger a battle against Pandaemonium. Its defeat activates the Waystone in the entry hall of the Wellspring, which leads to the tenth floor.
In this area, the player must kill Brainpans, which create green bridges to the next area. Deidars, which resemble Brainpans but are red, damage green bridges upon their death, and after all green bridges have been built, create red bridges to secret items. Upon reaching the fiftieth floor, this cycle will end, and the player will face a boss, Slyt. Past Slyt is a Way Stone leading to the Second Ascent.
Second Ascent: Reach of Diamond Law

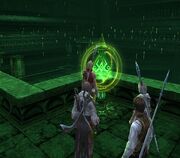
Altar of Knowledge.
On the fifty-first floor are four Altars: the Altar of Knowledge, which prevents the party from using the on-screen map; the Altar of Steel, which prevents the party from using physical attacks; the Altar of Wealth, which prevents the characters from using items; and the Altar of Magick, which prevents the casting of magick. Regardless of the player's choice, selecting an Altar will create a pathway; the four pathways are identical labyrinths up stairs from the sixty-first floor, where the labyrinth starts, to the sixty-fourth floor.
Along the way, there are several Fool's Façades hiding items. On the sixty-fifth floor, the party faces Fenrir, and then proceeds to the sixty-sixth floor, where they can recover their items, attacks, magick, or map, and ride the Dias of Ascendance to the sixty-seventh floor, which has a Way Stone leading to the Third Ascent.
Third Ascent: Mete of Dynasty
Pharos Third Ascent.
In the final ascent, the party must enter different Way Stones; the wrong Way Stone will return the party to the entrance, or, worse, force them to fight against an undead army before returning to the entrance. The first three correct Way Stones are: black, green, red; and the fourth depends on which Altar was used in the Second Ascent. The Altar of Wealth requires the use of a yellow Way Stone; Steel is green; Knowledge is pink; and Magick is purple.
The final can only be passed by means of a Fool's Façade; though the others can be skipped using Fool's Façades as well. In the sixth area, the party must take a Way Stone to the top and face Hashmal, Bringer of Order. Afterward they can enter a lift to the ninety-first floor, and ascend the final few floors to find the Sun-Cryst and encounter Judge Gabranth, Doctor Cid, and Famfrit, the Darkening Cloud.
Subterra
Subterra is the underground area of the Pharos available to explore after the upper levels have been completed. Subterra is divided to four levels, they are: Penumbra, Umbra, Abyssal, and Unknown.
Story
Ignorant child, Unchosen, with life so short. This tower freely may you tread. In your passing, learn of truth. In your passing, speak of truth. These words writ by Hands Undying.
Written on a pillar within the Pharos.
The Pharos at Ridorana was built by the Occuria to house the power of all nethicite, the Occuria's creation, the Sun-Cryst. The Occuria gave the Sword of Kings to King Raithwall and told him to go to the Pharos and cut shards off the Cryst. During his visit, Raithwall engraved a message to the tower's entrance, warning all the future 'Dynast Kings' of the three guardians the Occuria had placed to guard the tower.
Seven centuries later Princess Ashe is chosen as the new Dynast King and given the Treaty Blade so she, too, could go the Pharos and cut shards off the Sun-Cryst.
The 'tower of the distant shore' is known, but no human has set his foot on the land after Raithwall, as the Ridorana Cataract the Pharos is located on is situated by a waterfall making access by sea impossible. The Pharos is located on the Jagd, forbidding travel by air -- until skystones that can travel on Jagd were invented by the Draklor Laboratory in Archades. Reddas, who accompanies Ashe and the party to the Pharos, has stolen such skystones from the labs, and so the party can reach the Pharos.
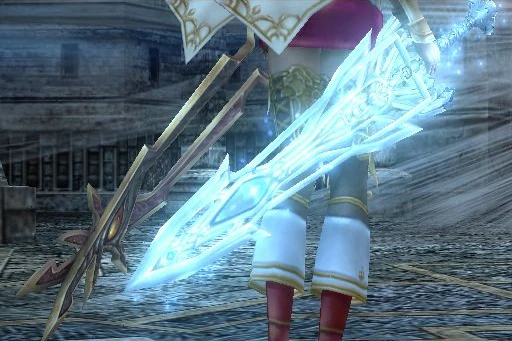

Ashe holds the Sword of Kings and the Treaty Blade to destroy the Sun-Cryst with them.
The party make their way to the top of the Pharos where they find the Sun-Cryst. Ashe intends to go against the Occuria's wishes and destroy the Sun-Cryst with the blade, but is met by a ghostly vision of her late husband Lord Rasler, who exhorts Ashe to follow the Occuria's wishes to destroy the Archadian Empire. Ashe is shocked, and yells out she can't follow through with the plan, and is interrupted by Judge Gabranth who urges Ashe to use the power she has to destroy the Empire that has stolen everything from her, and announces himself as the murderer of Ashe's father King Raminas.
Reddas rushes to block Gabranth's attack and reveals himself to be Judge Zecht who destroyed Nabudis with the Midlight Shard two years previously under Dr. Cid's orders. He wishes such power would never be wielded again.
Ashe realizes the Rasler she used to know would never ask her to destroy the Empire, and that the ghostly vision is nothing but Occurian mind-games. With the Treaty Blade she strikes the ghostly vision and, having been revealed an illusion, the ghost speaks with an Occurian voice and urges Ashe to follow her path as the next Dynast King, but Ashe proclaims she is no false saint for them to use. She decides to destroy the Sun-Cryst.

The Sun-Cryst exudes Mist that flows out of the tower.
Gabranth, embittered by the princess's choice, strikes the party, but is defeated. Dr. Cid enters and dismisses Gabranth telling him he is no longer any use for the Empire. Gabranth tries to strike Cid down, but is blocked by the rogue Occuria Venat who is allied with Cid. Cid takes out the shards of deifacted nethicite he had in his possession and integrates them back into the Sun-Cryst, which starts to exude Mist. The party fight Cid and kill him.
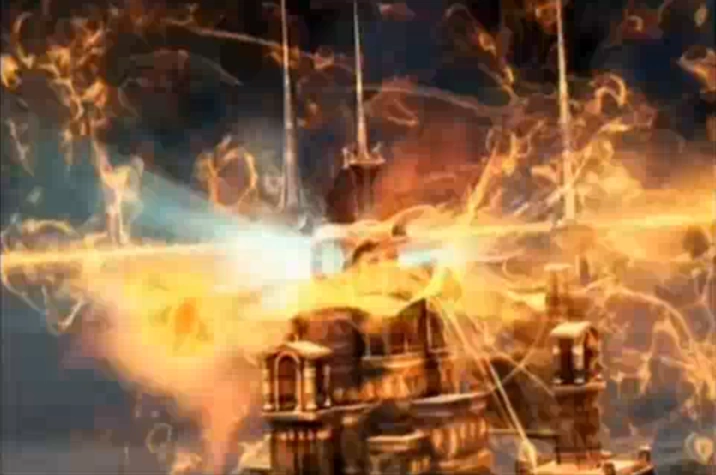
Cid's body turns into Mist that is absorbed into the Sun-Cryst that is about to burst. Vaan and Ashe try to destroy the Cryst with the Occurian swords, but Reddas stops them, grabs the Sword of Kings from Ashe, and destroys the Sun-Cryst at the cost of his own life.
The Sun-Cryst explodes and destroys the upper levels of the Pharos, while the party escape on the Strahl.
Locations
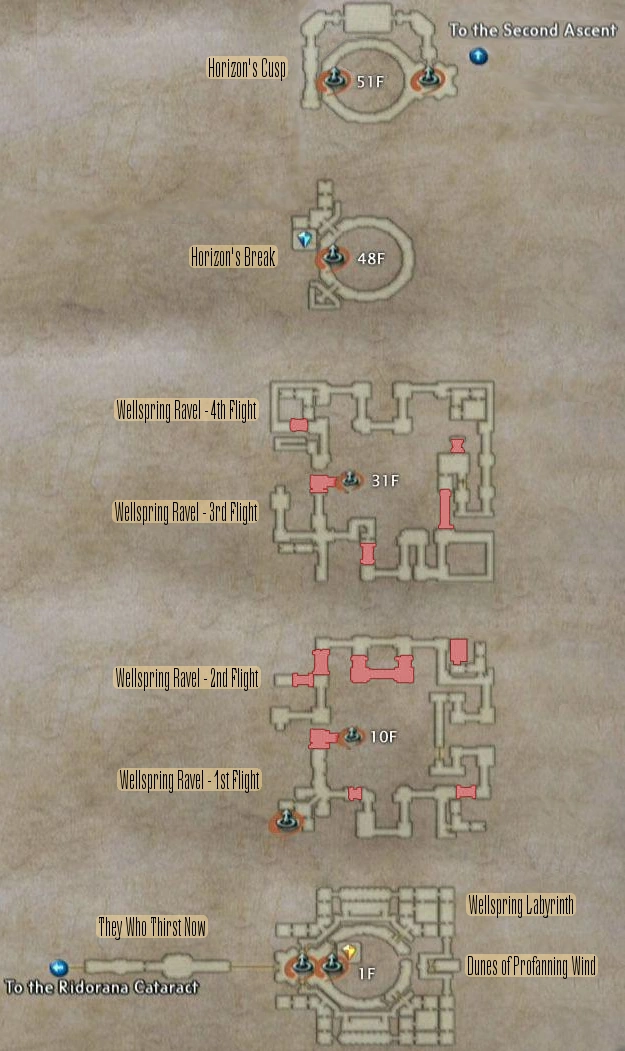
First Ascent
- They Who Thirst Not
- The Wellspring
- Wellspring Labyrinth
- Blackrock Vault
- Wellspring Ravel - 1st Flight
- Wellspring Ravel - 2nd Flight
- Wellspring Ravel – 3rd Flight
- Wellspring Ravel - 4th Flight
- Horizon's Break
- Horizon's Cusp
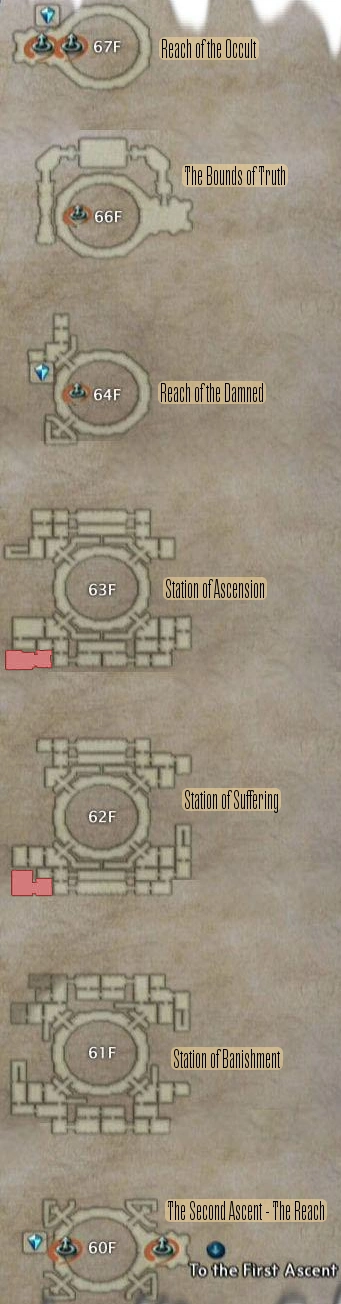
Second Ascent
- The Reach
- Station of Banishment
- Station of Suffering
- Station of Ascension
- Reach of the Damned
- The Bounds of Truth
- Reach of the Occult
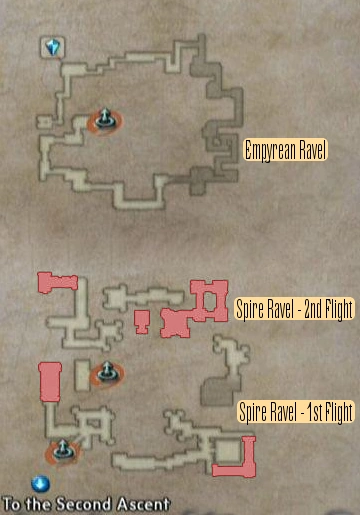
Third Ascent
- Spire Ravel - 1st Flight
- Spire Ravel - 2nd Flight
- Empyrean Ravel
Enemies
- Abaddon
- Bune
- Crusader
- Dragon Lich
- Brainpan
- Deidar
- Mimeo
- Undin Entite
- Chimera Brain
- Reaver
- Aeronite
- Cataract Aevis
- Purobolos
- Mistmare
- Avenger (Rare)
- Vishno (Rare)
- Tower (Rare)
- Hydro (Boss)
- Pandaemonium (Boss)
- Slyt (Boss)
- Fenrir (Boss)
- Phoenix (Optional Boss)
- Hashmal (Esper)
- Judge Gabranth (Boss)
- Dr. Cid (Boss)
- Famfrit (Esper)
Musical Themes
Template:Listen
"Ashe's Theme" (アーシェのテーマ, Āshe no Tēma?) plays when reaching the Pharos at Ridorana as well as being the location theme for the Subterra. "The Beginning of the End" (終焉の始まり, Shūkyoku no hajimari?) is the music for the First Ascent, "To the Peak" (頂上へ, Chōjō e?) for the Second Ascent and "Clash of Swords" (剣の一閃, Tsurugi no issen?) plays at the Third Ascent at the Pharos at Ridorana.
Map
First Ascent
- Note: areas highlighted in red are hidden passages that do not appear on the map.
Second Ascent
- Note: areas highlighted in red are hidden passages that do not appear on the map.
Third Ascent
- Note: areas highlighted in red are hidden passages that do not appear on the map.
Other appearances
Theatrhythm Final Fantasy
The Pharos at Ridorana.
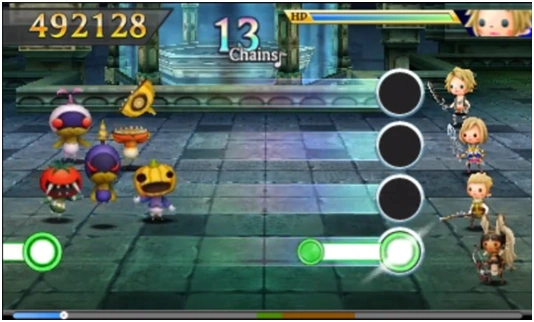
The Pharos at Ridorana appears during the Battle Music Sequence for either "Clash of Swords" or "Esper Battle", a dual reference to the Third Ascent and the battle with Hashmal.
Theatrhythm Final Fantasy: Curtain Call
Gallery
Template:Gallery
Etymology
The Pharos is named for the Lighthouse of Alexandria, also known as the Pharos of Alexandria, one of the Seven Wonders of the Ancient World. The lighthouse was a tower built at Alexandria, Egypt, to guide sailors to port at night.
Template:FFXII