Template:Sideicon
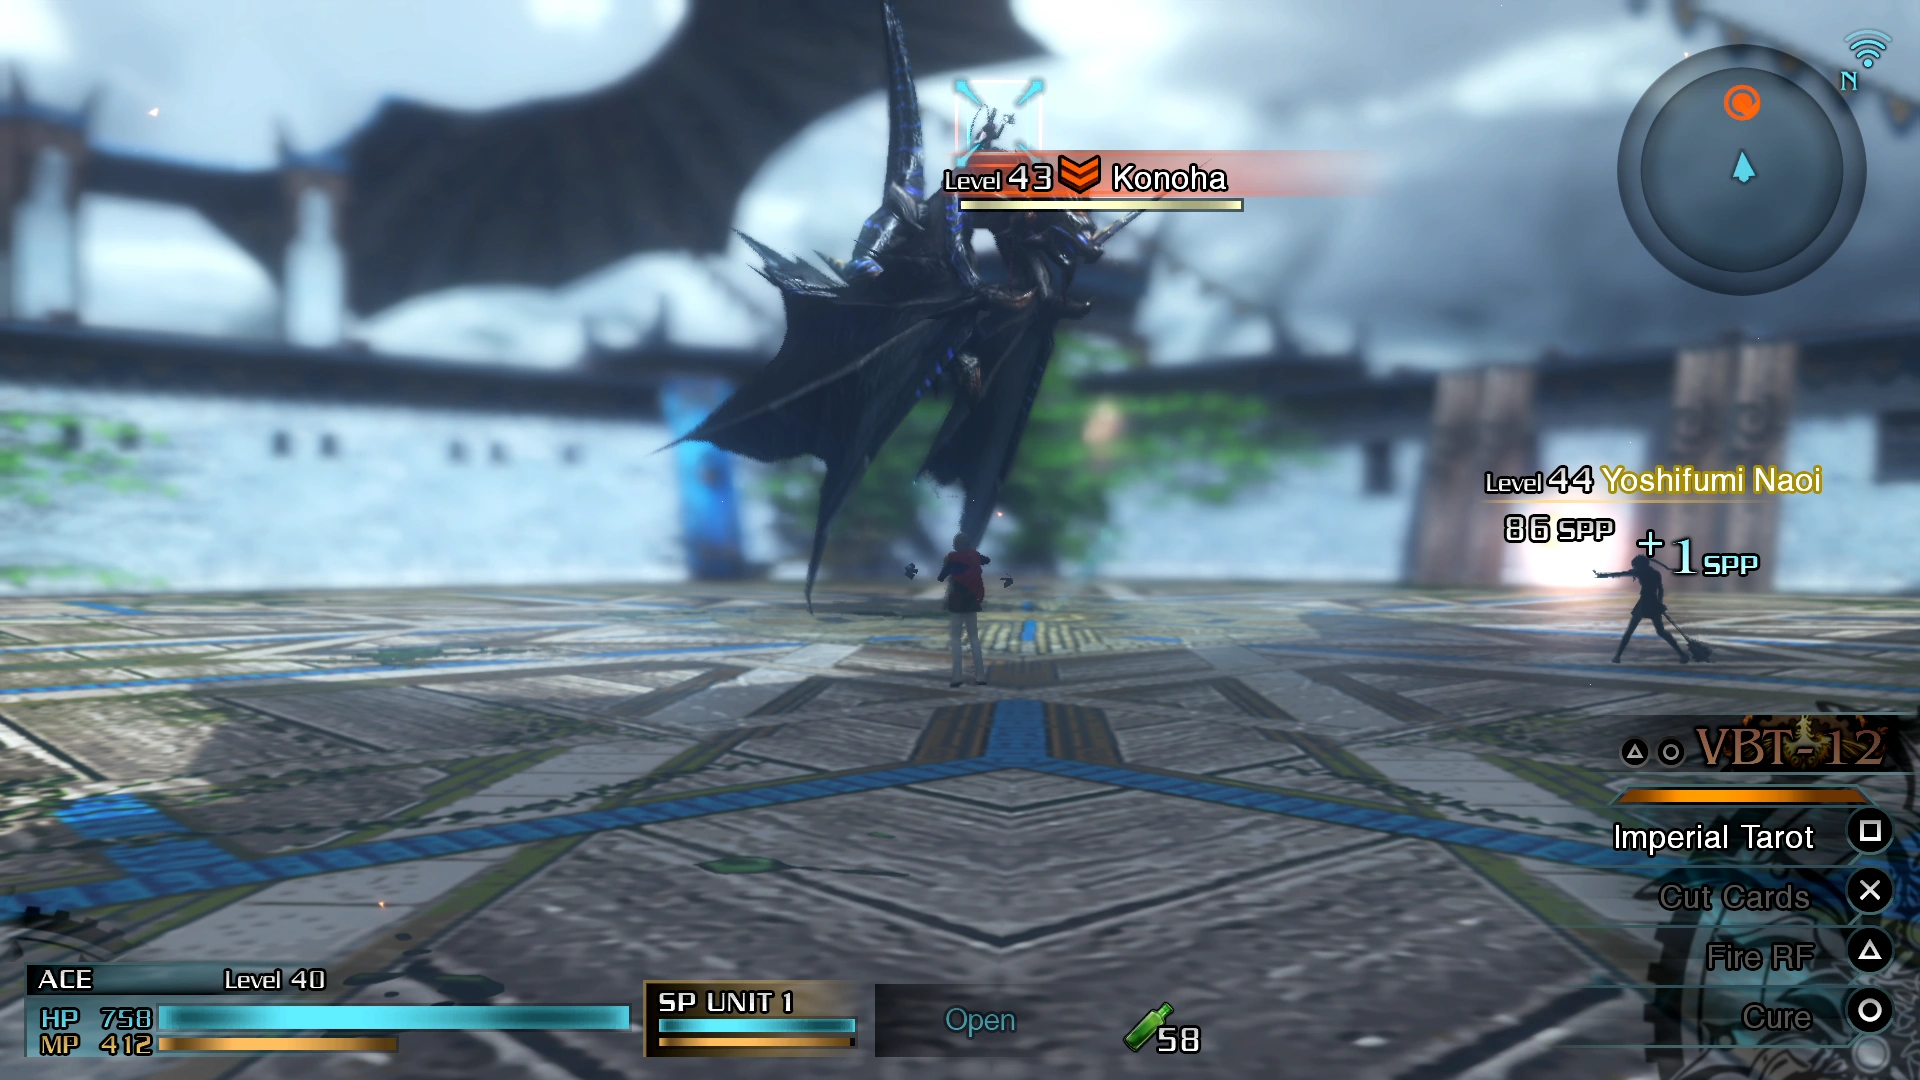
Class Zero fights Konoha.
Operation Vulturnus (作戦名【東の風】, Sakusenmei "Higashi no Kaze"?, lit. Operation East Wind) is the Code Crimson mission of Chapter 5 in Final Fantasy Type-0. It takes place on Tem. XVII, its initial mission level is 42 and it has no limitation regarding the pool of participants. To begin the mission the player must choose "Travel to the border" when prompted.
Briefing
With Concordia still reeling from its defeat at Judecca, Rubrum initates Operation Vulturnus, in which an elite task force assaults Royal Central Command while the dominion's main force breaches the Concordian border. Class Zero must infiltrate the Vermeil-Azure Cloister and make time for its allies to cross into Concordia.
Mission Briefing
The mission
S-rank requirements
- Time: 24:00
- Phantoma: 100
- Casualties: 0
Rewards
- Completing this mission on Officer difficulty unlocks the Eidolon Bahamut.
- Completing this mission on Agito difficulty unlocks Regal Armor at the Armory Shop.
- Completing this mission on Finis difficulty unlocks Beastmaster at the Armory Shop.
- Earning S-rank on Officer difficulty yields an Auric Hourglass or Megalixir or Ignis Essentia or Glacies Essentia or Circlet.
Special Orders
Here is a list of all unique special orders on this mission:
| Area | Objective | Time Limit | Effect | Reward |
|---|---|---|---|---|
| Border Trail | Avoid using magic with leader | 1:00 | Protect 1:00 | Arctic Armlet |
| Vermeil-Azure Cloister 3F | Deal at least 3500 damage to the Diepvern | 1:00 | Aura 0:45 | Eidolon: Baalberith |
| Western Atrium 4F | Performance Evaluation: Defeat the wingvern and neutralize the energy wall | 2:00 | Regen 0:30 | Wildfire Whipblade |
| Vermeil-Azure Atrium 6F | Obtain classified info on royal army | 2:00 | Haste 0:30 | Megalixir |
| Skyview Courtyard | Eliminate all the pyronades | 1:00 | Regen 0:30 | Elixir |
Strategy
- Border Trail
On the mountainside trail the cadets will encounter Bombs. The next area has more Bombs alongside some Ankhegs that can inflict poison. In the next screen there is an SO to avoid using magic for a minute with the leader for an Arctic Armlet. The area has only Ankhegs.
The next area has yet more Ankhegs now accompanied by a Wingvern that is best defeated with magic or a ranged cadet. A Breaksight strike opportunity appears after it shoots elemental shots. If it falls off the edge of the mountainside when killed, the cadets won't be able to harvest its phantoma.
The next area has more Ankhegs and Bombs and the area after is a town area, a safe zone with a recovery portal, but no relic terminal.
- Vermeil-Azure Cloister 1F
This area has Dracoknights and a Petrifeye.
- Eastern Atrium 2F
This area has Dracoknights and Pyronades. Defeating the first wave brings down an energy wall, but they will keep spawning indefinitely.
- Western Atrium 2F
There are more Dracoknights with a lone Petrifeye.
- Eastern Cloister 3F
There is an item (Aurum Medica) on the ground next to the boxes near to where the party enters. The cadets will encounter Crème Brûlées that can be easily dispatched with Blizzard magic or with Killsights. They are accompanied by Dracoknights that keep spawning for a time, but cease if the player keeps killing them. The cadets must destroy the fence to get to the exit.
- Vermeil-Azure Cloister 3F
This area has a Diepvern in a small space flanked by two Pyronades. The area's SO is to deal 3500 damage in a single hit to net a new Eidolon. King's Point-Blank Shot is a good candidate, as well as Trey's fully charged regular attack. The player can also use an Eidolon or a Triad Maneuver.
- Western Cloister 3F
This is another safe zone with a recovery portal. There is a dead dominion legionary on the ground with a Knowing Tag.
- Western Atrium 4F
There are more Creme Brûlées here, as well as a Wingvern on the other side of the area, beyond a broken bridge. The area's SO requires the player to defeat it for a Wildfire Whipblade for Seven, so having ranged magic or a ranged cadet helps. There are four exits in this room, and it is best to take the western one first.
- Vermeil-Azure Cloister 4F
This area is a dead end, but there's an item on the ground at the furthest end (Draco Medica/Aurum Medica). There are also two Demonicorns and a named Dracoknight (Yamabiko) followed by some generic Dracoknights. After felling them, the cadets should return to the previous room and head north.
- Vermeil-Azure Atrium 3F
Upon entering the cadets are confronted by Dracoknights and two Wingverns. The party must defeat the enemies to dispel the energy wall. When getting around to the exit more Dracoknights appear, including a named one (Gekko) behind the party, in an alcove.
- Eastern Atrium 4F
If the cadets enter this area from the southeastern exit in Western Atrium 4F, they can grab an item (Argentum Medica). To continue with the mission, the player needs to come from the previous room, and encounter some Dracoknights and a Wingvern.
- Vermeil-Azure Cloister 5F
The cadets encounter Demonicorns and Dracoknights here and more will spawn after they are felled.
- Western Atrium 6F
Dracoknights, Pyronades and Creme Brûlées are fought here. Two Dracoknights are named (Saraota and Tsuchimori). The northeast exit is the only one the cadets can reach, but it is best to kill all enemies on the sides of the area the party can reach before exiting.
- Eastern Atrium 6F
Defeating the first set of Pyronades and the Wingvern dispels the energy wall. More Pyronades and some Dracoknights spawn, including one that is named (Yaiba). Killing all enemies dispels the energy wall to the area that has a recovery portal. The cadets should follow the yellow marker and take the other exit in the area back to Western Atrium 6F, reaching the exit that progresses the mission. It will be blocked by an energy barrier until all enemies are felled.
- Western Cloister 7F
There are two Snowsquatches and Dracoknights here. It is best to focus on one Snowsquatch at a time. Across the bridge is one more Snowsquatch and more Dracoknights. The cadets should take the north exit.
- Vermeil-Azure Atrium 6F
This area has another Snowsquatch and some Petrifeyes. To complete the area's SO, the cadets must locate an item (Deployment Chart) on the upper level, which can be hard to see with the bright light. It is next to the wooden crates. Completing the SO yields a Megalixir. The player should turn back and follow the yellow marker to the next area.
- Eastern Cloister 7F
This area has a Behemash. When it is defeated another shows up from where the cadets entered.
- Eastern Atrium 8F
This is a safe zone with a recovery portal and some other cadets. There is a Knowing Tag on one of the dead bodies.
- Vermeil-Azure Bridge
The cadets should cross the bridge into the final area.
- Skyview Courtyard
The cadets face off against a Flyvern with a Dragonier rider (Konoha). It is possible to defeat the pair before the area's SO even appears, as the player must wait a while for the Pyronades to show up. The SO is to eliminate all Pyronades for an Elixir.
If the party has a cadet with quick attacks, the player can wait for the Flyvern to swoop down to hit a Breaksight, allowing easy access to its rider. Alternatively, the player can wait until it starts sucking in air while stationed on the ground, with a Breaksight briefly appearing on the rider afterwards. Defeating either the Flyvern or the rider completes the mission.
Rubicus
- Tem. XVII – Operation Vulturnus
Hearing of the great casualties incurred by the Five-Star Royal Guard, Concordia's land units abandoned their invasion of the dominion, and hurriedly revised their long-term strategy. Hoping to take advantage of the kingdom's loss of momentum, dominion legionaries deployed to the eastern front initiated Operation Vulturnus, a land-based offensive aiming to break through the royal defenses and cross into Concordia. A special unit would provide backup by assaulting Kingdom Central Command and keeping the royal army occupied while the dominion legions crossed the border.
The operation was essentially a guaranteed success for the dominion, but with the kingdom still reeling from its recent defeat, the offensive went even better than anticipated. Not only did the dominion successfully attack Kingdom Central Command, but the elite squad assigned to the task managed to eliminate the royal commandant as well. Bereft of an important link in its chain of command, Concordia pulled back, giving up all resistance along the border. Thus, the dominion breached the border without suffering more than a handful of casualties.