Template:Sideicon Template:Infobox location FFIV The Lunar Subterrane is the final dungeon in Final Fantasy IV. It's a massive cave complex, filled with strong monsters. It can only be accessed from Crystal Palace once the Giant of Babil has been destroyed.
The caverns contain a great deal of hidden passages and strong monsters, including dragons. Crystal equipment, the game's strongest, exist here for Cecil in the SNES and PlayStation versions. There are also many monsters hidden in treasure chests, and at the bottom of the cavern lay several sealed relics guarded by minions of Zemus.
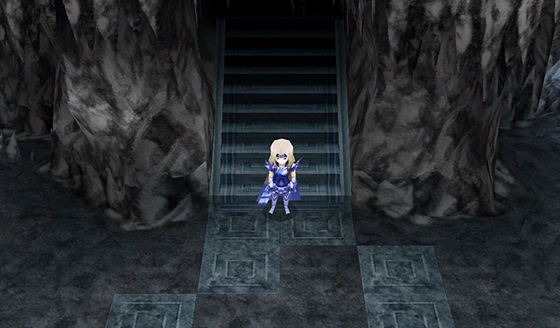
Eventually, the caverns lead to an area where the floor consists mainly of shiny tiles. The walls are still made of rock. This area is titled the Lunar Core in the game's Advance version, but is part of the Lunar Subterrane in all other versions. In the Easy Type version that was only released in Japan, there's a save point on one of the last floors in the subterrane. In reference to this, The After Years brings it back, but has replaced it with a healing tile.
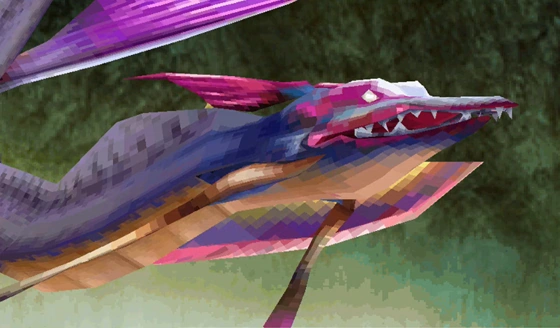
The area is infested with semi-boss monsters as random encounters, such as Behemoths and Red Dragons. Lower levels also contain Zemus's Malice, Zemus's Breath, and Deathmasks, enemies unique to this area. The boss Ogopogo also lurks here guarding the strongest weapon for Edge.
The upper areas of the core are connected via stairways, but lower areas are connected via teleporters. In the deepest area, the party can find Zemus. Beyond this lie the deepest areas of the core where the Lunarians are sleeping.
Story
Final Fantasy IV
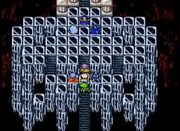
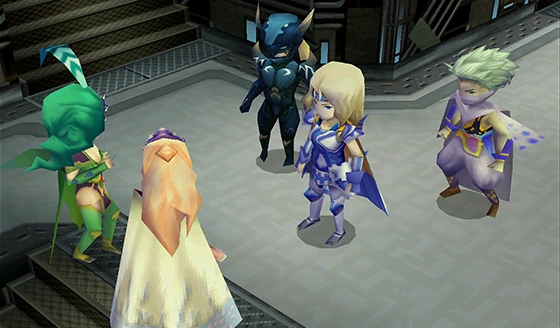
The heroes confront Zemus in the Lunar Core.
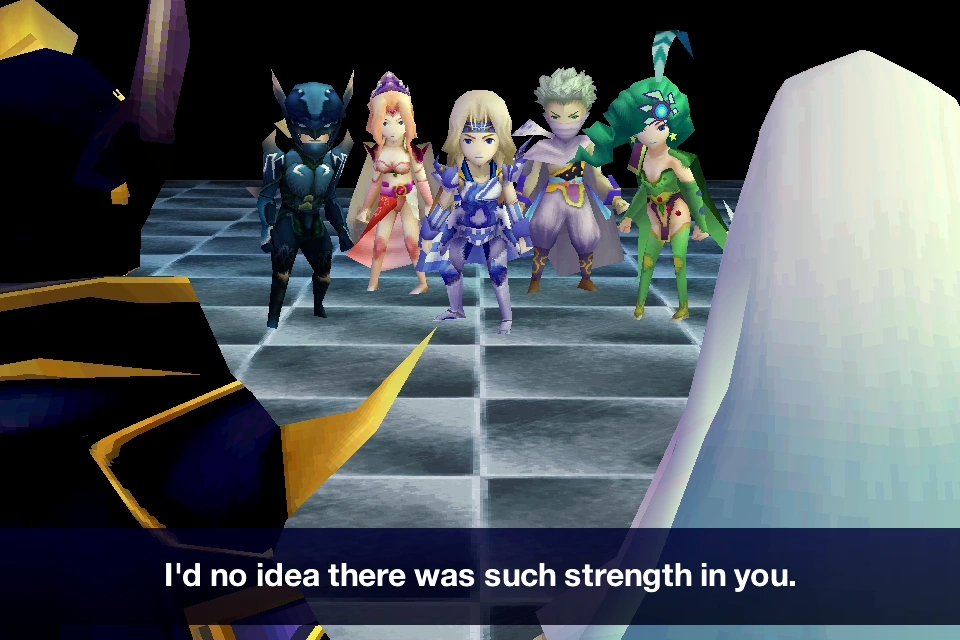

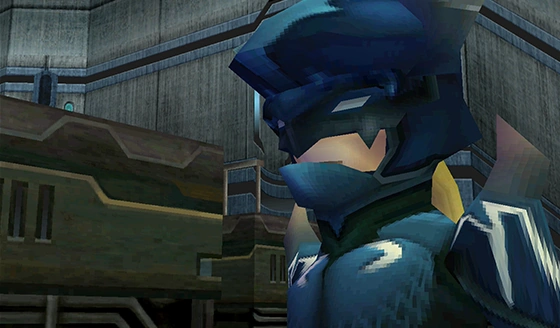
The party stands victorious.
Cecil and his friends descend the Lunar Subterrane after destroying the Giant of Babil, following Fusoya and Golbez, who head for the core in order to defeat Zemus.
After going through several battles in the subterrane, the heroes finally meet Zemus, Golbez, and Fusoya, who are battling. Golbez and Fusoya are able to defeat the evil Lunarian, but his hatred is revived as Zeromus, who easily knocks the party unconscious and defeats Golbez and Fusoya. With the help of the prayers of his friends, Cecil gets back on foot and uses the Crystal Golbez gave him, which in turn gives Zeromus a physical body, allowing him to be defeated. With Zeromus's death, Golbez and Fusoya head to the sleeping room deep within the Moon, while Cecil and his friends return to their planet.
Final Fantasy IV: The After Years
The Lunar Subterrane reappears in the Lunarian's Tale in The After Years. Golbez awakens in the Chamber of Sleep, sensing something wrong with the Crystals, and goes through the subterrane to the surface, meeting with Fusoya along the way. After investigating the Crystals and the Impact Crater of a meteor, the two defeat a Mysterious Girl they find there. Returning to the Crystal Palace the girl seems to return, and summons Leviathan.
The two defeat her again, and pray for the Lunar Whale to come to them from the Blue Planet. Suddenly, one of the Crystals shatters, and a new girl appears and tells them she does not need them. Fearing for the other Lunarians, Golbez and Fusoya race back to the Chamber of Sleep, but before they reach it, all the Crystals shatter, reviving Zeromus as Zeromus's Malice. In the ensuing battle, Zeromus Malice uses Big Bang and Fusoya teleports Golbez away to the Lunar Whale.
Locations
B3


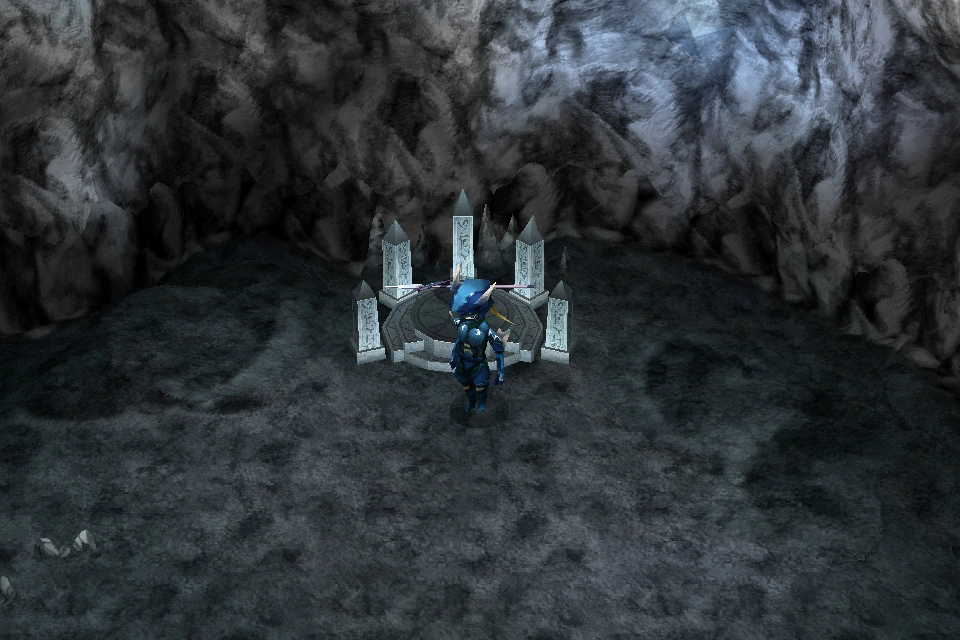
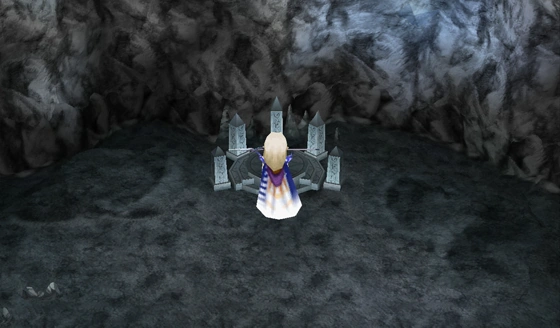
Murasame's pedestal.
A pedestal that holds Murasame is found in a corner of B3. Like all other corners and rooms that lead to weapons in this dungeon, it is not accessible by the main path, but by going through a series of detours or secret passages. This pedestal is found by the west secret passage from the dungeon's entrance (B1), then taking the teleporter that leads to B2. The player should head west to find another teleporter that will take him to B3. The pedestal is found in the far-left corner of the room. Murasame is guarded by a White Dragon, which must be defeated to obtain the katana.
B5

The room is the exit nearest to the indicator.
- Flan Princess Room
The room in B5 where a Red Fang is found is the only room in the whole game where the extremely rare Flan Princesses can be fought—running into them as random encounters is nearly impossible. By using a Siren, they will attack in pairs of three.
- Ragnarok Pedestal

Ragnarok's pedestal.
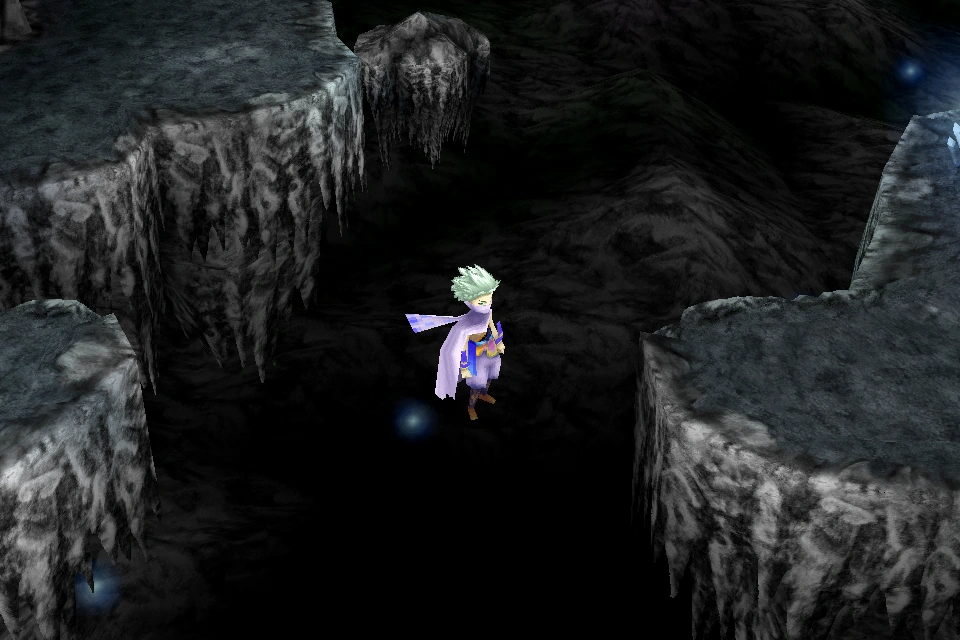

The secret passage in B6.
The pedestal that holds Ragnarok, Cecil's ultimate weapon, is found in B5, but is accessible from B6. To reach the specific room, the player must go down the set of stairs in B6, then go through the secret passage to the west (hard to spot at first because the character floats, as there's no ground). From here, there is a secret passage into the wall, to the east, then down the set of stairs, which completes B6's map. Heading south then east will lead to a teleporter which will warp the player back to B5. The South exit leads out of the room, and by heading east, Ragnarok's pedestal is found. It is guarded by Dark Bahamut.
B7
Two of the B7's three inner rooms hold optional boss encounters guarding two relics and an ultimate weapon. It is also the last room of the Subterrane—the last room of this floor is the exit that leads to B8, the first room of the Lunar Core.
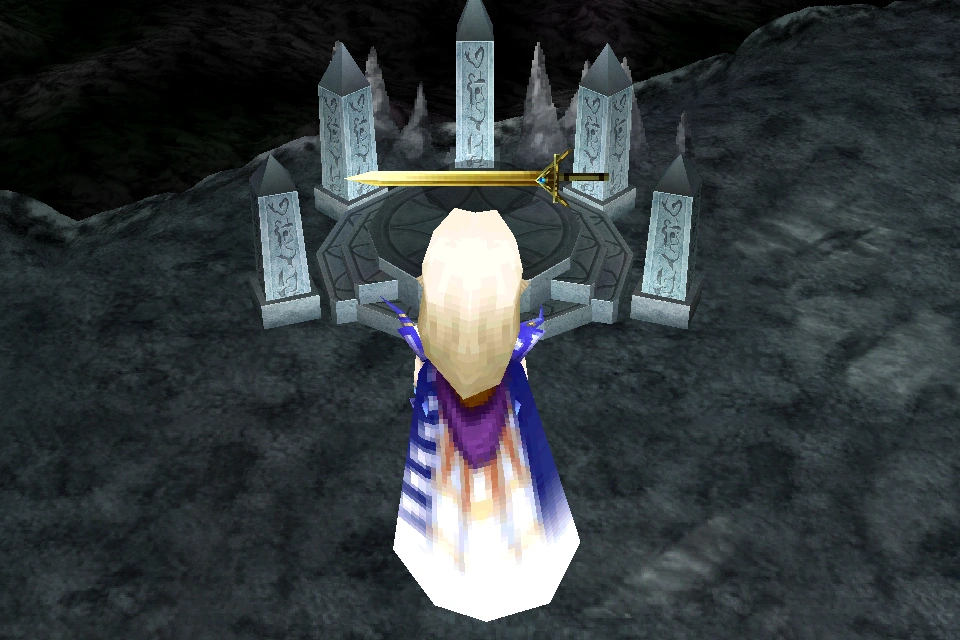
The Holy Lance's pedestal.
- Holy Lance Pedestal
The pedestal is the second room in the map, the one after the room with the dungeon's second save point. The Holy Lance, Kain's ultimate weapon, is guarded by a Plague Horror, and must be defeated to obtain the lance.
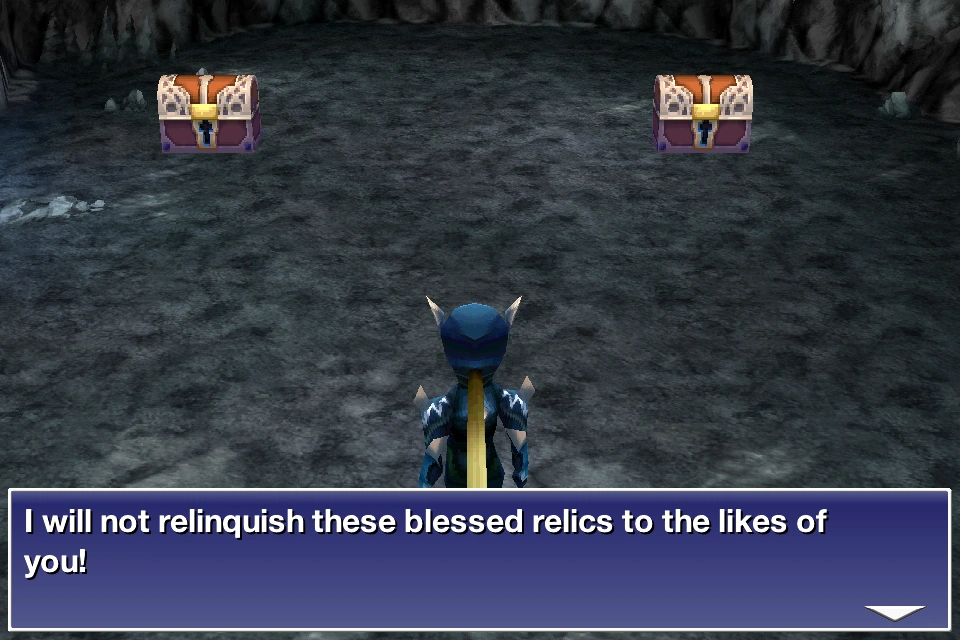

The room holding the two treasure chests.
- Third Exit
The next room from the previous one holds two treasure chests, which contain one Ribbon each. If the player goes for them, a Lunasaur will attack them, and it must be defeated to obtain the two relics. After defeating the Lunasaur, the player will be free to open the two treasure chests.
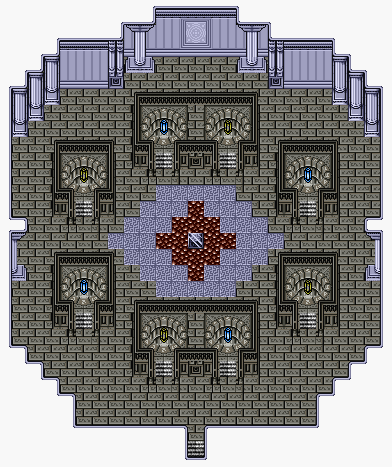
Lunar Core


Masamune's pedestal.
- B8
The pedestal holding Masamune, the last of Edge's ultimate weapons, is found in B8. If the player doesn't bother filling out the map, it will be easily missed—it is found on the south-east corner of the map. Masamune is guarded by Ogopogo, a dark Leviathan. To obtain the katana, it must be defeated.
- B11
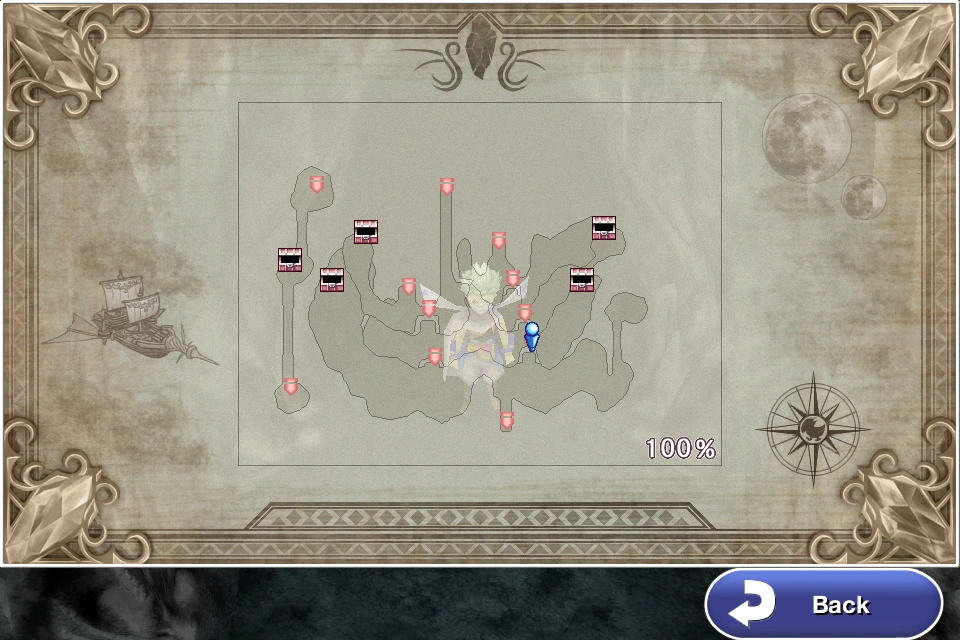
It is the second-to-the-last floor of the dungeon. If the player has filled out all dungeon maps in the entire game, the Treasure Hunter augment will be obtained as soon as this floor's map is completely filled out.
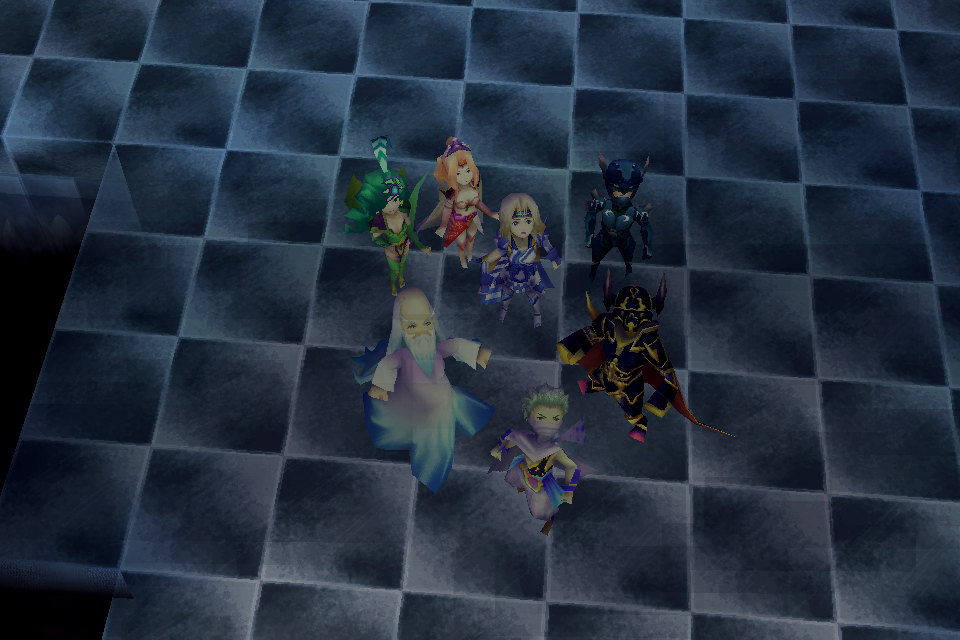

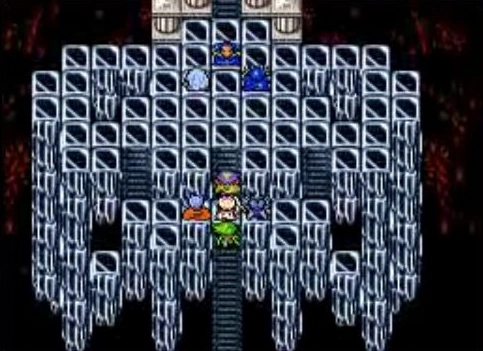
The group in the last floor of the core, as Zemus transforms.
- B12
B12 is the last floor of the dungeon, and where the party fights Zeromus.
Items
The crystal room portal to the Lunar Subterrane.
Final Fantasy IV
- Subterrane
- Black Garb
- Fire Whip
- Sage's Staff
- Dragon Mail
- Dragon Shield
- Dragon Gloves
- Dragon Helmet
- Artemis Arrows x10
- Artemis Bow
- Elixir
- X-Potion
- Crystal Mail
- Crystal Shield
- Crystal Gloves
- Crystal Helmet
- Stardust Rod (won from Behemoth)
- White Robe
- Protect Ring x2
- Minerva's Plate
- Fuma Shuriken
- Golden Apple
- Cottage
- Murasame (won after defeating White Dragon)
- Ragnarok (Crystal Sword) (won after defeating Dark Bahamut)
- Holy Lance (White Spear) (won after defeating Plague Horror)
- Ribbon x2 (in the room after defeating Lunasaur)
- Core
- Fuma Shuriken x3
- Elixir
- Gysahl Whistle
- Masamune (won from Ogopogo)
Final Fantasy IV: The After Years
- Hi-Potion x3
- Tent x3
- Ether x2
- X-Potion x3
- Phoenix Down x3
- Cottage x2
- Bronze Hourglass
- Mythril Gloves
- Unicorn Horn
- White Fang
- Mythril Helm
- Mythril Shield
- Dry Ether x2
- Decoy
- Icebrand
- Elixir
- Ice Armor
- Remedy x2
- Luminous Robe
- Soma Drop
Shops
Final Fantasy IV: The After Years
A Hummingway has etablished a shop in the Chamber of Sleep.
| Item | Price |
|---|---|
| Hi-Potion | 150 gil |
| Phoenix Down | 100 gil |
| Gold Needle | 400 gil |
| Echo Herbs | 50 gil |
| Eye Drops | 30 gil |
| Antidote | 40 gil |
| Cottage | 500 gil |
| Gnomish Bread*3D only | 100 gil |
Enemies
Final Fantasy IV
Lunar Subterrane / Underground / Subterrane
- Dark Sage
- Dark Sage x3
- Dark Sage
Moonmaiden - Dark Sage
Moonmaiden x2 - Armored Fiend
- Armored Fiend x2
- Dark Sage
Moonmaiden
Armored Fiend - Dark Sage x2
Armored Fiend - Bone Dragon
- Dark Sage
Bone Dragon - Silver Dragon
- Gold Dragon
- Blue Dragon
- Blue Dragon x2
- Silver Dragon
Armored Fiend - Ahriman
- Gold Dragon
Silver Dragon - Li'l Murderer
- Dinozombie
- Flan Princess x5
- White Dragon (boss)
- Dark Bahamut (boss)
- Plague Horror (boss)
- Lunasaur (boss)
Lunar Core
Floor 1
- Behemoth
- Red Dragon
- Deathmask
- Ogopogo (boss)
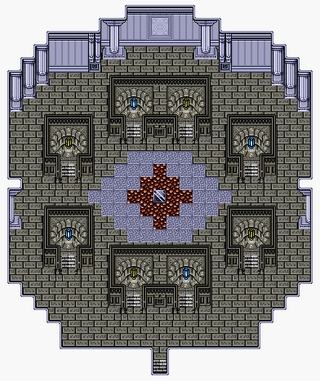
Floor 2
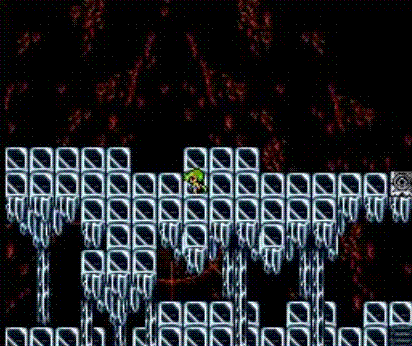
The Lunar Core.
- Red Dragon
Behemoth - Red Dragon x2
- Behemoth x2
- Red Dragon x3
- Deathmask x2
Floor 3
Floor 4
The After Years
- Note: all listed enemy formations, except for those marked "Event", are only encountered on the second trip through the area
- B1
- B2
- B3
- B4
- Mad Ogre x2
- Steel Golem, Ghost Knight
- Lamia Matriarch, Mystery Egg x2
- Storm Anima, Mad Ogre, Balloon
- Ghost Knight, Coeurl, Lamia Matriarch
- Lamia, Skuldier x2
- Sorcerer, Coeurl x2
- Steel Golem
- Chimera, Gremlin x2 (Event)
- B5
- Steel Golem, Ghost Knight
- Ghost Knight, Coeurl, Lamia Matriarch
- Lamia, Coeurl, Mad Ogre
- Mad Ogre, Coeurl x2
- Mad Ogre x2
- Black Flan, White Mousse, Balloon
- Nagaraja, Lamia x2
- Sorcerer, Ghost Knight x2
- Ice Lizard, Black Lizard (Event)
- B6
- Steel Golem, Ghost Knight x2
- Storm Anima, Lesser Marilith, Leshy
- Mad Ogre, Coeurl x2
- Nagaraja x2
- Mad Ogre x2
- Lamia, Coeurl, Mad Ogre
- Black Flan, White Mousse, Balloon
- Storm Anima, Ghost Knight x2
- Centaur Knight, Flame Knight, Black Knight (Event)
- B7
- Steel Golem, Ghost Knight x2
- Storm Anima, Lesser Marilith, Leshy
- Mad Ogre, Coeurl x2
- Nagaraja x2
- Mad Ogre x2
- Lamia, Coeurl, Mad Ogre
- Black Flan, White Mousse, Balloon
- Storm Anima, Ghost Knight x2
- Magma Tortoise, Fell Turtle (Event)
- B8
- B9
- B10
- B11
Musical themes
The background music that plays inside the subterranean areas (B1-B7) is "The Red Wings". The background music that plays inside the moon's core (B8-B12) is called "Giant's Dungeon", the same as the Giant of Babil's.
Other appearances
Dissidia Final Fantasy
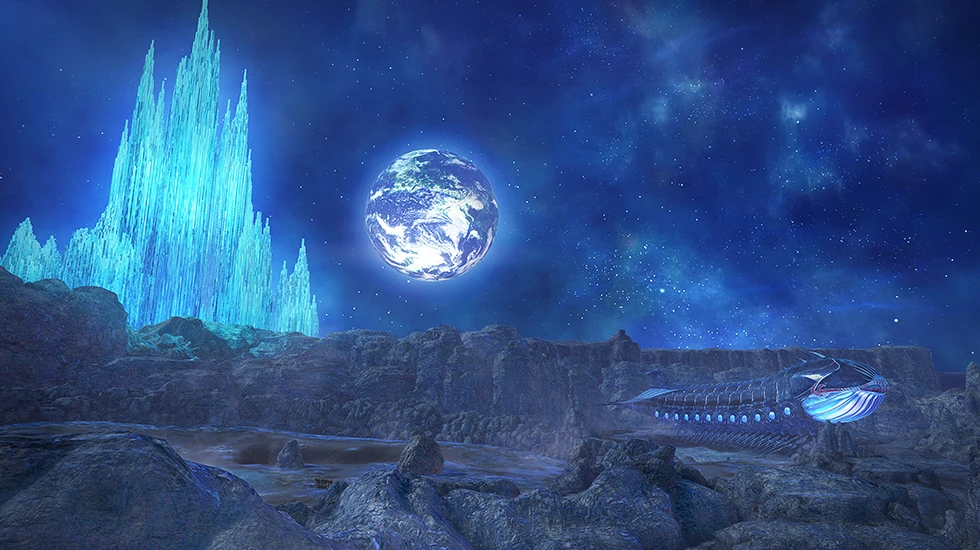
The Lunar Subterrane.
The Lunar Subterrane is the representative arena of Final Fantasy IV. Firion battles Jecht here, and this is also where Terra and Zidane begin their storylines. Cecil and Bartz fight Golbez here in their respective storylines. While being named The Lunar Subterrane, the stage is clearly the Lunar Surface.
The Subterrane is a large arena with a multi-leveled landscape full of cliffs and pits. Quickmove bars extend from the center of the arena outward in three directions, allowing characters to cross the arena quickly. The Crystal Palace and Lunar Whale can be seen on the stage's background, as well as the Earth. The arena's Ω form features more destroyable cliffs than the default stage, and some sections of ground can be destroyed as well. The Bravery pool rises when the landscape is destroyed.
The Moon Stone is the battlegen item obtained through stage destruction in this area.
Dissidia 012 Final Fantasy
The Lunar Subterrane returns as an arena in Dissidia 012. In the 12th cycle, this is where Lightning fought and defeated Kuja.
Dissidia Final Fantasy NT

Lunar Subterrane.
Theatrhythm Final Fantasy
The Lunar Core appears as the FMS for Within the Giant.
Theatrhythm Final Fantasy Curtain Call
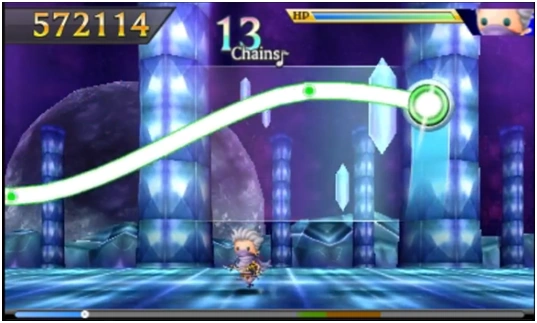

Lunar Core.
The Lunar Core returns as the FMS for several final dungeon themes throughout the series:
- Crystal Tower*from Final Fantasy III
- Within the Giant*from Final Fantasy IV
- In Search of Light*from Final Fantasy V
Final Fantasy Airborne Brigade
Final Fantasy Record Keeper
Lunar Subterrane, Part 1
Lunar Subterrane, Part 2
Lunar Subterrane, Part 3
Lunar Subterrane, Part 4
Lunar Subterrane, Part 5
Gallery
")
")
")
")
")
")
")
")
")
")
")
")
")
")
")
")
")
")
")
")
")
")
")
")
")
")
")
")
")
")
")
")
")
")
")
")
")
")
Etymology
Luna means "moon" in Latin, Italian, Romanian, Russian, and Spanish.