Intangir Bot (talk | contribs) m (Bot: Automated text replacement (-Item Drop +Item drop)) Tag: apiedit |
Intangir Bot (talk | contribs) m (Bot: Changing template: Enemy-stub) |
||
| (33 intermediate revisions by 11 users not shown) | |||
| Line 1: | Line 1: | ||
| − | {{sideicon|FFXII}} |
+ | {{sideicon|prime=FFXII|FFRK}} |
| + | {{DISPLAYTITLE:Demon Wall (''Final Fantasy XII'')}} |
||
| − | {{FFXII Enemy |
||
| + | {{infobox enemy |
||
| + | | release = FFXII |
||
| + | |name = Demon Wall |
||
| ⚫ | |||
| ⚫ | |||
| ⚫ | |||
| ⚫ | |||
| ⚫ | |||
| + | | aiscript = yes |
||
| ⚫ | |||
| ⚫ | |||
| ⚫ | |||
| + | |||
| ⚫ | |||
| + | |||
| ⚫ | |||
| ⚫ | |||
| ⚫ | {{Quote|Being a trap set to prevent those not of royal blood from entering the Dynast-King's tomb. With twin giant swords drawn and a length of wall upon its back, this statue challenges all who would seek to defile its master's resting place.<br/>It is thought that this fiendish device was constructed during the Galtean Alliance, and knowledge of the mechanisms of its operation has long been lost.<br/>On the wall the Dynast-King's likeness is carved in relief, this being the last thing most intruders see before the Demonwall bears down upon them, crushing their bones to dust.}} |
||
| + | |||
| + | ==Stats== |
||
| + | {{infobox enemy stats FFXII |
||
| name = Demon Wall |
| name = Demon Wall |
||
| ⚫ | |||
| ⚫ | |||
| prev = Tyrant (Final Fantasy XII) |
| prev = Tyrant (Final Fantasy XII) |
||
| bestiary = 281 |
| bestiary = 281 |
||
| next = Hydro |
| next = Hydro |
||
| − | | |
+ | | class = Boss |
| − | | |
+ | | genus = Guardian |
| − | | |
+ | | sec 1 = Optional boss |
| − | | |
+ | | sec 2 = Regular boss |
| − | | |
+ | | 1 level = 18 |
| − | | |
+ | | 1 hp = 22187 |
| − | | |
+ | | mp = 450 |
| − | | |
+ | | 1 strength = 31 |
| − | | magick power |
+ | | magick power = 17 |
| − | | |
+ | | vitality = 44 |
| − | | |
+ | | speed = 10 |
| − | | |
+ | | 1 attack power = 36 |
| − | | |
+ | | 1 defense = 20 |
| − | | |
+ | | 1 magick resist = 14 |
| − | | |
+ | | evade = 0 |
| − | | |
+ | | exp = 0 |
| − | | |
+ | | 1 lp = 30 |
| − | | |
+ | | cp = 1350 |
| − | | |
+ | | 2 level = 16 |
| − | | |
+ | | 2 hp = 10332 |
| − | | |
+ | | 2 strength = 26 |
| − | | |
+ | | 2 attack power = 32 |
| − | | |
+ | | 2 defense = 17 |
| − | | |
+ | | 2 magick resist = 12 |
| − | | |
+ | | 2 lp = 9 |
| − | | |
+ | | gil = 0 |
| − | | vitality max = 44 |
||
| − | | speed max = 10 |
||
| − | | exp max = 0 |
||
| − | | cp max = 1,350 |
||
| − | | lp = 9; 30 |
||
| ⚫ | |||
| holy = Weak |
| holy = Weak |
||
| + | | 1 location = [[Tomb of Raithwall]] (Hall of the Destroyer) |
||
| ⚫ | |||
| + | | 2 location = [[Tomb of Raithwall]] (Hall of the Sentinel) |
||
| ⚫ | |||
| ⚫ | |||
| ⚫ | |||
| − | | bestiary location = Bosses |
||
| ⚫ | |||
| steal 2 = [[Loot (Final Fantasy XII)#Solid Stone|Solid Stone]] |
| steal 2 = [[Loot (Final Fantasy XII)#Solid Stone|Solid Stone]] |
||
| − | | steal 3 = [[Loot (Final Fantasy XII)# |
+ | | 1 steal 3 = [[Loot (Final Fantasy XII)#Solid Stone|Solid Stone]] |
| + | | 2 steal 3 = [[Loot (Final Fantasy XII)#Quality Stone|Quality Stone]] |
||
| death = Immune |
| death = Immune |
||
| petrify = Immune |
| petrify = Immune |
||
| Line 54: | Line 66: | ||
| sleep = Immune |
| sleep = Immune |
||
| disease = Immune |
| disease = Immune |
||
| − | | reverse = |
+ | | reverse = Immune |
| disable = Immune |
| disable = Immune |
||
| immobilize = Immune |
| immobilize = Immune |
||
| Line 60: | Line 72: | ||
| poison = Immune |
| poison = Immune |
||
| sap = Immune |
| sap = Immune |
||
| ⚫ | |||
| lure = Immune |
| lure = Immune |
||
| + | | 1 reflect = 50 |
||
| ⚫ | |||
| + | | 1 haste = 50 |
||
| ⚫ | | magicks = [[ |
||
| + | | libra immune = yes |
||
| ⚫ | | innate augments = [[ |
||
| + | | 1 technicks = [[Final Fantasy XII enemy abilities#Annul|Annul]] |
||
| ⚫ | |||
| ⚫ | |||
| ⚫ | | 1 innate augments = [[Final Fantasy XII enemy abilities#Safety|Safety]], [[Final Fantasy XII enemy abilities#No Knockback|No Knockback]], [[Final Fantasy XII enemy abilities#Ignore Vitality|Ignore Vitality]], [[Final Fantasy XII enemy abilities#Ignore Weather & Landscape|Ignore Weather & Landscape]], [[Final Fantasy XII enemy abilities#Status+|Status+]], [[Final Fantasy XII enemy abilities#Ignore Reflect|Ignore Reflect]], [[Final Fantasy XII enemy abilities#Low-HP ATK+|Low-HP ATK+]] |
||
| + | | 2 innate augments = [[Final Fantasy XII enemy abilities#Safety|Safety]], [[Final Fantasy XII enemy abilities#No Knockback|No Knockback]], [[Final Fantasy XII enemy abilities#Ignore Vitality|Ignore Vitality]], [[Final Fantasy XII enemy abilities#Ignore Weather & Landscape|Ignore Weather & Landscape]], [[Final Fantasy XII enemy abilities#Status+|Status+]] |
||
| + | | 2 conditional augments = After using Chain Magick: [[Final Fantasy XII enemy abilities#Magick CT0|Magick CT0]] |
||
| + | | combo = 4 |
||
| + | | 1 combo rate = 10 |
||
| + | | 2 combo rate = 17 |
||
| + | | status effect = [[Final Fantasy XII statuses#Petrify|Petrify]] |
||
| + | | status effect rate = 4 |
||
| + | | charge time = 25 |
||
| + | | 1 info = The player can flee |
||
| + | }} |
||
| + | ==AI script==<!--info is from Split Infinity's guide: https://gamefaqs.gamespot.com/ps2/459841-final-fantasy-xii/faqs/42270--> |
||
| ⚫ | |||
| + | {{Enemy AI FFXII |
||
| + | |magickname1 = [[Final Fantasy XII enemy abilities#Blindga|Blindga]] |
||
| + | |magickcond1 = HP >80% (25%)<br/>HP <80% (5%) |
||
| + | |magickname2 = [[Final Fantasy XII enemy abilities#Silence|Silence]] |
||
| + | |magickcond2 = Use all battle (5%) |
||
| + | |magickname3 = [[Final Fantasy XII enemy abilities#Sleep|Sleep]] |
||
| + | |magickcond3 = HP >80% (5%)<br/>HP <80% (25%) |
||
| + | |magickname4 = [[Final Fantasy XII enemy abilities#Telega|Telega]] |
||
| + | |magickcond4 = HP <80% when 2+ party members are present (100%)<br/> |
||
| + | When the party again consists of 2+ members, next Telega is used after the boss executes 4 commands (100%) |
||
| + | |technickname1 = [[Final Fantasy XII enemy abilities#Doom|Doom]] |
||
| + | |technickcond1 = HP >80% (5%)<br/>HP <80% (25%) |
||
| + | |technickname2 = [[Final Fantasy XII enemy abilities#Annul|Annul]] |
||
| + | |technickcond2 = Use all battle on the opponent with most MP (5%) |
||
| + | |targeting = Attacks nearest enemy. |
||
}} |
}} |
||
| ⚫ | |||
| ⚫ | |||
| + | ===Regular boss=== |
||
| ⚫ | |||
| + | {{Enemy AI FFXII |
||
| + | |magickname1 = [[Final Fantasy XII enemy abilities#Blindga|Blindga]] |
||
| + | |magickcond1 = HP >50% (25%)<br/>HP <50% (5%) |
||
| + | |magickname2 = [[Final Fantasy XII enemy abilities#Silence|Silence]] |
||
| + | |magickcond2 = Use all battle (5%) |
||
| + | |magickname3 = [[Final Fantasy XII enemy abilities#Sleep|Sleep]] |
||
| + | |magickcond3 = HP >50% (5%)<br/>HP <50% (25%) |
||
| + | |magickname4 = [[Final Fantasy XII enemy abilities#Telega|Telega]] |
||
| + | |magickcond4 = HP <50% when 2+ party members are present (100%)<br/> |
||
| + | When the party again consists of 2+ members, next Telega is used after the boss executes 8 commands (100%) |
||
| + | |technickname1 = [[Final Fantasy XII enemy abilities#Doom|Doom]] |
||
| + | |technickcond1 = Use all battle (5%) |
||
| + | |technickname2 = [[Final Fantasy XII enemy abilities#Annul|Annul]] |
||
| + | |technickcond2 = Use all battle on the opponent with most MP (5%) |
||
| + | |technickname3 = [[Final Fantasy XII enemy abilities#Chain Magick|Chain Magick]]{{foot|Bestows Magick CT0 augment}} |
||
| + | |technickcond3 = HP <50%; use once (100%) |
||
| + | |targeting = Attacks nearest enemy. |
||
| + | }} |
||
| ⚫ | |||
| ⚫ | |||
| ⚫ | |||
| ⚫ | The first Demon Wall is optional and can be fought later. The second Demon Wall is mandatory, and once the player enters the Hall of the Sentinel it will advance towards the player. Its special attack, [[Telega]], inflicts X-Zone, a [[status effect]] that teleports a character to an alternate dimension, which makes the character inaccessible until the player moves to a new area. It also has some powerful spells in its arsenal and can inflict the party with [[Poison (status)|Poison]], [[Sleep (status)|Sleep]], [[Blind (status)|Blind]], and [[Silence (status)|Silence]]. |
||
| ⚫ | |||
| ⚫ | {{ |
||
| ⚫ | Several pedestals line the sides of the Hall of the Sentinel. Touching them either slow sdown or speeds up the Demon Wall. The order of the pedestals is the same every time (this is not true in the original Japanese version, in which each pedestal's effect is random on each playthrough). If the [[Battle Speed]] is set on high, the party damages the Demon Wall faster, even though it will be moving at the same speed. |
||
| ⚫ | |||
| ⚫ | |||
| + | ===Strategy=== |
||
| ⚫ | The first Demon Wall is optional and can be fought later. The second Demon Wall is |
||
| + | The most efficient means of bringing down the Demon Wall is the use of [[Reflect (status)|Reflect]] and [[Aero]]; after [[Dark (ability)|Dark]], Aero one of the few early spells to target multiple enemies. Aero, despite a higher [[MP (stat)|MP]] cost, is also preferable to Dark because the [[Cherry Staff (Final Fantasy XII)|Cherry Staff]] [[Elemental Affinity|enhances]] its damage. Every time Aero is cast, all four party members (including [[Vossler York Azelas|Vossler]]), will project a missile at the Demon Wall for around 300-600 damage each. |
||
| ⚫ | |||
| ⚫ | |||
| − | == |
+ | ==Optional Demon Wall== |
| + | The optional Demon Wall is much stronger and more difficult than the required one. |
||
| − | The most efficient means of bringing down the Demon Wall, short of launching an all-out assault, is the use of [[Reflect (status)|Reflect]] and [[Aero]]. Aero is the spell of choice here because it's available at an early time, and after [[Dark (ability)|Dark]], it's one of the few early spells which targets multiple enemies. |
||
| ⚫ | |||
| − | Aero, despite a higher [[MP (stat)|MP]] cost, is also preferable to Dark because the [[List of Final Fantasy XII weapons#Cherry Staff|Cherry Staff]] [[Elemental Affinity|enhances]] its damage, like the [[List of Final Fantasy XII weapons#Flame Staff|Flame Staff]] does with [[Fire (element)|fire-type]] spells. If all members of the party have the Cherry Staff equipped and know Aero, the player can simply buff them with Reflect and set their [[gambits]] to spam any ally with Aero. |
||
| ⚫ | |||
| ⚫ | |||
| ⚫ | |||
| ⚫ | |||
| ⚫ | |||
| − | The optional Demon Wall is much stronger and more difficult than the required one (hence the location name Hall of the Destroyer). Beating the optional Demon Wall leads to the possibility of obtaining an unlimited supply of [[List of Final Fantasy XII weapons#Demonsbane|Demonsbane Swords]], an advanced weapon for this point in the game (Attack power of 59). |
||
| + | In the original [[PlayStation 2]] version the player can get a [[Demonsbane (Final Fantasy XII)|Demonsbane]] sword for defeating the optional Demon Wall. |
||
| ⚫ | After having defeated both Demon Walls, the party can touch the azure jewel where the first demon came out to reveal a [[Hidden passage|secret area]]. The [[Treasure (Final Fantasy XII)|treasure]], which sometimes contains the Demonsbane sword, is at the bottom of either stairwell (they both lead to the same place). Because the chances of the sword spawning are slim, it is advised to save the game before entering. If the sword is not in the chest, one can restart and try again. |
||
| ⚫ | Because of the short time in store before |
||
| ⚫ | At this point, it is one of the most powerful weapons, being beaten only by the [[Burning Bow]] (rare [[Item drop|drop]] from [[Dive Talon]]s), [[Arcturus (Final Fantasy XII)|Arcturus]] (Bazaar), [[Francisca (Final Fantasy XII)|Francisca]] (Bazaar) and [[Zwill Crossblade (Final Fantasy XII)|Zwill Crossblade]] (Bazaar), but these four are much harder to obtain before entering the tomb. |
||
| ⚫ | Quickening chain is |
||
| ⚫ | |||
| ⚫ | |||
| ⚫ | |||
| ⚫ | After having defeated both Demon Walls, the party can touch the |
||
| ⚫ | |||
| ⚫ | At this point |
||
| ⚫ | |||
| ⚫ | |||
| ⚫ | |||
| + | [[File:FFRK Demon Wall FFXII.png|right]] |
||
| ⚫ | |||
| + | {{clear}} |
||
| ⚫ | |||
| ⚫ | |||
| + | <gallery> |
||
| − | |||
| ⚫ | |||
| ⚫ | |||
| ⚫ | |||
| ⚫ | |||
| ⚫ | |||
| − | {{sideicon|FFRK}} |
||
| − | + | Demon Wall.jpg |
|
| + | FFXII Annul.png|Annul. |
||
| ⚫ | |||
| + | FFXII Blindga.png|Blindga. |
||
| − | |||
| ⚫ | |||
| ⚫ | |||
| + | </gallery> |
||
| − | {{Gallery |
||
| ⚫ | |||
| ⚫ | |||
| ⚫ | |||
| − | |File:Demon Wall.jpg|Demon Wall. |
||
| ⚫ | |||
| ⚫ | |||
[[de:Dämonenwall (FFXII)]] |
[[de:Dämonenwall (FFXII)]] |
||
[[it:Muro diabolico (Final Fantasy XII)]] |
[[it:Muro diabolico (Final Fantasy XII)]] |
||
| − | [[Category:Final Fantasy XII |
+ | [[Category:Bosses in Final Fantasy XII]] |
Revision as of 16:39, 13 January 2020
Template:Sideicon
Fight or run, we better decide fast!
Vaan
Demon Wall is a boss in Final Fantasy XII; two of them guard the Tomb of Raithwall from intruders, but one of them is optional to fight. It is said they have the Dynast-King's likeness carved onto them.
Bestiary entry
Page 1: Observations
Being a trap set to prevent those not of royal blood from entering the Dynast-King's tomb. With twin giant swords drawn and a length of wall upon its back, this statue challenges all who would seek to defile its master's resting place.
It is thought that this fiendish device was constructed during the Galtean Alliance, and knowledge of the mechanisms of its operation has long been lost.
On the wall the Dynast-King's likeness is carved in relief, this being the last thing most intruders see before the Demonwall bears down upon them, crushing their bones to dust.
Stats
Optional boss
Regular boss
AI script
Optional boss
| Abilities | ||
|---|---|---|
| Type | Name | Condition |
| Blindga | HP >80% (25%) HP <80% (5%) | |
| Silence | Use all battle (5%) | |
| Sleep | HP >80% (5%) HP <80% (25%) | |
| Telega | HP <80% when 2+ party members are present (100%) When the party again consists of 2+ members, next Telega is used after the boss executes 4 commands (100%) | |
| Doom | HP >80% (5%) HP <80% (25%) | |
| Annul | Use all battle on the opponent with most MP (5%) | |
| Properties | ||
| Type | Property | |
| Targeting | Attacks nearest enemy. | |
| Linking | ||
| Attacks | ||
| Pursuit | ||
Regular boss
| Abilities | ||
|---|---|---|
| Type | Name | Condition |
| Blindga | HP >50% (25%) HP <50% (5%) | |
| Silence | Use all battle (5%) | |
| Sleep | HP >50% (5%) HP <50% (25%) | |
| Telega | HP <50% when 2+ party members are present (100%) When the party again consists of 2+ members, next Telega is used after the boss executes 8 commands (100%) | |
| Doom | Use all battle (5%) | |
| Annul | Use all battle on the opponent with most MP (5%) | |
| Chain Magick*Bestows Magick CT0 augment | HP <50%; use once (100%) | |
| Properties | ||
| Type | Property | |
| Targeting | Attacks nearest enemy. | |
| Linking | ||
| Attacks | ||
| Pursuit | ||
Battle
Demon Wall continually advances on the party and its proximity to the back wall is indicated by a gauge to the right of the screen. When it reaches the end of the hall a cutscene shows the wall crushing the party, causing a Game Over.
The first Demon Wall is optional and can be fought later. The second Demon Wall is mandatory, and once the player enters the Hall of the Sentinel it will advance towards the player. Its special attack, Telega, inflicts X-Zone, a status effect that teleports a character to an alternate dimension, which makes the character inaccessible until the player moves to a new area. It also has some powerful spells in its arsenal and can inflict the party with Poison, Sleep, Blind, and Silence.
Several pedestals line the sides of the Hall of the Sentinel. Touching them either slow sdown or speeds up the Demon Wall. The order of the pedestals is the same every time (this is not true in the original Japanese version, in which each pedestal's effect is random on each playthrough). If the Battle Speed is set on high, the party damages the Demon Wall faster, even though it will be moving at the same speed.
Strategy
The most efficient means of bringing down the Demon Wall is the use of Reflect and Aero; after Dark, Aero one of the few early spells to target multiple enemies. Aero, despite a higher MP cost, is also preferable to Dark because the Cherry Staff enhances its damage. Every time Aero is cast, all four party members (including Vossler), will project a missile at the Demon Wall for around 300-600 damage each.
The player can cast Berserk on the heavy-hitters before applying Reflect. With one character covering magick, and another character keeping the Reflect buff active, Vossler and the other attackers can keep hacking away.
Optional Demon Wall
The optional Demon Wall is much stronger and more difficult than the required one.
Because of the short time in store before it crushes the party, combined with the arsenal of status ailments it constantly casts, the party stands little chance of winning when they first encounter it if they have not learned their Quickenings yet.
Quickening chain is the best early-game strategy. However, the above strategy for the non-optional Demon Wall can be used, though it is recommendable to turn the battle mode to Wait to keep spells coming out quickly. Having Ethers and Channeling augments helps.
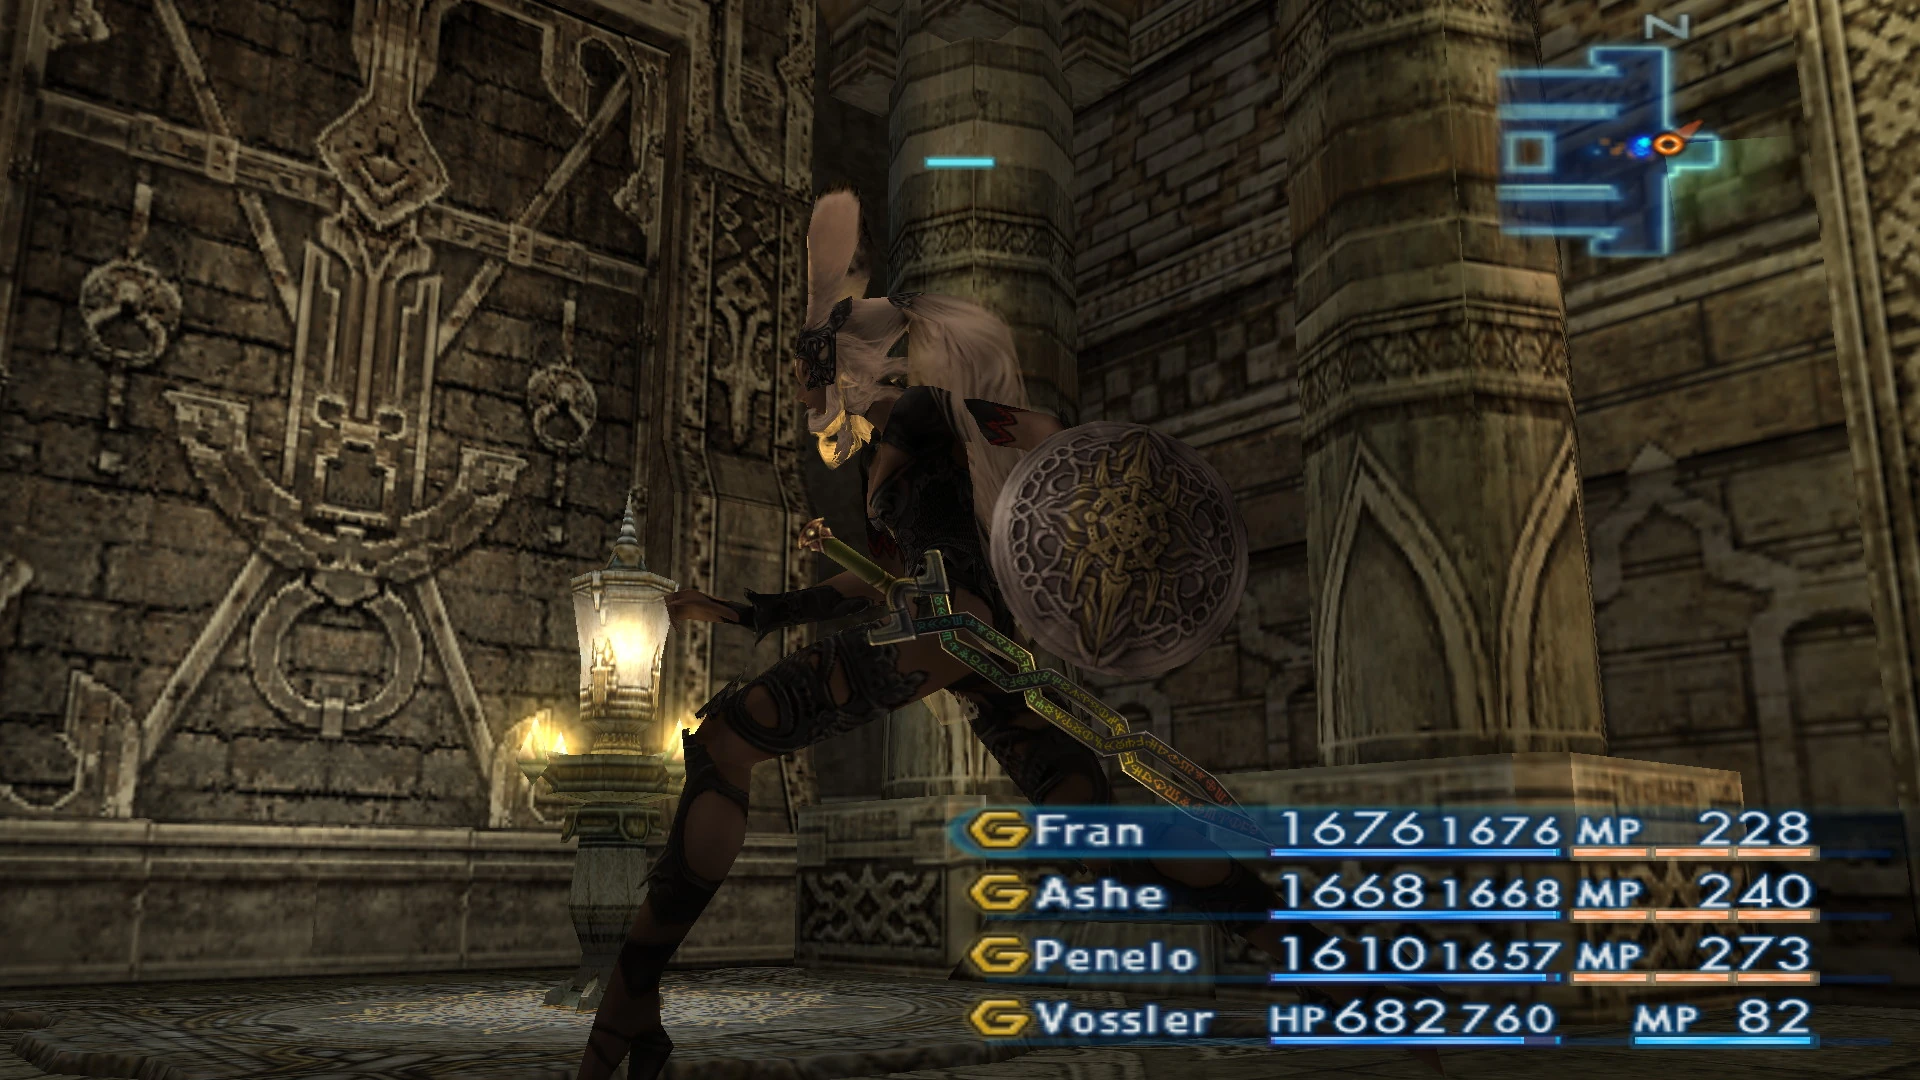
Demonsbane sword

Fran with Demonsbane.
In the original PlayStation 2 version the player can get a Demonsbane sword for defeating the optional Demon Wall.
After having defeated both Demon Walls, the party can touch the azure jewel where the first demon came out to reveal a secret area. The treasure, which sometimes contains the Demonsbane sword, is at the bottom of either stairwell (they both lead to the same place). Because the chances of the sword spawning are slim, it is advised to save the game before entering. If the sword is not in the chest, one can restart and try again.
At this point, it is one of the most powerful weapons, being beaten only by the Burning Bow (rare drop from Dive Talons), Arcturus (Bazaar), Francisca (Bazaar) and Zwill Crossblade (Bazaar), but these four are much harder to obtain before entering the tomb.
The chest has a 70% chance to spawn and if the chest spawns, it has a 27.5% chance to contain Demonsbane. The player cannot equip the Diamond Armlet.
In the Zodiac versions, the chest contains only a Scathe Mote.
Other appearances
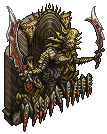
Final Fantasy Record Keeper
Gallery
")
")
")
")
")
")
")