m (→Almanac) |
No edit summary |
||
| (28 intermediate revisions by 3 users not shown) | |||
| Line 1: | Line 1: | ||
| − | {{sideicon|FFXV}} |
+ | {{sideicon|prime=FFXV}} |
| + | {{infobox location |
||
| − | {{Location |
||
|name=Costlemark Tower |
|name=Costlemark Tower |
||
|release=FFXV |
|release=FFXV |
||
| Line 6: | Line 6: | ||
|romaji=Kōsutarumāku Tawā |
|romaji=Kōsutarumāku Tawā |
||
|lit= |
|lit= |
||
| − | |image=FFXV Costlemark Tower.png |
+ | |image=<gallery>FFXV Costlemark Tower.png|Ruins |
| + | Costlemark Tower World Map in FFXV.png|World Map |
||
| + | </gallery> |
||
|type=Dungeon |
|type=Dungeon |
||
|region=[[Duscae]] |
|region=[[Duscae]] |
||
| Line 12: | Line 14: | ||
|residents= |
|residents= |
||
|items= |
|items= |
||
| − | *[[ |
+ | *[[Final Fantasy XV weapons#Radiant Lance|Radiant Lance]] (floor in the second room past the Gelatin; [[:File:Radiant-Lance-Location-Costlemark-FFXV.png|Map]]) |
| − | *[[ |
+ | *[[Final Fantasy XV accessories#Thieves' Way II|Thieves' Way II]] (room with the Ereshkigal, cross the ledge the opposite of the pipe; [[:File:Thieves Way II Costlemark map from FFXV.png|Map]]) |
| − | *[[ |
+ | *[[Final Fantasy XV accessories#The Good Chamberlain|The Good Chamberlain]] (drop down from the Thieves Way II and enter the door on that level; [[:File:The Good Chamberlain Costlemark map from FFXV.png|Map]]) |
| − | *[[ |
+ | *[[Final Fantasy XV items#Hi-Elixir|Hi-Elixir]] |
| + | *[[Oracle Ascension Coin]] (near large gold doors) |
||
| ⚫ | |||
| − | *[[ |
+ | *[[Final Fantasy XV accessories#Platinum Bangle|Platinum Bangle]] ([[:File:Platinum Bangle Costlemark map from FFXV.png|Map]]) |
| − | *[[ |
+ | *[[Final Fantasy XV accessories#Moogle Charm|Moogle Charm]] ([[:File:Moogle Charm Costlemark map from FFXV.png|Map]]) |
| − | *[[ |
+ | *[[Final Fantasy XV items#Mega-Potion|Mega-Potion]] x2 |
| − | *[[ |
+ | *[[Final Fantasy XV items#Mega-Phoenix|Mega-Phoenix]] x2 |
| ⚫ | |||
| + | *[[Final Fantasy XV key items#Emerald Stone|Emerald Stone]] (quest item) |
||
| + | *[[Treasures (Final Fantasy XV)#Mythril Shaft|Mythril Shaft]] |
||
| ⚫ | |||
| ⚫ | |||
| ⚫ | |||
*[[#List of treasures|Costlemark Tower Maze treasures]] |
*[[#List of treasures|Costlemark Tower Maze treasures]] |
||
|enemies=*[[Gelatin (Final Fantasy XV)|Gelatin]] |
|enemies=*[[Gelatin (Final Fantasy XV)|Gelatin]] |
||
| Line 38: | Line 46: | ||
*[[#Retrieving the royal arm|Retrieving the royal arm]] |
*[[#Retrieving the royal arm|Retrieving the royal arm]] |
||
*[[#A Treasure Beyond Measure|A Treasure Beyond Measure]] |
*[[#A Treasure Beyond Measure|A Treasure Beyond Measure]] |
||
| − | *[[#A Menace Sleeps |
+ | *[[#A Menace Sleeps in Costlemark|A Menace Sleeps In Costlemark]] |
}} |
}} |
||
| − | {{ |
+ | {{Quote|The Fallgrove ruins in the southern reaches of Duscae<br/>Were once a single fortress whose stone towers touched the sky<br/>The wisdom of the ancients is within these walls enshrined<br/>Their pillars pierce the heavens, bridging mortal and divine |Monolith}} |
'''Costlemark Tower''' is an [[bonus dungeon|optional dungeon]] in ''[[Final Fantasy XV]]'' located in the Fallgrove in southern [[Lucis]] in [[Duscae]]. The player must defeat the [[boss]] at its end to acquire a [[royal arms (Final Fantasy XV)|royal arm]]. Entry into the [[dungeon]] is required to complete [[Dino Ghiranze|Dino's]] final sidequest, [[Quest (Final Fantasy XV)/Sidequests#A Treasure Beyond Measure|A Treasure Beyond Measure]]. |
'''Costlemark Tower''' is an [[bonus dungeon|optional dungeon]] in ''[[Final Fantasy XV]]'' located in the Fallgrove in southern [[Lucis]] in [[Duscae]]. The player must defeat the [[boss]] at its end to acquire a [[royal arms (Final Fantasy XV)|royal arm]]. Entry into the [[dungeon]] is required to complete [[Dino Ghiranze|Dino's]] final sidequest, [[Quest (Final Fantasy XV)/Sidequests#A Treasure Beyond Measure|A Treasure Beyond Measure]]. |
||
| − | The dungeon's entrance is magically sealed and will only open [[Day and night cycle|at night]]. |
+ | The dungeon's entrance is magically sealed and will only open [[Day and night cycle|at night]]. |
| − | Costlemark Tower is a labyrinth of underground ruins. Although ruins of large structures remain above-ground, they are all but gone in present day |
+ | Costlemark Tower is a labyrinth of underground ruins. Although ruins of large structures remain above-ground, they are all but gone in present day, and what is left is the underground portion. |
[[Warp (Final Fantasy XV)|Warp-striking]] at the area with the moving blocks can be [[List of bugs and glitches|glitchy]]. If the player clips through a wall and there is no platform beneath them, they will fall into the abyss before being teleported outside the dungeon entrance. |
[[Warp (Final Fantasy XV)|Warp-striking]] at the area with the moving blocks can be [[List of bugs and glitches|glitchy]]. If the player clips through a wall and there is no platform beneath them, they will fall into the abyss before being teleported outside the dungeon entrance. |
||
| − | Using the [[Ring of Lucii]] |
+ | Using the [[Ring of Lucii]] (via [[Umbra (Final Fantasy XV)|Umbra]] from Chapter 13 or beyond) makes this dungeon easy, as the player can use [[Death (ability)|Death]] to sap away bussemands and gelatins in an instant, and send the harder [[Daemon (Final Fantasy XV)|daemons]] (yojimbo, red giants, jabberwock etc.) into the void with [[Alterna]]. |
==[[Almanac]]== |
==[[Almanac]]== |
||
| + | [[File:Almanac-Costlemark-Tower-FFXV.png|thumb|left]] |
||
In the above-ground portion of the ruins. |
In the above-ground portion of the ruins. |
||
| Line 61: | Line 70: | ||
==Story== |
==Story== |
||
| − | Costlemark was once part of the [[ancient civilization]] of [[Solheim]], but now lies in ruin along with its arcane technology. A [[Kings of Lucis|king of Lucis]] once led an expedition into the ruins to learn about the ancients' wisdom. Instead of a trove of knowledge, they found a fearsome [[Daemon (Final Fantasy XV)|daemon]], which they believed had been discovered there by Solheimians and sealed up. The men who accompanied the king died at the hands of the beast, and as a final resort, the king sacrificed his own life to cage the monster. |
+ | Costlemark was once part of the [[ancient civilization]] of [[Solheim]], but now lies in ruin along with its arcane technology. Some believe it was a military installation. A [[Kings of Lucis|king of Lucis]] once led an expedition into the ruins to learn about the ancients' wisdom. Instead of a trove of knowledge, they found a fearsome [[Daemon (Final Fantasy XV)|daemon]], which they believed had been discovered there by Solheimians and sealed up. The men who accompanied the king died at the hands of the beast, and as a final resort, the king sacrificed his own life to cage the monster. |
| + | [[File:Sword-of-the-Tall-Obtained-FFXV.png|thumb|left|Noctis obtains the Sword of the Tall.]] |
||
| − | At some point, the Sword of the Tall was stolen from the Tomb of the Tall and ended up in the depths of Costlemark. [[Noctis Lucis Caelum|Prince Noctis]] and his retinue explore the ruins and recover the royal arm, and gain the key to the menace dungeons from [[Ezma Auburnbrie]] after proving their worth. In the sealed dungeon the retinue comes across [[Monoliths (Final Fantasy XV)|monoliths]] left behind the king who had sealed |
+ | At some point, the Sword of the Tall was stolen from the Tomb of the Tall and ended up in the depths of Costlemark. [[Noctis Lucis Caelum|Prince Noctis]] and his retinue explore the ruins and recover the royal arm, and gain the key to the menace dungeons from [[Ezma Auburnbrie]] after proving their worth. In the sealed dungeon the retinue comes across [[Monoliths (Final Fantasy XV)|monoliths]] left behind the king who had sealed it. |
| ⚫ | |||
| + | ==Items== |
||
| + | [[File:Thieves Way II Costlemark map from FFXV.png|thumb|Thieves' Way II map.]] |
||
| ⚫ | |||
| ⚫ | |||
| ⚫ | |||
| + | *[[Final Fantasy XV items#Hi-Elixir|Hi-Elixir]] |
||
| + | *[[Oracle Ascension Coin]] (near large gold doors) |
||
| ⚫ | |||
| ⚫ | |||
| + | *[[Final Fantasy XV items#Mega-Potion|Mega-Potion]] |
||
| + | *[[Final Fantasy XV items#Mega-Phoenix|Mega-Phoenix]] |
||
| + | *[[Final Fantasy XV weapons#Orichalcum|Orichalcum]] (across the beam near the start, top of the spiral; [[:File:Orichalcum Costlemark map from FFXV.png|Map]]) |
||
| + | *[[Final Fantasy XV items#Mega-Potion|Mega-Potion]] |
||
| + | *[[Final Fantasy XV key items#Emerald Stone|Emerald Stone]] (quest item) |
||
| + | *[[Treasures (Final Fantasy XV)#Mythril Shaft|Mythril Shaft]] |
||
| + | *[[Final Fantasy XV weapons#Durandal|Durandal]] ([[:File:Durandal-Costlemark-Map-FFXV.png|Map]]) |
||
| + | *[[Final Fantasy XV accessories#Black Choker|Black Choker]] ([[:File:Black Choker Costlemap map from FFXV.png|Map]]) |
||
| + | *[[Final Fantasy XV items#Mega-Phoenix|Mega-Phoenix]] |
||
| + | *[[Final Fantasy XV weapons#Sword of the Tall|Sword of the Tall]] (boss room) |
||
==Quests== |
==Quests== |
||
===Retrieving the royal arm=== |
===Retrieving the royal arm=== |
||
| − | [[File: |
+ | [[File:Costlemark Tower Symbol from FFXV.png|thumb|Glowing pad.]] |
Costlemark Tower is populated with powerful enemies and the quests associated with the location recommend that the party be at least [[Level]] 55. The dungeon is structured as a mostly linear descent into the underground. As the party approaches the end there is a large chamber dotted with floor panels. Each panel leads to a gauntlet of enemies situated in a randomized maze that will either lead to the end of the dungeon, or a large room underneath the previous chamber where the player will have to fight a [[Red Giant (Final Fantasy XV)|Red Giant]] reinforced by many [[Flan (Final Fantasy XV)|Flans]]; each subsequent visit to this room increases the difficulty of the fight, culminating in three Red Giants and a [[Nagarani]]. |
Costlemark Tower is populated with powerful enemies and the quests associated with the location recommend that the party be at least [[Level]] 55. The dungeon is structured as a mostly linear descent into the underground. As the party approaches the end there is a large chamber dotted with floor panels. Each panel leads to a gauntlet of enemies situated in a randomized maze that will either lead to the end of the dungeon, or a large room underneath the previous chamber where the player will have to fight a [[Red Giant (Final Fantasy XV)|Red Giant]] reinforced by many [[Flan (Final Fantasy XV)|Flans]]; each subsequent visit to this room increases the difficulty of the fight, culminating in three Red Giants and a [[Nagarani]]. |
||
| Line 74: | Line 104: | ||
Once the player drops down there by either method, they must go through the maze until they get to an intersection where they can either go right or straight. Going straight leads to the dungeon's final boss. |
Once the player drops down there by either method, they must go through the maze until they get to an intersection where they can either go right or straight. Going straight leads to the dungeon's final boss. |
||
| + | [https://imgur.com/a/fi3TUQI/ Map of the correct route from the ''Ultimania''.] |
||
| ⚫ | |||
| + | [[File:Costlemark maze mark on the floor from FFXV.png|thumb|left|Circle on the floor shows the right way.]] |
||
| ⚫ | |||
| ⚫ | |||
| ⚫ | |||
| − | ;Treasure list |
||
| ⚫ | |||
| ⚫ | |||
| ⚫ | |||
| ⚫ | |||
| ⚫ | |||
| − | *[[List of Final Fantasy XV accessories#Moogle Charm|Moogle Charm]] (a room with a Lightning draw point, the 2nd one) |
||
| ⚫ | |||
| ⚫ | |||
| ⚫ | |||
| ⚫ | |||
| ⚫ | |||
===A Treasure Beyond Measure=== |
===A Treasure Beyond Measure=== |
||
| + | [[File:Treasure Beyond Measure found from FFXV.png|thumb|Noctis finds the emerald.]] |
||
| − | Dino sends the party to acquire ore at Costlemark Tower as his final request. The quest becomes available after completing "No Gain, No Gem". Dino asks for an Emerald Stone, which is found deep at Costlemark Tower. Completing the quest yields 3,000 EXP and an [[ |
+ | Dino sends the party to acquire ore at Costlemark Tower as his final request. The quest becomes available after completing "No Gain, No Gem". Dino asks for an Emerald Stone, which is found deep at Costlemark Tower. Completing the quest yields 3,000 EXP and an [[Final Fantasy XV accessories#Emerald Bracelet|Emerald Bracelet]]. |
| + | {{clear}} |
||
| − | ===A Menace Sleeps |
+ | ===A Menace Sleeps in Costlemark=== |
| + | {{See|Menace Beneath Lucis|Monoliths (Final Fantasy XV)|t2=Monoliths}} |
||
| − | This optional sidequest, with a recommended level of 99, is one of eight quests given to the party by Ezma in Chapter 15. To start the quest one must complete the |
+ | This optional sidequest, with a recommended level of 99, is one of eight quests given to the party by [[Ezma Auburnbrie]] in Chapter 15. To start the quest one must complete the following optional dungeons: Costlemark Tower, [[Crestholm Channels]], [[Balouve Mines]], and the [[Daurell Caverns]]. |
| − | When the prerequisites are met, the sidequest will appear at the [[Meldacio Hunter HQ]] southeast of the [[Vesperpool]]. |
+ | When the prerequisites are met, the sidequest will appear at the [[Meldacio Hunter HQ]] southeast of the [[Vesperpool]]. Ezma will hand over the Sealbreaker's Key which will grant access to the mysterious large doors found in the lowest sections of the dungeons. To begin the quest A Menace Sleeps in Costlemark, the party must enter Costlemark Tower and return to its lowest level, where a sealed door awaits. |
[[File:FFXV Costlemark Tower Sealed Door.png|thumb|180px|left|The sealed door located in the base of Costlemark Tower.]] |
[[File:FFXV Costlemark Tower Sealed Door.png|thumb|180px|left|The sealed door located in the base of Costlemark Tower.]] |
||
| − | Upon entering the sealed door, the party's map and the item menu will both become inactive for as long as they're inside. Similar to the other sealed dungeons, the party will follow a linear path battling room after room of progressively stronger foes with a reward present in the center of each chamber. Battles within the sealed door cannot be fled. |
+ | Upon entering the sealed door, the party's map and the item menu will both become inactive for as long as they're inside. Similar to the other sealed dungeons, the party will follow a linear path battling room after room of progressively stronger foes with a reward present in the center of each chamber. Battles within the sealed door cannot be fled. [[Camp|Havens]] are scattered about the journey where the player can replenish HP and [[Recipe (Final Fantasy XV)|cook]]. |
| + | The dungeon has various good accessories to pick up, though some of them spawn randomly: [[Blue Diamond Bracelet]] (Strength +80), [[Black Choker (Final Fantasy XV)|Black Choker]] (HP Recovery Rate +6%), [[Onion Bangle]] (HP +2500), [[Hypno Crown (Final Fantasy XV)|Hypno Crown]] (Magic +300), [[Soul of Thamasa (Final Fantasy XV)|Soul of Thamasa]] (MP +50), [[Applied Sorcery]] (Noctis automatically uses ethers), [[Celestriad (Final Fantasy XV)|Celestriad]] (elemental resistance), and [[Tarot Card (Final Fantasy XV)|Tarot Card]] (Spirit +150). As Noctis approaches the item in the final room, the [[Bilröst]] will attack. Defeating the boss completes the quest and Noctis will be able to collect the [[Final Fantasy XV accessories#Dark Matter Bracelet|Dark Matter Bracelet]] (Strength +100). |
||
| − | In the final room, a treasure awaits in its center. As Noctis approaches the item, the [[Bilröst]] will attack. After defeating the boss, the quest will end and Noctis will be able to collect the Dark Matter Bracelet. |
||
====Strategy==== |
====Strategy==== |
||
| − | Costlemark's Menace Dungeon is the second longest dungeon and easily the hardest. No items can be used once through the sealed door, and thus if |
+ | Costlemark's Menace Dungeon is the second longest dungeon and easily the hardest. No items can be used once through the sealed door, and thus if the player character's health falls to 0 and the party can't [[Rescue (Final Fantasy XV)|help him]] out of [[Final Fantasy XV statuses#Danger|Danger]], the player will have to start again from the last haven. |
| − | The party should be level 90+ before attempting, and could benefit from a more defensive build. The accessories [[ |
+ | The party should be level 90+ before attempting, and could benefit from a more defensive build. The accessories [[Final Fantasy XV accessories#Magitek Suit V2|Magitek Suit V2]], [[Final Fantasy XV accessories#Black Hood|Black Hood]] and [[Final Fantasy XV accessories#Anklet of the Gods|Anklet of the Gods]] are good choices. [[Final Fantasy XV accessories#The Grand Chamberlain|''The Grand Chamberlain'']] for Ignis can be useful also, but isn't reliable. Most enemies in the dungeon are weak to daggers and greatswords, but the "boss" enemies are weak to swords, so the [[Final Fantasy XV weapons#Zwill Crossblade|Zwill Crossblades]] are great, and the [[Final Fantasy XV weapons#Ultima Blade|Ultima Blade]] or [[Final Fantasy XV weapons#Balmung|Balmung]] can help when parrying. The Vortex weapons from [[Adventurer from Another World]] are also good for their innate critical hits and high stats. |
Some other precautions can be taken before entering: |
Some other precautions can be taken before entering: |
||
| − | *It is best to stock up on magic with healcast, and enter the dungeon with full elements and healcast items for [[ |
+ | *It is best to stock up on magic with healcast, and enter the dungeon with full elements and healcast items for [[Elemancy]]. |
| − | *Bringing [[ingredients]] for [[Recipe (Final Fantasy XV)|recipes]] with the best buffs—[[Recipe (Final Fantasy XV)#Legendary Herb-Grilled Whopper|Legendary Herb-Grilled Whopper]] is useful early on but when magic becomes vital—[[Recipe (Final Fantasy XV)#King's Stew|King's Stew]] and [[Recipe (Final Fantasy XV)#Kenny's Secret Recipe|Kenny's Secret Recipe]] are among the best. |
+ | *Bringing [[ingredients]] for [[Recipe (Final Fantasy XV)|recipes]] with the best buffs—[[Recipe (Final Fantasy XV)#Legendary Herb-Grilled Whopper|Legendary Herb-Grilled Whopper]] is useful early on, but when magic becomes vital—[[Recipe (Final Fantasy XV)#King's Stew|King's Stew]] and [[Recipe (Final Fantasy XV)#Kenny's Secret Recipe|Kenny's Secret Recipe]] are among the best. |
| − | *Recovery skills learned in [[Ascension (Final Fantasy XV)|Ascension]] keep the party alive longer. A lot of the harder battles |
+ | *Recovery skills learned in [[Ascension (Final Fantasy XV)|Ascension]] keep the party alive longer. A lot of the harder battles can result in only the player character being left alive. |
| + | *[[Armiger]] is powerful and recharges fast amid all the battles so the player can unleash it often. Noctis can't fall into Danger state during normal Armiger. |
||
| + | |||
| + | The player can use the [[Ring of the Lucii]] and the [[Magitek Exosuit]] to clear the dungeon. |
||
====List of floors==== |
====List of floors==== |
||
| Line 145: | Line 173: | ||
==Gallery== |
==Gallery== |
||
<gallery> |
<gallery> |
||
| + | Costlemark Tower daytime from FFXV.png|Daytime. |
||
| + | Costlemark-Tower-Night-FFXV.png|Nighttime. |
||
| + | Costlemark Tower from FFXV.png|Dusk |
||
Costlemark-Entrance-FFXV.png|The entrance is only open at night. |
Costlemark-Entrance-FFXV.png|The entrance is only open at night. |
||
| − | Costlemark |
+ | Costlemark Tower light ray door from FFXV.png |
| + | Costlemark Tower boss room mechanism from FFXV.png|Boss room. |
||
| + | Jabberwock Costlemark boss room from FFXV.png|Boss room. |
||
| + | Costlemark Tower boss room warp pad from FFXV.png|Boss room warp pad. |
||
| + | Noctis-Goblins-Artwork-FFXV.png|Concept art. |
||
</gallery> |
</gallery> |
||
| + | |||
| ⚫ | |||
| + | ==Trivia== |
||
| ⚫ | |||
| + | *Costlemark Tower and Steyliff Grove are made of the same interior assets with the same red "runes" on their mechanisms, light ray designs on doors and glowing warp pads. Whereas Steyliff has an apparently magical underwater boss room, Costlemark has a boss room with a mystical device. |
||
| + | {{navbox setting FFXV}} |
||
| + | |||
| + | [[ru:Башня Кослмарка]] |
||
| ⚫ | |||
[[Category:Ruins]] |
[[Category:Ruins]] |
||
Revision as of 23:43, 18 January 2020
Template:Sideicon
The Fallgrove ruins in the southern reaches of Duscae
Were once a single fortress whose stone towers touched the sky
The wisdom of the ancients is within these walls enshrined
Their pillars pierce the heavens, bridging mortal and divineMonolith
Costlemark Tower is an optional dungeon in Final Fantasy XV located in the Fallgrove in southern Lucis in Duscae. The player must defeat the boss at its end to acquire a royal arm. Entry into the dungeon is required to complete Dino's final sidequest, A Treasure Beyond Measure.
The dungeon's entrance is magically sealed and will only open at night.
Costlemark Tower is a labyrinth of underground ruins. Although ruins of large structures remain above-ground, they are all but gone in present day, and what is left is the underground portion.
Warp-striking at the area with the moving blocks can be glitchy. If the player clips through a wall and there is no platform beneath them, they will fall into the abyss before being teleported outside the dungeon entrance.
Using the Ring of Lucii (via Umbra from Chapter 13 or beyond) makes this dungeon easy, as the player can use Death to sap away bussemands and gelatins in an instant, and send the harder daemons (yojimbo, red giants, jabberwock etc.) into the void with Alterna.
Almanac

In the above-ground portion of the ruins.
- Enormous tower constructed millennia ago by the ancient civilization of Solheim. Built from sturdy stone and special metallic material, the structure weathered the catastrophic War of the Astrals and still stands to this day none the worse for wear.
- During the peak of Solheim's prosperity, its sphere of influence extended across all the lands of Eos with Duscae and Cleigne at its center. Scholars suspect Costlemark Tower helped solidify the nation's hold on the continent, possibly serving as a military base of operations.
- The outer walls of the tower glow red when night descends upon the Fallgrove, and the entrance to the structure is revealed. Intrepid adventurers have attempted several expeditions inside, but nearly all were driven away by the hordes of daemons dwelling within. Instead, most groups simply resign themselves to exploring the other ruins around the area.
Story
Costlemark was once part of the ancient civilization of Solheim, but now lies in ruin along with its arcane technology. Some believe it was a military installation. A king of Lucis once led an expedition into the ruins to learn about the ancients' wisdom. Instead of a trove of knowledge, they found a fearsome daemon, which they believed had been discovered there by Solheimians and sealed up. The men who accompanied the king died at the hands of the beast, and as a final resort, the king sacrificed his own life to cage the monster.

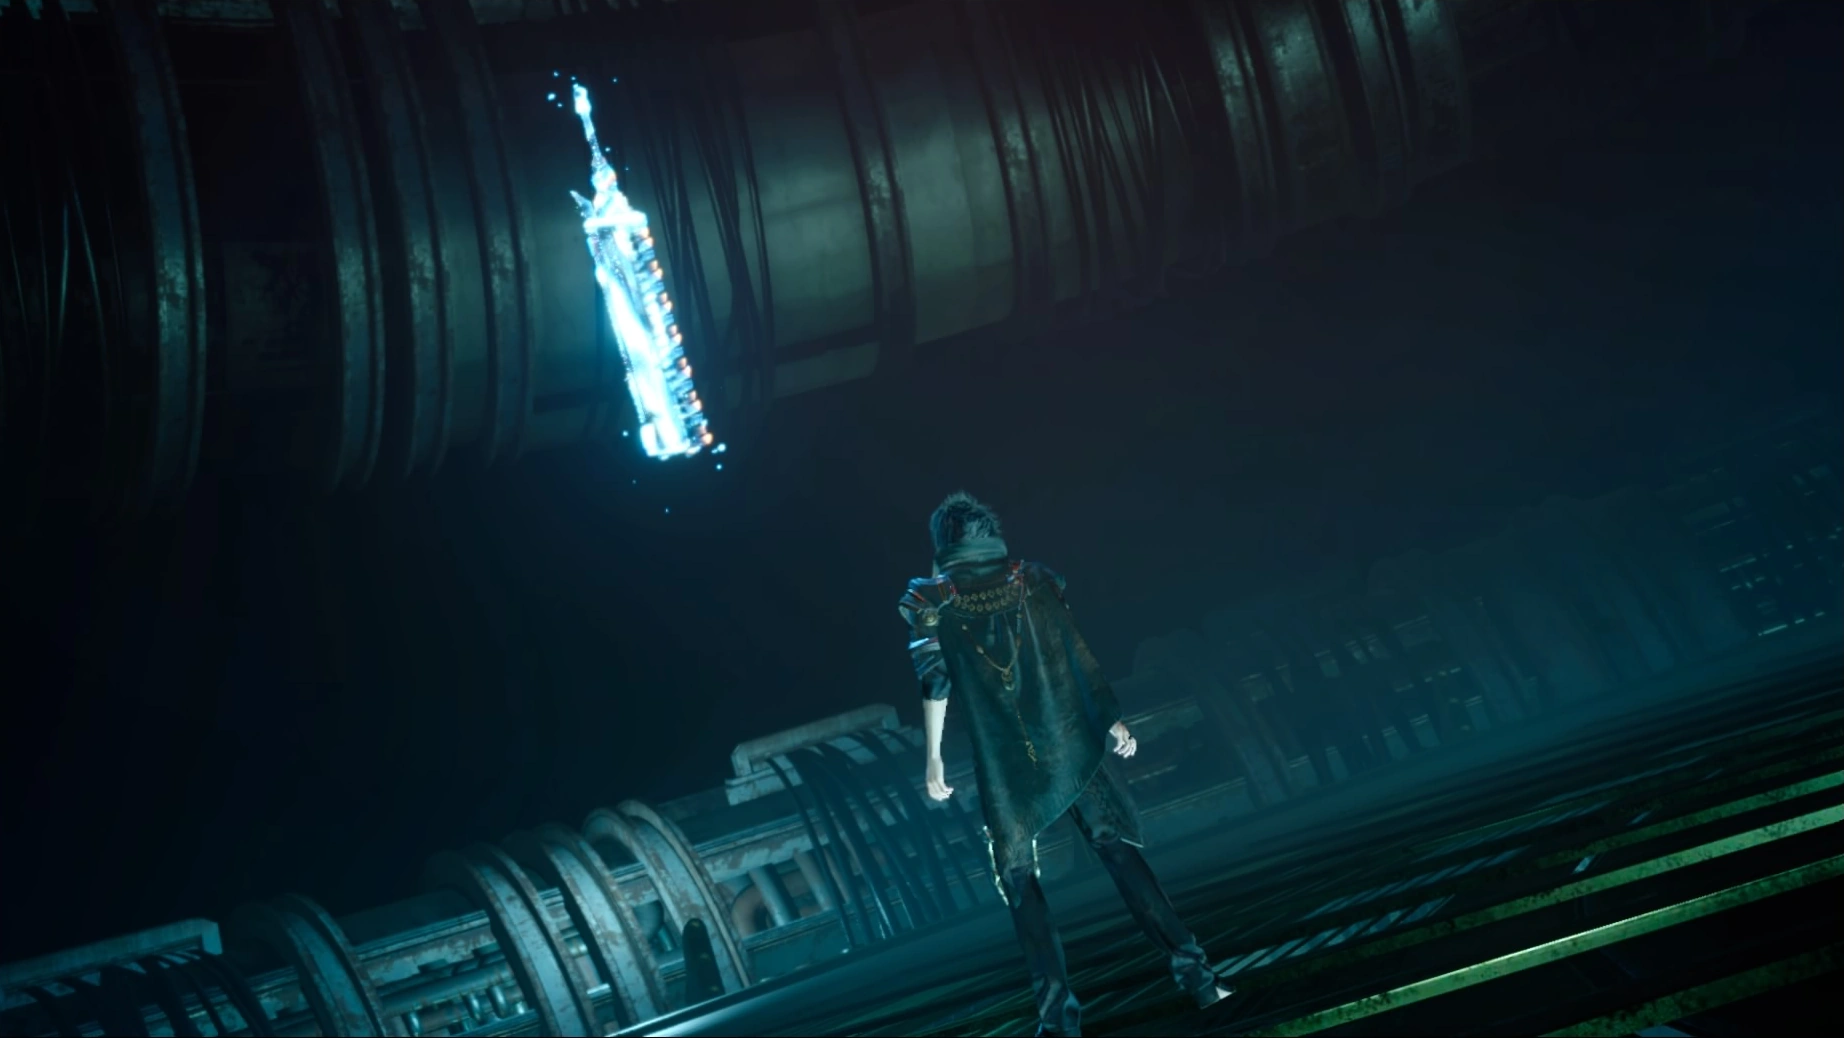
Noctis obtains the Sword of the Tall.
At some point, the Sword of the Tall was stolen from the Tomb of the Tall and ended up in the depths of Costlemark. Prince Noctis and his retinue explore the ruins and recover the royal arm, and gain the key to the menace dungeons from Ezma Auburnbrie after proving their worth. In the sealed dungeon the retinue comes across monoliths left behind the king who had sealed it.
Items

Thieves' Way II map.
- Radiant Lance (floor in the second room past the Gelatin; Map)
- Thieves' Way II (room with the Ereshkigal, cross the ledge the opposite of the pipe)
- The Good Chamberlain (drop down from the Thieves Way II and enter the door on that level; Map)
- Hi-Elixir
- Oracle Ascension Coin (near large gold doors)
- Platinum Bangle (Map)
- Moogle Charm (Map)
- Mega-Potion
- Mega-Phoenix
- Orichalcum (across the beam near the start, top of the spiral; Map)
- Mega-Potion
- Emerald Stone (quest item)
- Mythril Shaft
- Durandal (Map)
- Black Choker (Map)
- Mega-Phoenix
- Sword of the Tall (boss room)
Quests
Retrieving the royal arm
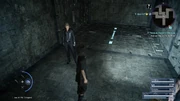
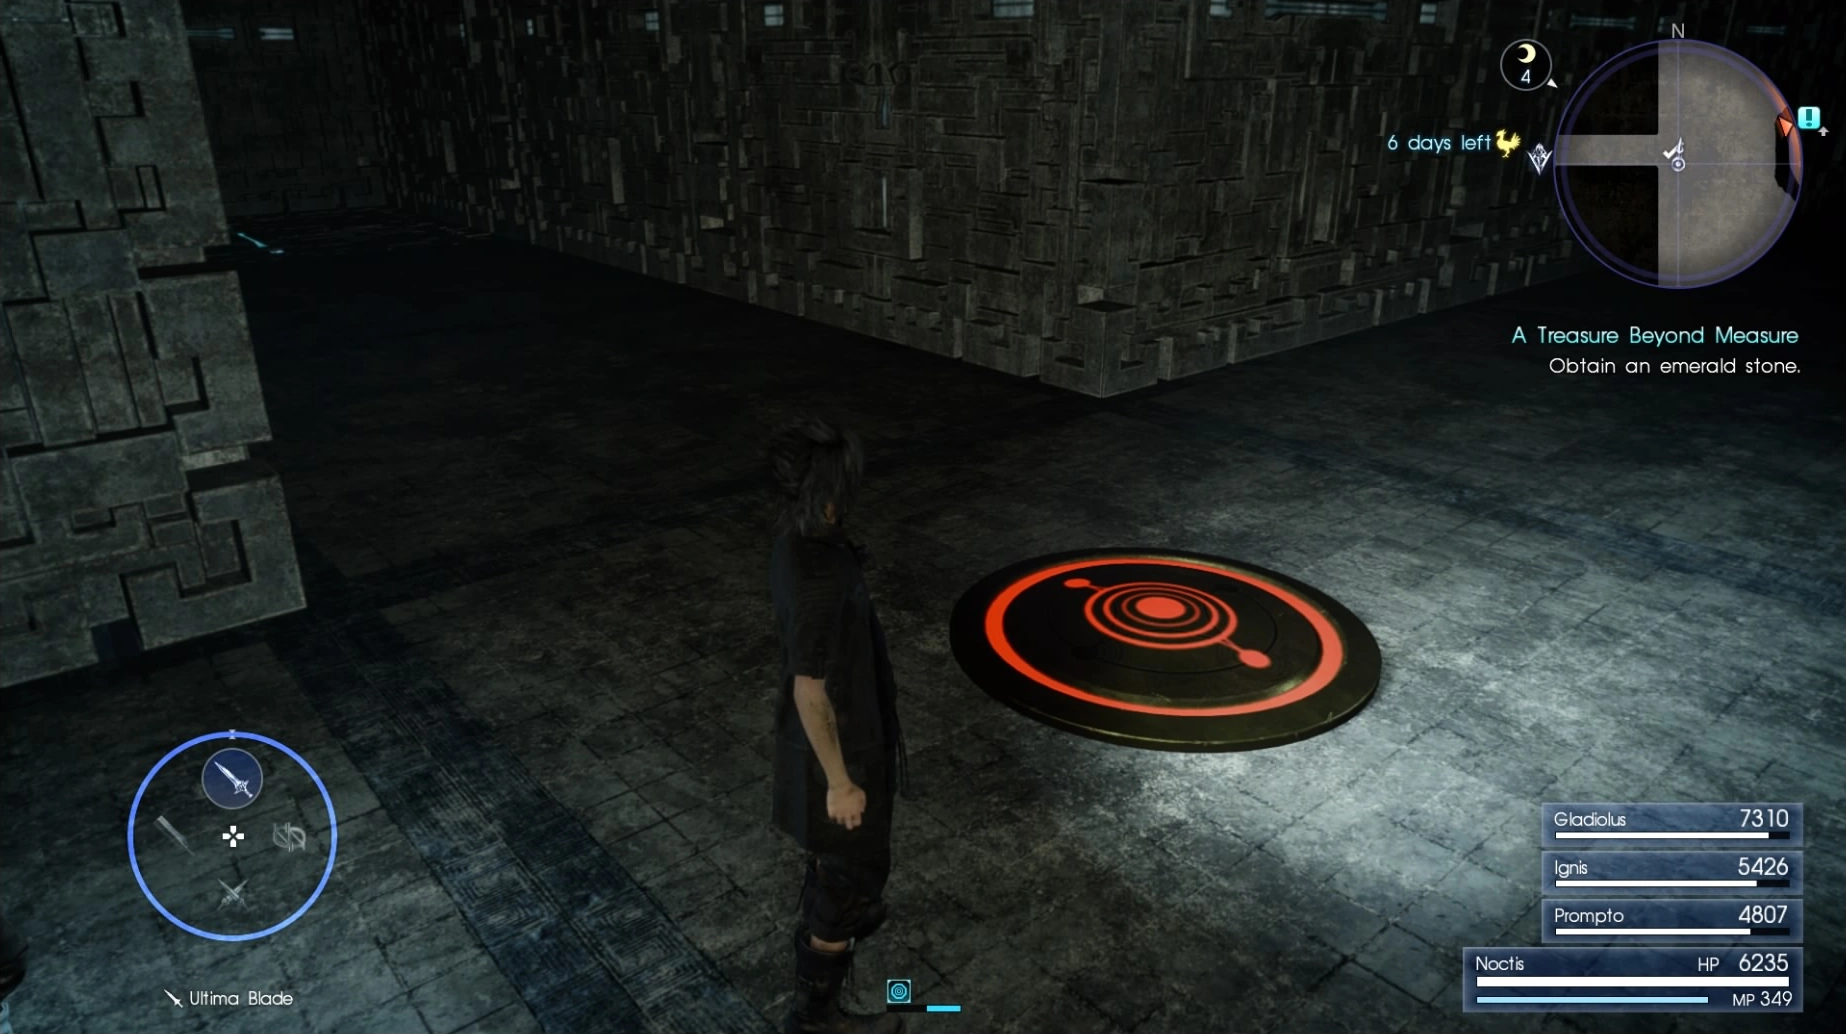
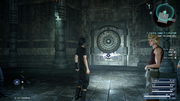
Glowing pad.
Costlemark Tower is populated with powerful enemies and the quests associated with the location recommend that the party be at least Level 55. The dungeon is structured as a mostly linear descent into the underground. As the party approaches the end there is a large chamber dotted with floor panels. Each panel leads to a gauntlet of enemies situated in a randomized maze that will either lead to the end of the dungeon, or a large room underneath the previous chamber where the player will have to fight a Red Giant reinforced by many Flans; each subsequent visit to this room increases the difficulty of the fight, culminating in three Red Giants and a Nagarani.
The southwest panel is the key to the path, but it will only activate after anywhere from one to three of the other panels are used first (determined randomly upon entering Costlemark Tower). There is a partial way to circumvent this: whereas the northeast and southeast panels lead only to the aforementioned large room, the northwest panel leads in two directions—toward the large room, yet again, or a side path that leads straight to the path underneath the southwest panel.
Once the player drops down there by either method, they must go through the maze until they get to an intersection where they can either go right or straight. Going straight leads to the dungeon's final boss.
Map of the correct route from the Ultimania.
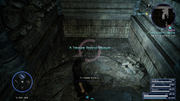
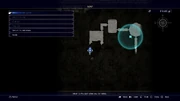
Circle on the floor shows the right way.
There is a clue as to which way to go: once the player gets to the multiple pathways part, they can look for a circle on the ground in front of one of the paths; the one that has the symbol is always the correct one.
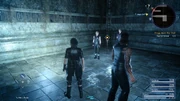
An elevator takes the party to the end of the dungeon, where they fight the Jabberwock that, upon its defeat, will drop the Sword of the Tall.
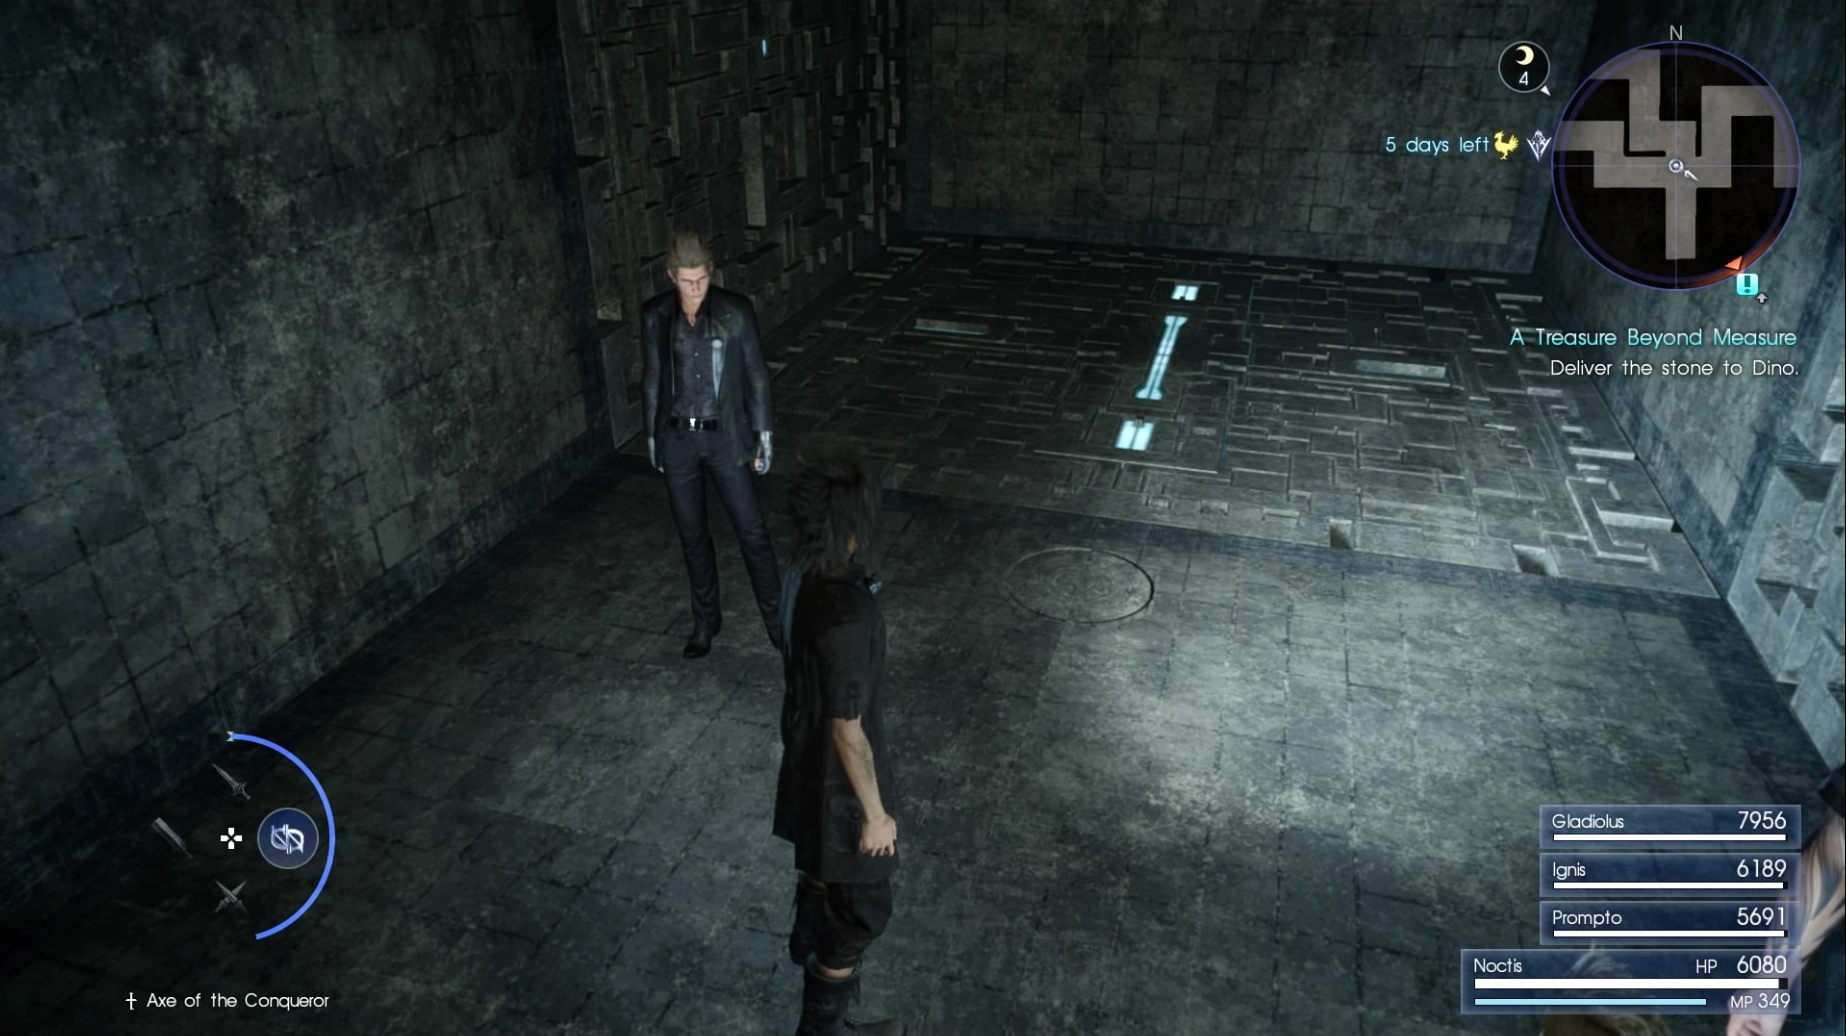
A Treasure Beyond Measure

Noctis finds the emerald.
Dino sends the party to acquire ore at Costlemark Tower as his final request. The quest becomes available after completing "No Gain, No Gem". Dino asks for an Emerald Stone, which is found deep at Costlemark Tower. Completing the quest yields 3,000 EXP and an Emerald Bracelet.
A Menace Sleeps in Costlemark
This optional sidequest, with a recommended level of 99, is one of eight quests given to the party by Ezma Auburnbrie in Chapter 15. To start the quest one must complete the following optional dungeons: Costlemark Tower, Crestholm Channels, Balouve Mines, and the Daurell Caverns.
When the prerequisites are met, the sidequest will appear at the Meldacio Hunter HQ southeast of the Vesperpool. Ezma will hand over the Sealbreaker's Key which will grant access to the mysterious large doors found in the lowest sections of the dungeons. To begin the quest A Menace Sleeps in Costlemark, the party must enter Costlemark Tower and return to its lowest level, where a sealed door awaits.

The sealed door located in the base of Costlemark Tower.
Upon entering the sealed door, the party's map and the item menu will both become inactive for as long as they're inside. Similar to the other sealed dungeons, the party will follow a linear path battling room after room of progressively stronger foes with a reward present in the center of each chamber. Battles within the sealed door cannot be fled. Havens are scattered about the journey where the player can replenish HP and cook.
The dungeon has various good accessories to pick up, though some of them spawn randomly: Blue Diamond Bracelet (Strength +80), Black Choker (HP Recovery Rate +6%), Onion Bangle (HP +2500), Hypno Crown (Magic +300), Soul of Thamasa (MP +50), Applied Sorcery (Noctis automatically uses ethers), Celestriad (elemental resistance), and Tarot Card (Spirit +150). As Noctis approaches the item in the final room, the Bilröst will attack. Defeating the boss completes the quest and Noctis will be able to collect the Dark Matter Bracelet (Strength +100).
Strategy
Costlemark's Menace Dungeon is the second longest dungeon and easily the hardest. No items can be used once through the sealed door, and thus if the player character's health falls to 0 and the party can't help him out of Danger, the player will have to start again from the last haven.
The party should be level 90+ before attempting, and could benefit from a more defensive build. The accessories Magitek Suit V2, Black Hood and Anklet of the Gods are good choices. The Grand Chamberlain for Ignis can be useful also, but isn't reliable. Most enemies in the dungeon are weak to daggers and greatswords, but the "boss" enemies are weak to swords, so the Zwill Crossblades are great, and the Ultima Blade or Balmung can help when parrying. The Vortex weapons from Adventurer from Another World are also good for their innate critical hits and high stats.
Some other precautions can be taken before entering:
- It is best to stock up on magic with healcast, and enter the dungeon with full elements and healcast items for Elemancy.
- Bringing ingredients for recipes with the best buffs—Legendary Herb-Grilled Whopper is useful early on, but when magic becomes vital—King's Stew and Kenny's Secret Recipe are among the best.
- Recovery skills learned in Ascension keep the party alive longer. A lot of the harder battles can result in only the player character being left alive.
- Armiger is powerful and recharges fast amid all the battles so the player can unleash it often. Noctis can't fall into Danger state during normal Armiger.
The player can use the Ring of the Lucii and the Magitek Exosuit to clear the dungeon.
List of floors
Enemies
- Gelatin
- Galvanade
- Thunder Bomb
- Ereshkigal
- Bussemand
- Yojimbo
- Red Giant
- Flan
- Nagarani
- Garchimacera
- Jabberwock (boss)
- Havocfang
- Hobgoblin
- Mindflayer
- Malboro
- Iron Giant
- Jormungang
- Goblin
- Braindrainer
- Elder Coeurl
- Uttu
- Serpentess
- Bilröst (Menace boss)
Gallery
")
")
")
")
")
")
")
")
")
Trivia
- Costlemark Tower and Steyliff Grove are made of the same interior assets with the same red "runes" on their mechanisms, light ray designs on doors and glowing warp pads. Whereas Steyliff has an apparently magical underwater boss room, Costlemark has a boss room with a mystical device.