A relic from the Sector 6 plate crash that occurred during Midgar's construction, this road is a shortcut that connects the Sector 5 slums to Sector 7's. The mountains of debris were never removed from the site, and the area has since become a den for both monster and marauder alike.
Loading screen description
The Collapsed Expressway is a field map in Final Fantasy VII Remake, located in the east portion of Sector 6 Slums. The area is a dungeon that is first visited by a party of Cloud Strife and Aerith Gainsborough, and later by a party of Cloud, Barret Wallace, and Tifa Lockhart.
The Collapsed Expressway is first seen in the quest "Take the Shortcut" in Chapter 8, "Budding Bodyguard", as Aerith takes Cloud through it to bypass Wall Market on their way to the Sector 7 Slums. Later, it is revisited in the same chapter for sidequests, and again in Chapter 13, "A Broken World", as Cloud, Barret, and Tifa travel back to the Sector 5 Slums. In Chapter 14, "In Search of Hope", several sidequests take place within the dungeon.
Layout[]
The Collapsed Expressway is located in the east portion of the Sector 6 Slums map. It is reached either through the Former Plate Interior - Utility Access in the north (connected to the S6-5 Road), or from Evergreen Park in the south.
From the map, the Collapsed Expressway's main areas are listed under Sector 6 Slums, while some are listed under the Collapsed Expressway - Lower Level.
Caved-In Tunnel[]

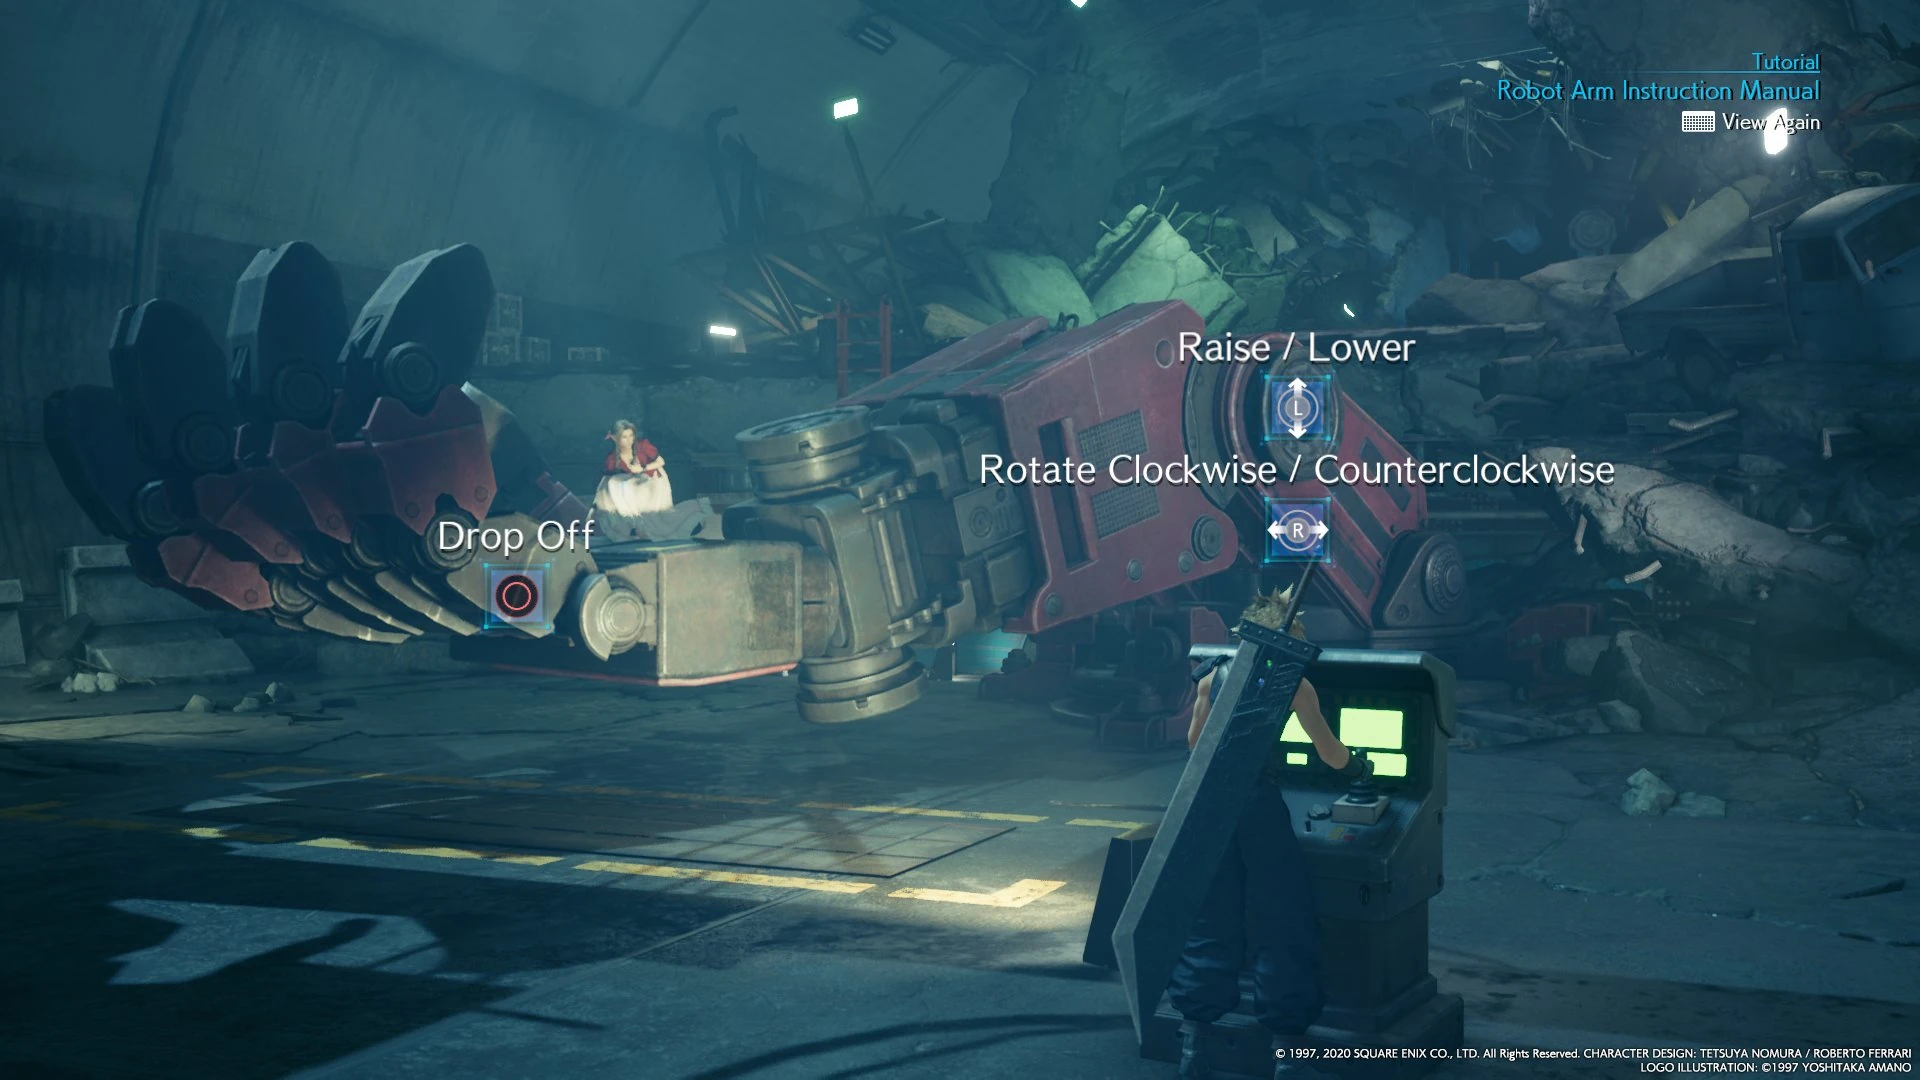
Robot Arm Worksite minigame.
The north end of the expressway, entered through a gap in rubble from the Former Plate Interior - Utility Access (and thus the S6-5 Road). Terpsicolts and lesser drakes are fought here during chapter 9, and in chapter 13 and 14, gorgers are fought. At the north end in chapter 14, one of the stashes for "Corneo's Secret Stash" is obtained.
At the end of the Caved-In Tunnel is a ladder down to the first Robot Arm Worksite on the lower level. In "Beyond the Ladder", after using the robot arm to move Aerith to the higher ledge, a ladder is created leading up to the Machinery Graveyard.
Machinery Graveyard[]
The Machinery Graveyard is located across the gap from the Caved-In Tunnel. At the start, on initial visit during "Take the Shortcut" in chapter 9, a Sweeper Prototype is fought here.
The area forks into two paths: a path right leading south through the rest of the graveyard with a ladder down to the Path Through Fissure on the lower level that leads to the rest of the Machinery Graveyard, and a path left leading east to the Old Bypass. On the initial visit during "Take the Shortcut" in chapter 9, the ladder down to Path Through Fissure is accessible, though on revisiting during chapter 13 and later, the path to the Old Bypass is used instead.
Path Through Fissure comprises a few narrow paths through rubble, with ladders leading back up to the Machinery Graveyard's south portion, its larger area. Further down the path, more terpsicolts are fought, and a short ramp down to a tunnel leads to a treasure chest with 1,000 gil. Ruins of smoggers can be found, but they are initially inactive until running down through the tunnel to obtain the treasure.
Near the end of this south segment is a fork: the ramp up leads to a path with a robot arm control port and a tunnel down leads to another Path Through Fissure portion, initially a dead end with a treasure chest containing a mega-potion, though a path is created across to the Large Cave-In after the robot arm has been moved. During the robot arm minigame in "Working Together", ![]() Binding Materia can be obtained by positioning Aerith on the ledge before having her move the ladder.
Binding Materia can be obtained by positioning Aerith on the ledge before having her move the ladder.
Old Bypass[]
Reached from the Machinery Graveyard's left path (east on the map), first in "Checking on Friends" during chapter 13, and later throughout chapter 14. A chest near the entry conaints a mega-potion. Further inside, ringmaws, varghidpolises, and terpsicolts are fought on the path. Near the south end, a Sweeper Prototype and a smogger are fought, and a ladder leads down to Bandits' Den.
During chapter 14, the south end of the Old Bypass has a chocobo for "Chocobo Search".
Large Cave-In[]
Reached from the Machinery Graveyard and Path Through Fissure's south path during "Beyond the Dead End", and leading to the Thugs' Lair. The Large Cave-In is a short route that leads to a dead-end with a bench and vending machine (which sells ![]() Cosmo Canyon disc) and a ladder down to the Thugs' Lair. After reaching the bench and returning, lesser drakes are fought.
Cosmo Canyon disc) and a ladder down to the Thugs' Lair. After reaching the bench and returning, lesser drakes are fought.
Thugs' Lair[]
Located in the Lower Level and reached through a ladder from the Large Cave-In during "Beyond the Dead End", the Thugs' Lair is a series of narrow paths through rubble. Aside from Beck, Burke, and Butch fought during the quest, no enemies are encountered.
Bandits' Den[]
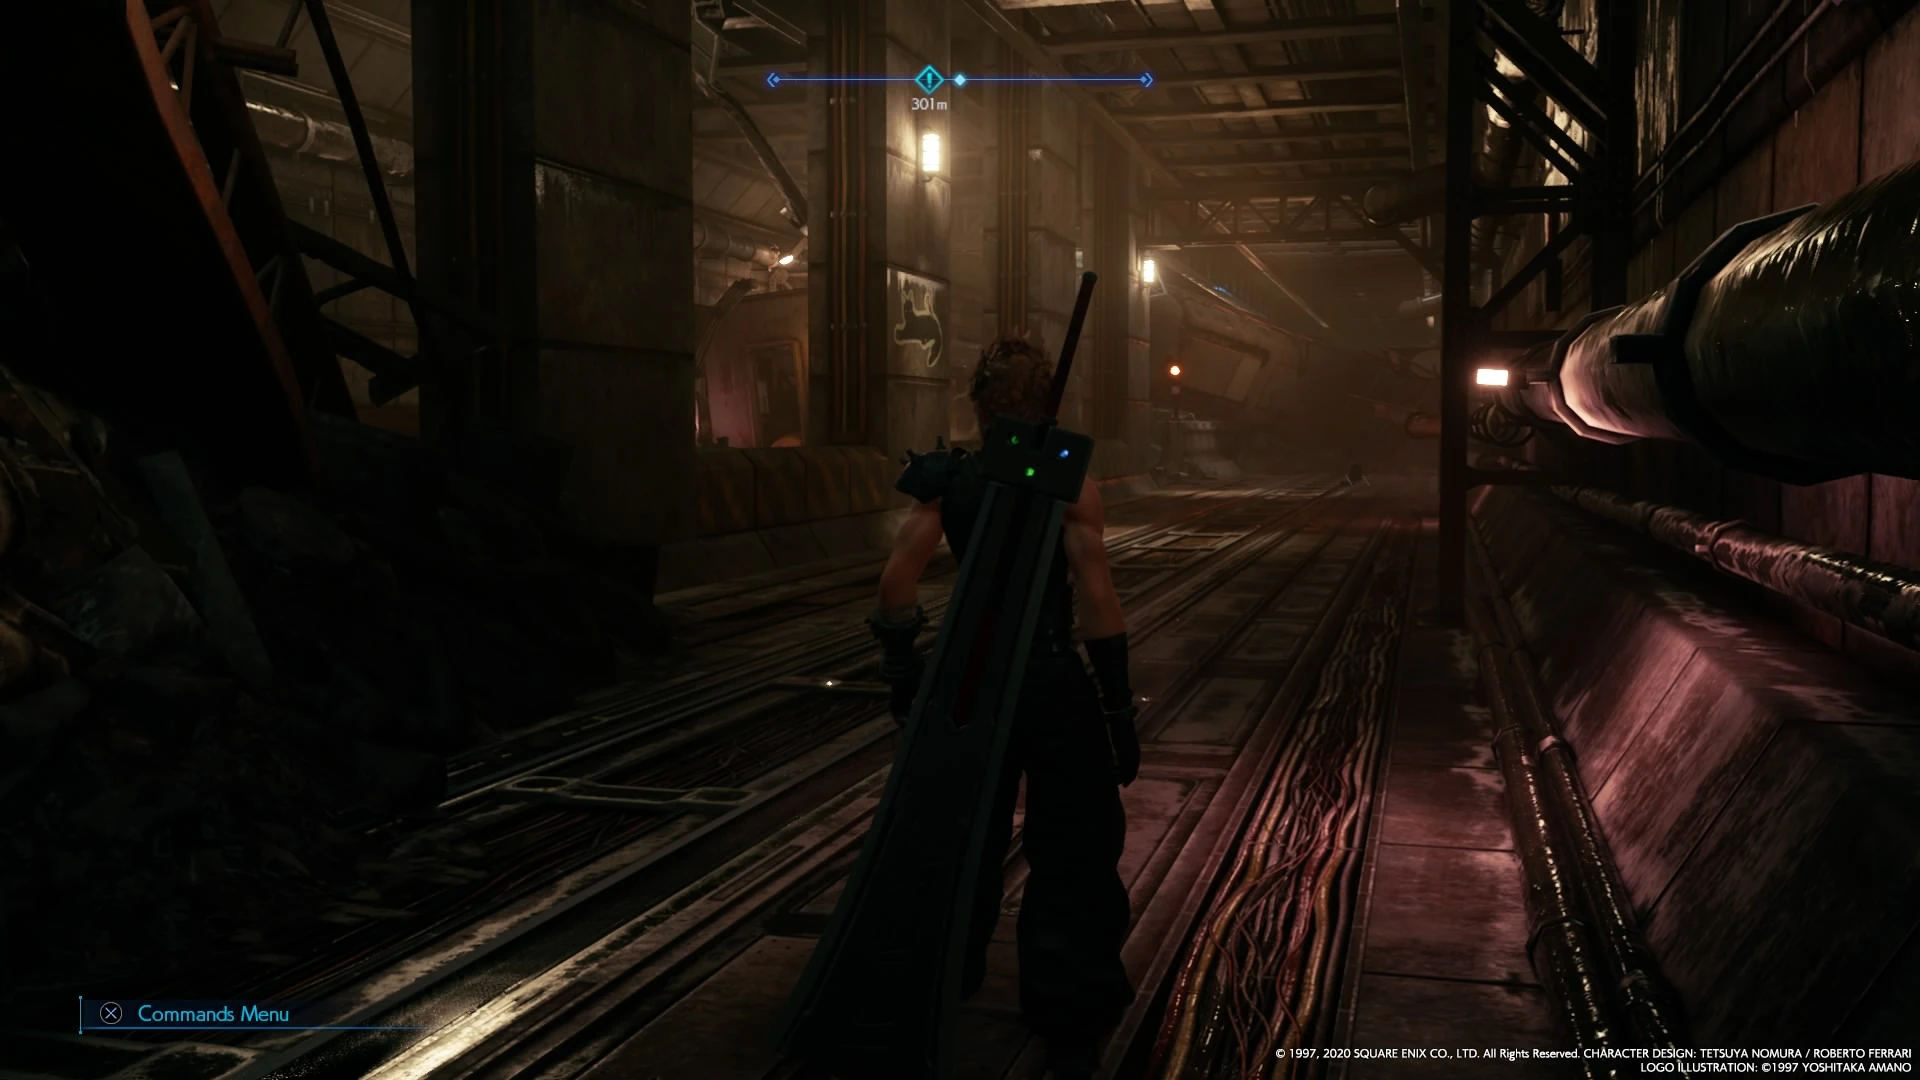
Located in the Lower Level, and leading to the Utility Tunnel, the Bandits' Den is first visited in "Checking on Friends" during chapter 13. It comprises an area through an abandoned railway resembling Corkscrew Tunnel, covered in graffiti by bandits.
A corridor from the start leading left leads to a chest with a heavy-duty bracer ![]() . Further down the path, bandits are fought, and on any visit after chapter 8, Beck's Badasses are fought again along with the Grungy Bandit. At the south end of the path, a chest contains an orb of gravity.
. Further down the path, bandits are fought, and on any visit after chapter 8, Beck's Badasses are fought again along with the Grungy Bandit. At the south end of the path, a chest contains an orb of gravity.
Utility Tunnel[]
Located at the south end of the Collapsed Expressway adjacent to the Evergreen Park, the Utility Tunnel is reached either through the Thugs' Lair or the Bandits' Den. It has two segments: a north end linked to the Thugs' Lair and Bandits' Den by ladders, and the south segment linked to the Evergreen Park in the Sector 6 Slums. In the north segment, a Sweeper Prototype and bandits are fought during chapter 9. During chapter 13, ringmaws are fought, though in chapter 14, gorgers are fought instead.
Across its two segments is a gap, where the Dual Robot Arms Worksite is located. A robot arm minigame is required to progress during "Working Together Again", and the ![]() Magnify Materia can be obtained by positioning Aerith on the correct ledge. On the south segment, more bandits are fought on the way to the Evergreen Park.
Magnify Materia can be obtained by positioning Aerith on the correct ledge. On the south segment, more bandits are fought on the way to the Evergreen Park.
The Utility Tunnel is revisited for some sidequests. In chapter 9, it is revisited for "The Price of Thievery" which may appear depending on the questline, and Beck's Badasses are fought along with the Grungy Bandit.
Quests[]
The Town That Never Sleeps[]
- Main Scenario
- Odd Jobs
The Collapsed Expressway is visited during the first half of the chapter. Many of these quests are combat quests involving Cloud and Aerith, though most notably throughout, three minigames involving a robot arm are required to progress. In these, the player must move a robot arm to move Aerith imto a position and drop a ladder so Cloud can progress, and in the latter two, Aerith can also be positioned to grab rare materia orbs.
If Madam M's questline is chosen, Cloud revisits the Collapsed Expressway for "The Price of Thievery" to fight Beck's Badassses once more.
A Broken World[]
The Collapsed Expressway is visited again by a party of Cloud, Barret, and Tifa as they travel from Sector 5 Slums to reach Evergreen Park. During this quest, different enemy setups are fought, though a few are returning, including Beck's Badasses. Robot arms do not need to be moved again, and at the Machinery Graveyard, the previous path right is in accessible, meaning the Old Bypass must be used.
In Search of Hope[]

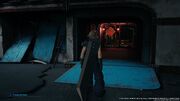
Corneo's Secret Stash location.
The Collapsed Expressway is visited for a few of the Odd Jobs during chapter 14. The stash containing the diamond tiara for "Corneo's Secret Stash" is located at the north end of the Caved-In Tunnel, and one of the chocobos for "Chocobo Search" is located at the south end of the Old Bypass, though trypapolises are fought along interacting with it. The entrance to the expressway then becomes a fast-travel post via Sam's Delivery Service.
Encounters[]
| Enemy | Areas | Chapter |
|---|---|---|
| Terpsicolt | Caved-In Tunnel Machinery Graveyard (south segment) |
The Town That Never Sleeps |
| Old Bypass | A Broken World | |
| Lesser Drake | Caved-In Tunnel |
The Town That Never Sleeps |
| Sweeper Prototype | Machinery Graveyard (north segment) |
The Town That Never Sleeps |
| Old Bypass | A Broken World | |
| Smogger | Machinery Graveyard (south segment) | The Town That Never Sleeps |
| Old Bypass | A Broken World and In Search of Hope | |
| Bandit | Utility Tunnel | The Town That Never Sleeps |
| Bandits' Den | A Broken World and In Search of Hope | |
| Gorger | Caved-In Tunnel | A Broken World |
| Caved-In Tunnel Utility Tunnel |
In Search of Hope | |
| Ringmaw | Old Bypass Utility Tunnel |
A Broken World |
| Old Bypass | In Search of Hope | |
| Varghidpolis | Old Bypass | A Broken World and In Search of Hope |
A large number of enemies in the Collapsed Expressway are flying enemies, meaning ![]() Wind Materia can be effective against them, while
Wind Materia can be effective against them, while ![]() Lightning Materia is useful against the mechanical enemies fought.
Lightning Materia is useful against the mechanical enemies fought.
During various sidequests, bosses are fought in the expressway. Beck, Burke, and Butch are first fought as a boss in "Beyond the Dead End" in chapter 8, and later appear as a fixed encounter along with the Grungy Bandit in the south end of the Bandits' Den.
Items[]
| Item | Areas |
|---|---|
| 1,000 gil | Machinery Graveyard (south segment) |
| Mega-Potion | Path Through Fissure (south segment) |
| Path Through Fissure (robot arm segment) | |
| Dual Robot Arms Worksite | |
| Heavy-Duty Bracer | Bandits' Den |
| Orb of Gravity | Bandits' Den |
A vending machine in the Large Cave-In sells items.
Gallery[]
")
")
")
")
")